background image

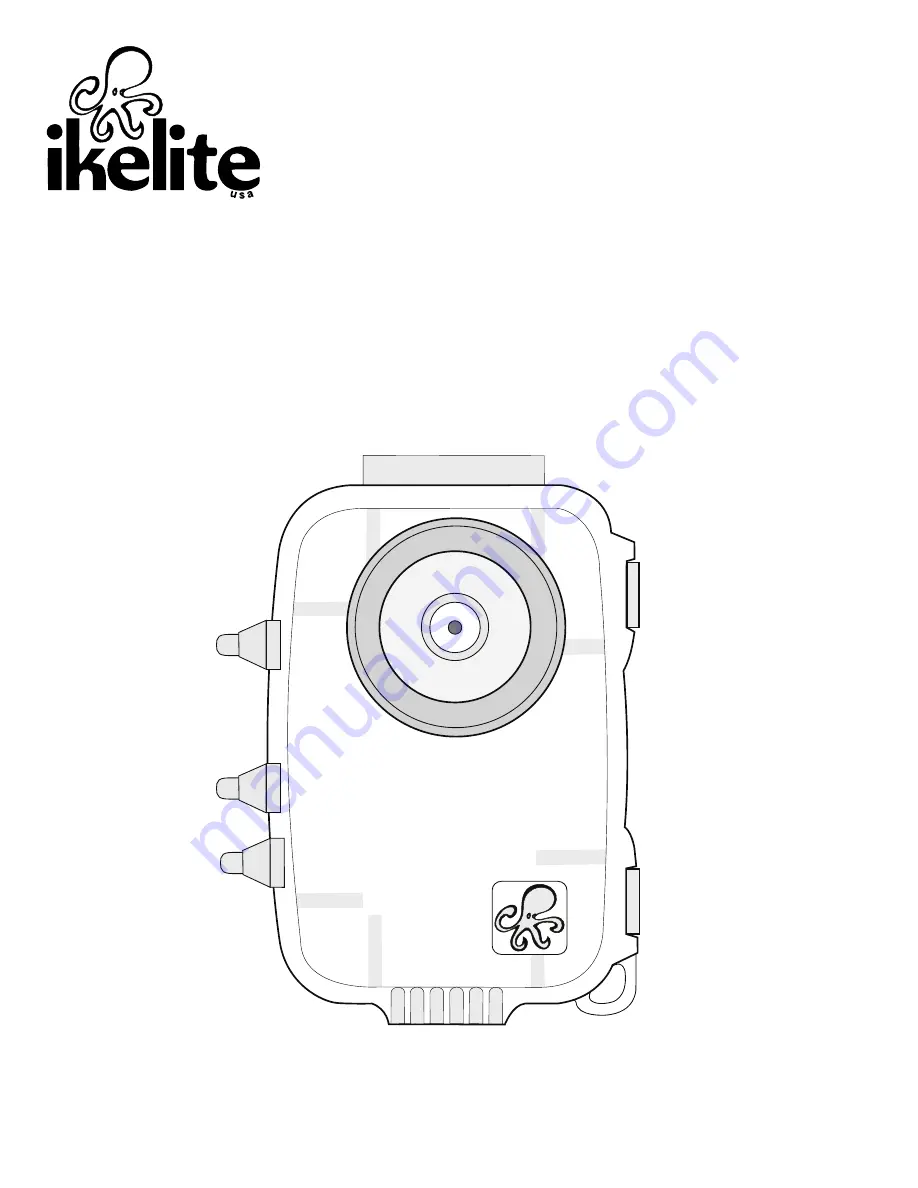
Compact Video Housing

i n s t r u c t i o n   m a n u a l

#5651.10 JVC Picsio GC-WP10AU Video Camera

#5651.11 JVC Picsio GC-WP10AU Video Package

Thank you for your purchase of Ikelite equipment. Please read this
instruction manual completely before attempting to operate or dive with this
product.

Содержание 5651.10

Страница 1: ...a n u a l 5651 10 JVC Picsio GC WP10AU Video Camera 5651 11 JVC Picsio GC WP10AU Video Package Thank you for your purchase of Ikelite equipment Please read this instruction manual completely before at...

Страница 2: ...osing the Housing P 5 Safety Check P 5 Usage P 5 Turn Camera On P 5 Entering the Water P 6 Parts of the Housing P 6 Maintenance P 7 Lens Port P 7 Control Maintenance P 7 Lubricant P 7 O ring Maintenan...

Страница 3: ...se read your camera manual thoroughly to have a full understanding of each camera function If you are new to underwater photography be sure to read the Video and Photo Tips section page 10 Due to the...

Страница 4: ...the hinged back to it s open position PUSH TO UNLOCK Latch Button Latch Button Top View Latch Closed Diagram A Top View Latch Opened Latch in open positon Diagram B Initial Camera Setup Read the came...

Страница 5: ...he latch and make sure it locks Latch will click into it s locked position Latch buttons will NOT be depressed when latch is properly locked diagram A page 4 PUSH TO UNLOCK Kodak Kodak PICSIO Installi...

Страница 6: ...using to see that it is properly sealed Next check to see if there are any bubbles on the face of the lens port If there are take your finger and remove them If there are bubbles on the lens port they...

Страница 7: ...erate the push button If this does not correct the problem return the housing to Ikelite for routine maintenance If a housing control shaft becomes sticky and hard to operate return the housing to Ike...

Страница 8: ...5 Clean and lightly lubricate the o ring Use Ikelite lubricant only Put a small amount of lkelite lubricant on your fingers Pull the o ring through your fingers to apply a light coating of lubricant...

Страница 9: ...If removing a housing push button is necessary do not re use the E clip Contact Ikelite for replacement E clips part 0319 12 Leave housing latch in the open position when not using the housing for ext...

Страница 10: ...icture Hold the camera steady a second or two after pressing the shutter release button Do not shoot down on subjects as they will quite often blend into the background and be difficult to see in a ph...

Страница 11: ...correcting filter Add external lighting Move in closer to your subject when taking a picture Lightly lubricate main housing o ring see page 8 Make sure that the camera is installed correctly Housing...

Страница 12: ...tended period of time Purchase desiccant packs from a local camera store Place one or two packs in your housing before each day of diving If moisture or water droplets are present around the controls...

Страница 13: ...mary video lights are specially color balanced to provide natural tones Travel Cases The optional Travel Bag is the perfect carry on for your compact system Padded sides and divider provide just the r...

Страница 14: ...the frame By reducing the amount of water between the subject and your camera lens the resulting image will be more crisp and colorful Attach 67mm threaded 6420 Ikelite W 20 Inon Type II and Epoque wi...

Страница 15: ...ng any service to ensure that all products perform as intended Evidence of purchase date must be provided to obtain warranty service No prior authorization is required You may return directly to us or...

Страница 16: ...postage paid Ikelite will at its sole discretion repair or replace such products and will return to customer postage paid All other claims of any nature are not covered Except as mentioned above no ot...

Отзывы: