IK Multimedia iRig Keys I/O Скачать руководство пользователя страница 40

English

         40

•  The display will show DTA. Rotate the DATA knob clockwise to reach the SLD position;
•  Reached the SLD position press the DATA push-knob;
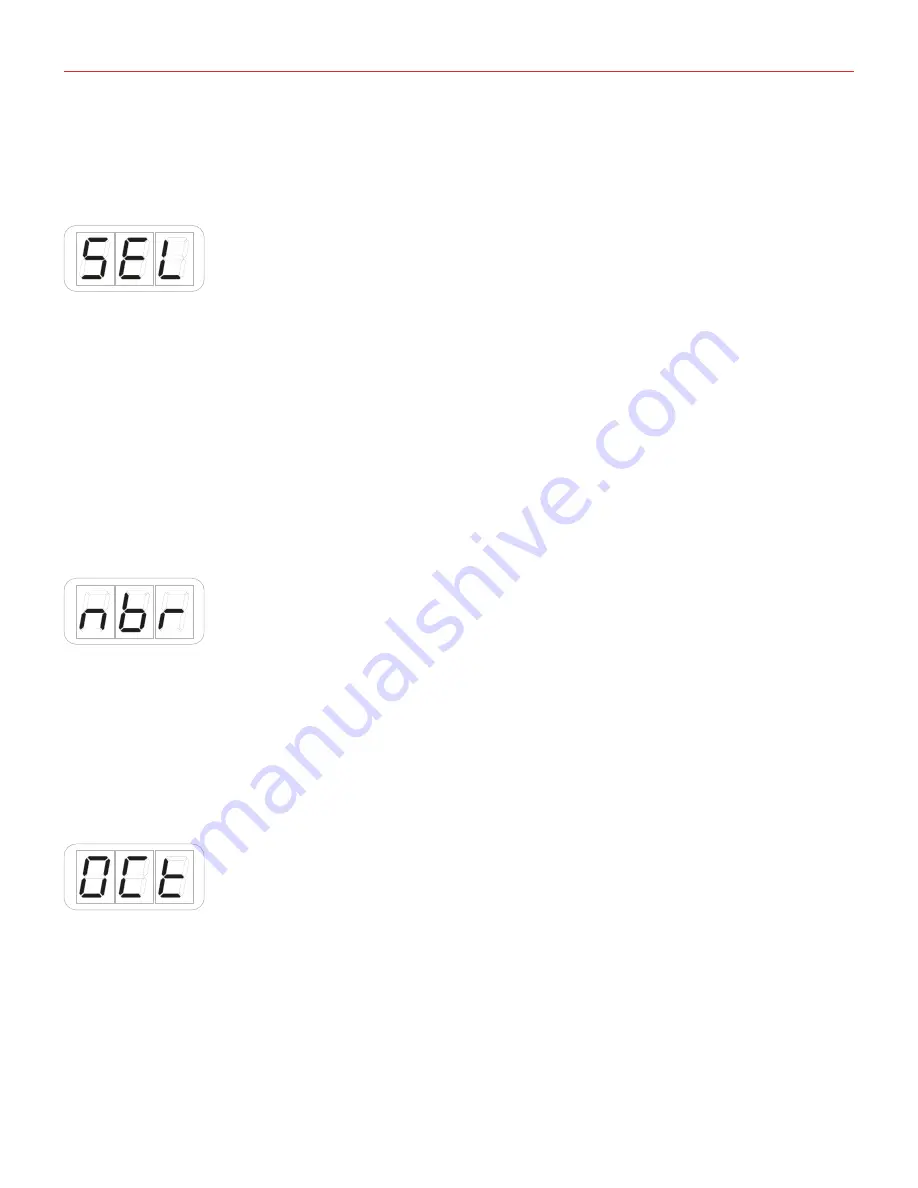
•  The display will show SEL (select) to let you select the control you want to edit. All the led bars will start to 

pulse;

•  Press or touch the slider you want to edit;
•  The display will show 1 and will cycle between 1 and 2. This means that you can assign the desired control 

to the primary (1) or alternative (2) function of the slider;

•  The display will show PCH (pitch) and by rotating the DATA knob it will cycle to MOD (MOD wheel) -> CC 

(control change) -> OCT (octave) -> PC (Programm Change).

•  Reached the CC position press the DATA push-knob to confirm you want to assign a CC message to the 

slider;

•  The display will show HLD (hold mode) and by rotating the DATA knob it will cycle to RET (return to zero 

mode);

•  Select the mode you need by pressing the DATA push-knob;
•  The display will show NBR (number) to let you insert the CC number you want to assign to the slider;

•  Insert the MIDI control change number (from 0 to 127) with the keys marked from 0 to 9. You can cancel 

your input with the CANCEL/NO key;

•  To confirm press the DATA push-knob;
•  The keyboard will exit automatically the Edit Mode;
•  You can exit the Edit mode any time by pressing the CANCEL/NO key.

5.3.6.4 Assign the Octave control to a slider

To assign the Octave control to a slider:
•  Enter Edit Mode by pressing the ALT and EDIT buttons;
•  The display will show GLO. Rotate the DATA knob until you reach the PRE position. Press the DATA push-

knob to confirm you want to edit a parameter in the preset menu;

•  The display will show DTA. Rotate the DATA knob clockwise to reach the SLD position;
•  Reached the SLD position press the DATA push-knob;
•  The display will show SEL (select) to let you select the control you want to edit. All the led bars will start to 

pulse;

Содержание iRig Keys I/O

Страница 1: ...The all in one music production station that goes anywhere you want USER MANUAL...

Страница 2: ...ion with IK Virtual Instruments 17 4 3 Factory 2 Apple Logic Pro X GarageBand 19 4 4 Factory 3 Chromatic PADS MIDI Volume and MIDI Pan 20 4 5 Factory 4 Program Change PADS MIDI Volume and MIDI Pan 21...

Страница 3: ...nd to a slider 35 5 3 5 2 Assign a Mod wheel command to a slider 36 5 3 5 3 Assign a CC message to a slider 37 5 3 6 Slider editing on iRig Keys I O 25 38 5 3 6 1 Assign a Pitch bend command to a slid...

Страница 4: ...experience in terms of Safety risk Apple device charging performances Noise performances iRig Keys I O Thank you for purchasing iRig Keys I O Your package contains iRig Keys I O 25 or 49 Lightning Cab...

Страница 5: ...d to an USB host MAC Windows or Android all the needed power is provided by the host If the connected host is not capable to provide the required power either batteries or PSU may be needed IMPORTANT...

Страница 6: ...u are using requires external phantom power activate the 48V switch SampleTank 3 Miroslav Philharmonik 2 CE Syntronik Pro V for iOS Mac PC and T RackS Deluxe Ableton Live 9 Lite PreSonus Studio One Pr...

Страница 7: ...English 7 5 Adjust the input level with the gain potentiometer 48V OFF 1 4 BLUE GREEN ORANGE RED...

Страница 8: ...g signal lines then the outputs are balanced as if a centre tapped output transformer were being used This system has the advantage that it can give the same level into either a balanced or unbalanced...

Страница 9: ...English 9 8 If needed connect a footswitch expression pedal to the TRS connector on iRig Keys I O 9 Fix the tablet holder for a perfect view...

Страница 10: ...e the 48V switch Adjust the input level with the gain potentiometer 5 Connect a mixer an amplifier or a PA system to the stereo line outputs It is possible to control the output volume with the DATA V...

Страница 11: ...ram what kind of message will be sent Note CC or MIDI CH Each pad is illuminated by a RGB LED and the illumination gives you feedback on the pad status 2 3 Touch sensitive controls 2 3 1 iRig Keys I O...

Страница 12: ...e shift indicating a number relative to the octaves that has been shifted For example going from 0 to 1 the display will show 1 and will remain visible until another action on the keyboard is performe...

Страница 13: ...able by the user It acts also to control the audio output volume when the ALT function is active Refer to the dedicated section on this manual for complete editing instructions The Knobs 1 to 8 can be...

Страница 14: ...This allows you for a rapid user preset recall refer to point 1 2 of this manual If you d prefer to recall a preset in the standard way proceed with the following steps The display will show RCL recal...

Страница 15: ...erwrite the previous preset At the press of the DATA push knob the display will show CFM confirm to confirm that you want to overwrite the previous preset To confirm this action press the DATA knob th...

Страница 16: ...der 2 Octave ALT Prog Change Exp Pedal Expression CC 11 Sus Pedal Sustain CC 64 Momentary action Pad 1 C1 Pad 2 D1 Pad 3 E1 Pad 4 F 1 Pad 5 A 1 Pad 6 G1 Pad 7 B1 Pad 8 C 2 Pad MIDI CH Key Pad Velocity...

Страница 17: ...PROG up and down buttons to browse and load SampleTank 3 Multis according to the current Live Set preset loaded on SampleTank 3 5 Rotate knobs 1 to 4 on iRig Keys I O to control the first four macros...

Страница 18: ...Syntronik 2 Rotate the DATA knob and scroll between the presets of Syntronik 3 Press the DATA knob to load the selected preset 4 iRig Keys I O knobs can be easily assigned to any parameter of Syntroni...

Страница 19: ...ction Pad 1 C1 Pad 2 D1 Pad 3 E1 Pad 4 F 1 Pad 5 A 1 Pad 6 G1 Pad 7 B1 Pad 8 C 2 Pad MIDI CH Key Pad Velocity 2 Normal Knob 1 CC 12 Relative mode Touch CC 30 OFF by default Knob 2 CC 13 Relative mode...

Страница 20: ...2 C 3 Pad 3 D3 Pad 4 D 3 Pad 5 E3 Pad 6 F3 Pad 7 F 3 Pad 8 G3 Pad MIDI CH Key Pad Velocity 2 Normal Knob 1 CC 07 Absolute mode Touch CC 30 OFF by default Knob 2 CC 10 Absolute mode Touch CC 31 OFF by...

Страница 21: ...Pad 3 PC002 Pad 4 PC003 Pad 5 PC004 Pad 6 PC005 Pad 7 PC006 Pad 8 PC007 Pad MIDI CH Key Pad Velocity 6 Fixed 127 Knob 1 CC 07 Absolute mode Touch CC 30 OFF by default Knob 2 CC 10 Absolute mode Touch...

Страница 22: ...knob the confirmation of each action is provided by pushing the DATA knob In GLO global menu you will find PC program change KEY keyboard TCH touch knobs OFF all notes off RST factory reset In PRE pr...

Страница 23: ...hed the PC programm change position pess the DATA push knob to confirm you want to set a Programm change The display will show NBR number to let you insert the PC number Insert the PC number from 0 to...

Страница 24: ...it the Edit mode any time by pressing the CANCEL NO key 5 2 2 2 Set different velocity touch response to the keyboard The keyboard on iRig Kyes I O is velocity sensitive Usually this means that the ha...

Страница 25: ...eful when for example you need to play a song that is in a difficult key but you still want to physically play it in an easier or more familiar key To transpose iRig Keys I O Enter Edit Mode by pressi...

Страница 26: ...e the sending of the CC message associated to the touch of each knob the SNS sensing allows you to enable or disable the capacite sensitive feature of the knobs These are the possible combinations CC...

Страница 27: ...it mode any time by pressing the CANCEL NO key 5 2 5 Reset iRig Keys I O iRig Keys I O can be reset to its original factory value of MIDI channel Programm change Audio volume active preset velocity tr...

Страница 28: ...e DATA knob until you reach the PRE position Press the DATA push knob to confirm you want to edit a parameter in the preset menu The display will show DTA Press the DATA push knob to confirm you want...

Страница 29: ...ch the KNB position Reached the KNB position press the DATA push knob to confirm you want to edit the knob parameters The display will show 1 to indicate that the selected knob is the number 1 By rota...

Страница 30: ...TA push knob to confirm you want to edit a parameter in the preset menu The display will show DTA Rotate the the DATA knob clockwise to reach the PED position Reached the PED position press the DATA p...

Страница 31: ...ob The display will show MOM momentary or LCH latch to let you set the way the pedal will send the message To confirm press the DATA push knob The keyboard will exit automatically the Edit Mode You ca...

Страница 32: ...Channel associated to the pads Enter Edit Mode by pressing the ALT and EDIT buttons The display will show GLO Rotate the DATA knob until you reach the PRE position Press the DATA push knob to confirm...

Страница 33: ...ue of 127 without any touch response To set the velocity response Enter Edit Mode by pressing the ALT and EDIT buttons The display will show GLO Rotate the DATA knob until you reach the PRE position P...

Страница 34: ...octave by rotating the DATA knob The display will show you the note and the octave you have chosen To confirm press the DATA push knob To cancel press the CANCEL NO key this way the note won t be ass...

Страница 35: ...u want to edit another pad repeat the step above otherwise press the DATA push knob to confirm your editing If you want to not confirm the editing press the CANCEL NO key The keyboard will exit automa...

Страница 36: ...the DATA knob until you reach the PRE position Press the DATA push knob to confirm you want to edit a parameter in the preset menu The display will show DTA Rotate the DATA knob clockwise to reach the...

Страница 37: ...knob The display will show SEL select to let you select the control you want to edit All the led bars will start to pulse Press or touch the slider you want to edit The display will show PCH pitch an...

Страница 38: ...se to reach the SLD position Reached the SLD position press the DATA push knob The display will show SEL select to let you select the control you want to edit All the led bars will start to pulse Pres...

Страница 39: ...The display will show PCH pitch and by rotating the DATA knob it will cycle to MOD MOD wheel CC control change OCT octave PC Programm Change Reached the MOD position press the DATA push knob to confi...

Страница 40: ...to zero mode Select the mode you need by pressing the DATA push knob The display will show NBR number to let you insert the CC number you want to assign to the slider Insert the MIDI control change nu...

Страница 41: ...LO Rotate the DATA knob until you reach the PRE position Press the DATA push knob to confirm you want to edit a parameter in the preset menu The display will show DTA Rotate the DATA knob clockwise to...

Страница 42: ...pressing the CANCEL NO key 6 Low Battery When the battery level approach to be low the INPUT LED will fast blink red Troubleshooting Sound is distorted You re probably overloading the input Check tha...

Страница 43: ...quency Response 20 Hz 20 kHz 1 5dB Input Noise 100 dB RMS Line Output Line Outputs 2x balanced TRS 1 4 Jack Tip hot Ring cold Shield ground Floating Balanced Outputs with automatic level compensation...

Страница 44: ...d separately Keyboard Keys 25 or 49 depending on the version full size keys with velocity Pads 8 velocity sensitive multi color assignable pads Warranty Please visit www ikmultimedia com warranty for...

Страница 45: ...ages trademarks and artists names are the property of their respective owners which are in no way associated or affiliated with IK Multimedia iPad iPhone iPod touch Mac and Mac logo are trademarks of...

Отзывы: