English
35
• If you want to edit another pad repeat the step above, otherwise press the DATA push-knob to confirm your
editing. If you want to not confirm the editing press the CANCEL/NO key.
• The keyboard will exit automatically the Edit Mode.
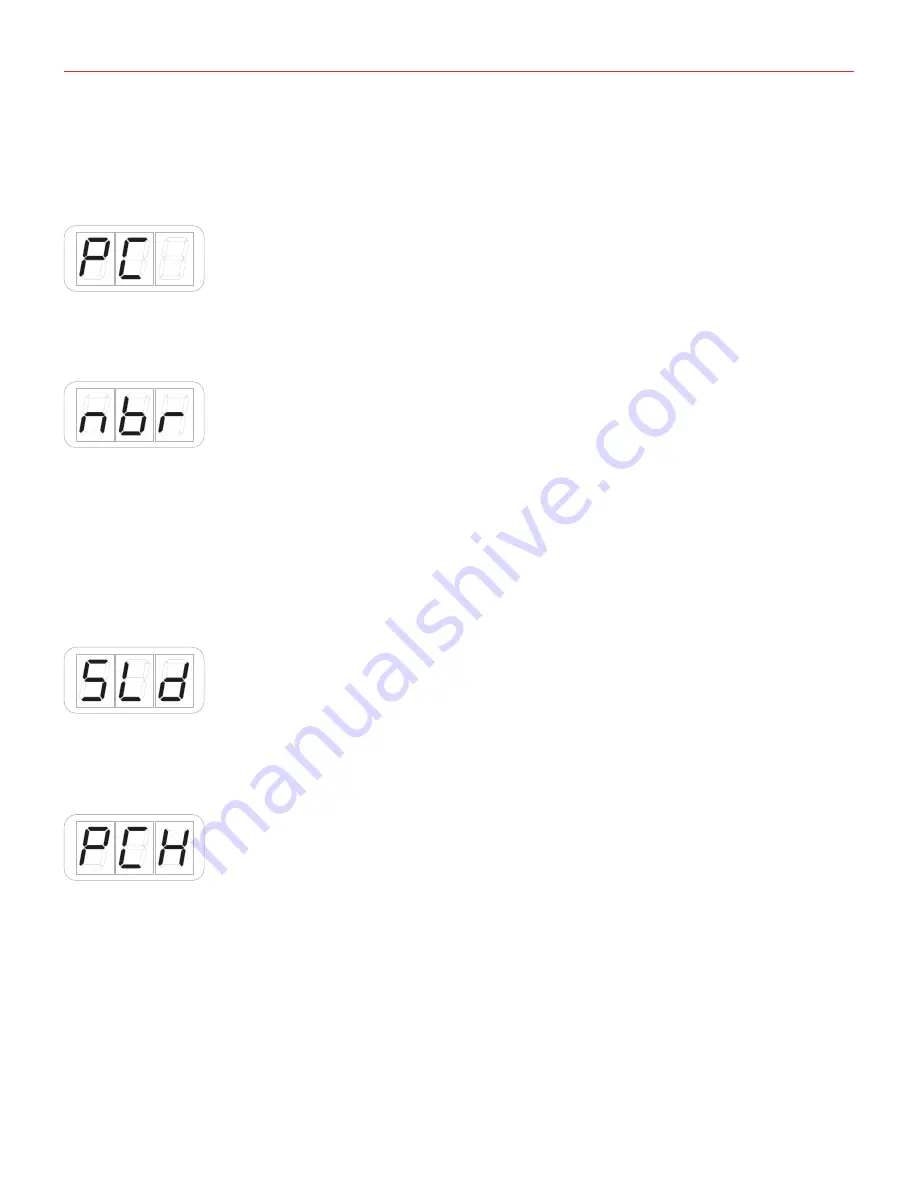
To assign a PC, select PC with the DATA push-knob as described above:
• The display will show NBR (number) to let you insert the MIDI control change number. Insert the MIDI
control change number (from 0 to 127) with the keys marked from 0 to 9. You can cancel your input with the
CANCEL/NO key
• To confirm press the DATA push-knob;
• The keyboard will return to display SEL to let you select another pad to be edited;
• If you want to edit another pad repeat the step above, otherwise press the DATA push-knob to confirm your
editing. If you want to not confirm the editing press the CANCEL/NO key.
• The keyboard will exit automatically the Edit Mode.
5.3.5 Slider edit
It is possible to assign any CC to each sliders.
5.3.5.1 Assign a Pitch bend command to a slider
To assign a pitch bend command to a slider:
• Enter Edit Mode by pressing the ALT and EDIT buttons;
• The display will show GLO. Rotate the DATA knob until you reach the PRE position. Press the DATA push-
knob to confirm you want to edit a parameter in the preset menu;
• The display will show DTA. Rotate the DATA knob clockwise to reach the SLD position;
• Reached the SLD position press the DATA push-knob;
• The display will show SEL (select) to let you select the control you want to edit. All the led bars will start to
pulse;


