ENGLISH
18 BEFORE YOU OPERATE THE MONITOR
[ Network Connection ]
Connecting to a LAN
To set the monitor to connect to a local area network.
1. Connect a RJ45 cable to the corresponding ports on the monitor and your LAN switch or router.
2. Enter the OSD menu Setting > Control Setting. Select LAN.
3. Enter the next OSD menu Setting > Network Settings > IP Address DHCP or Manual
Setup
• If you are in a DHCP environment, highlight Auto Setup and select On. Once done, the IP
Address, Subnet Mask, Default Gateway, and Primary DNS settings will be displayed.
•
If you are not in a DHCP environment, highlight Auto Setup and select Off . Contact your ITS
administrator for information on the IP Address, Subnet Mask, Default Gateway, and Primary
DNS settings and enter it accordingly.
Controlling the Monitor
Once you have the correct IP Address for your monitor and the monitor is on or in standby mode,
you can use any computer that is on the same local area network to control the monitor.
• You can not control the monitor via the RS-232C connector when LAN control is in use.
• It is recommended that you use Google Chrome versions 51.0.2704.103 or higher
browser.
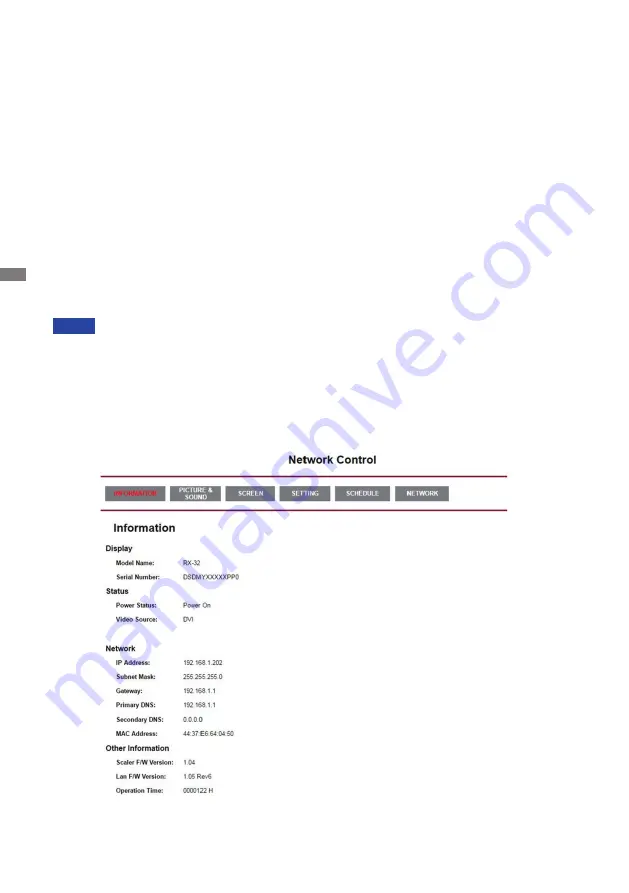
1. Enter the IP Address of the monitor in the address bar of your browser and press ENTER
button.
2. The setting page appears.
INFORMATION / PICTURE&SOUND / SCREEN / SETTING / SCHEDULE / NETWORK
NOTE


