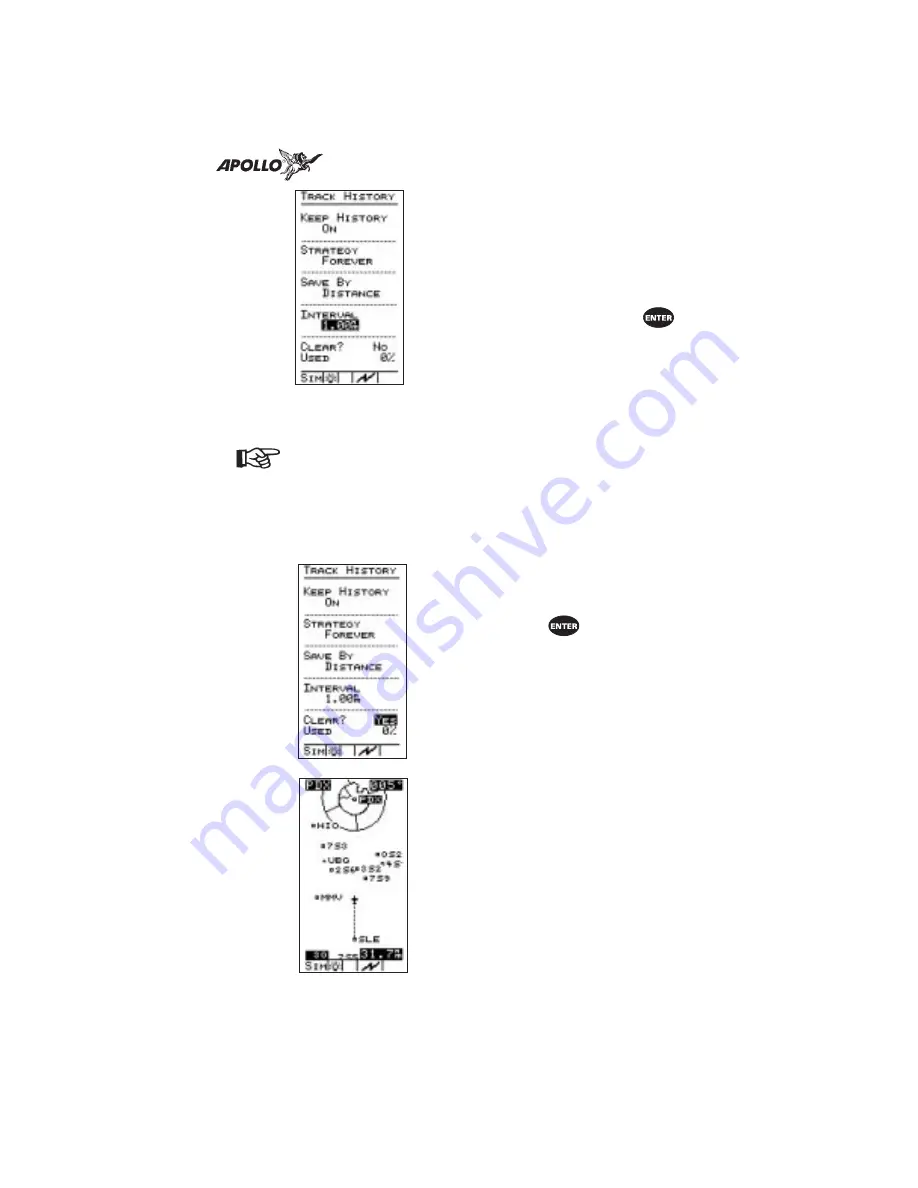
5. Select a storage interval for the method
you selected. If you selected Distance,
the “INTERVAL” will be in nm, sm, or
km. If you selected Time, the
“INTERVAL” will be in hours and
minutes. With the track point history
screen items properly set, press
to
begin recording.
Note
After you begin recording track points and go
about navigating, you can always refer to the
Track Point History screen to check how much
memory space has been used. Check the
“USED” item on the screen to see the
percentage of track point storage memory
currently used.
6. You can move the highlight to the
“CLEAR?” item to empty the track
point history memory anytime. Select
“YES” and press
to delete all
track points. Deleted track points are not
recoverable.
Check the moving map screen in the
Navigation function as you navigate the
route. With track points being recorded,
small dots appear behind the airplane
symbol as you travel. Each dot
represents a stored track point.
81
Tutorial
Содержание Apollo Precedus
Страница 1: ......
Страница 30: ...Navigation Information Choices 22 Navigation Basics ...


