Once achieved, then tighten the lock nut by screwing down until tight against
the base, but not that tight to cause damage to the screw or locknut.
Allow the unit to run for up to five minutes with regular checks on the pressure
gauge. Once you are comfortable the pressure is constant at 0.7 on the gauge
then the adjustment is complete.
How to know if the unit is producing microbubbles:
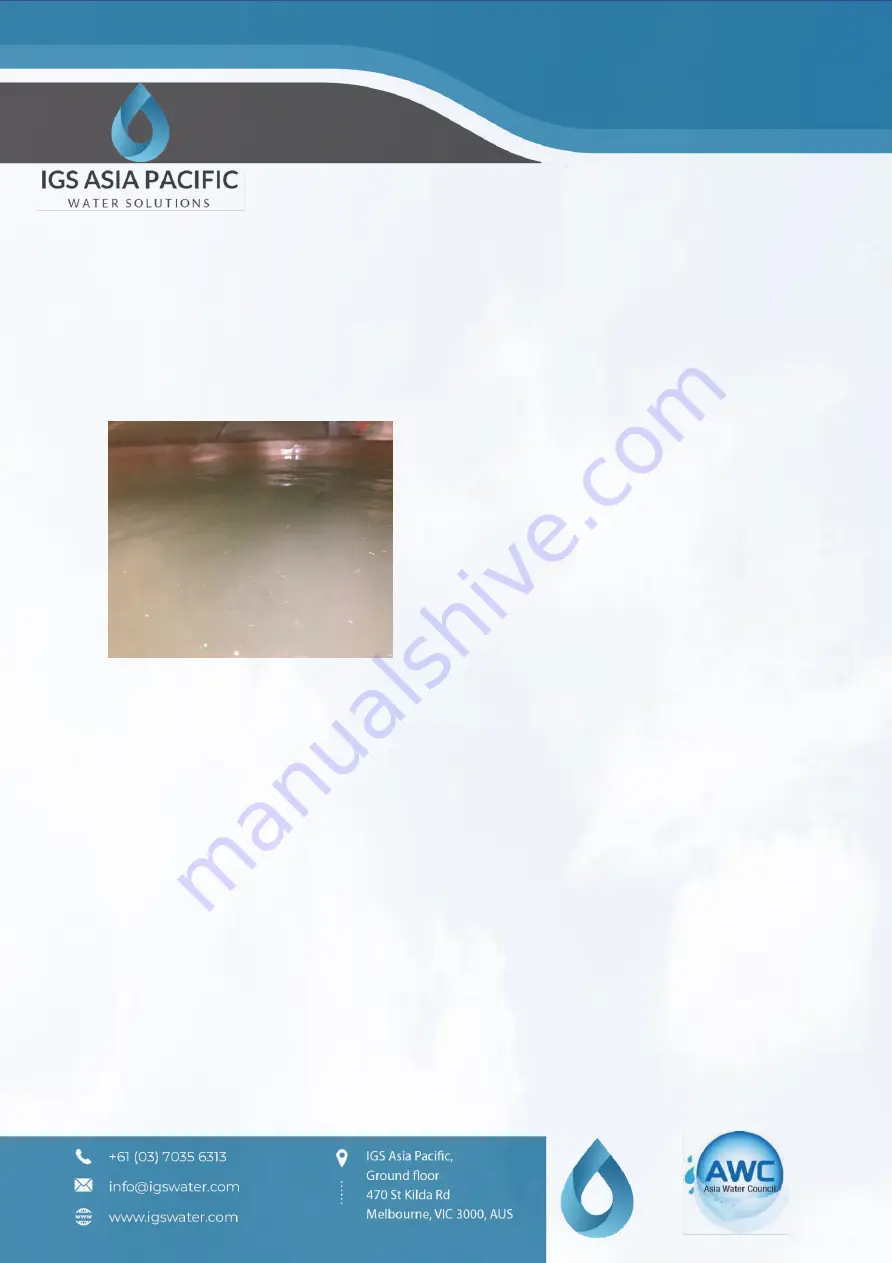
Look for white clouding in the water body
assuming it is clear enough to see this as
shown in the tank at our R&D centre. You
will see this milky clouding occurring in the
water.
These microbubbles will clear once the unit
is turned off as they break to nanobubbles
and both remain in the water as a ‘bank of
air’ for some considerable time.
Maintenance:
The Microbubble Generator is designed to operate with minimal operator action
and should continue to produce microbubbles consistently once stared until
switched off.
Regular checks that need to be conducted are:
Foot Valve Cage:
Ensure the foot valve cage is not blocked by a build-up of rubbish. If this cage
cannot be seen, turn the MBG off at the power source, raise the cage and check.
If blocked or partially blocked clean the cage off with a water jet, brush, rag or
similar. Once clean insert back in the water and restart machine.
Note:
After each restart check the pressure on the cylinder gauge and adjust as
necessary.


