


KINO-AH612
Page 54
Chapter 3
.
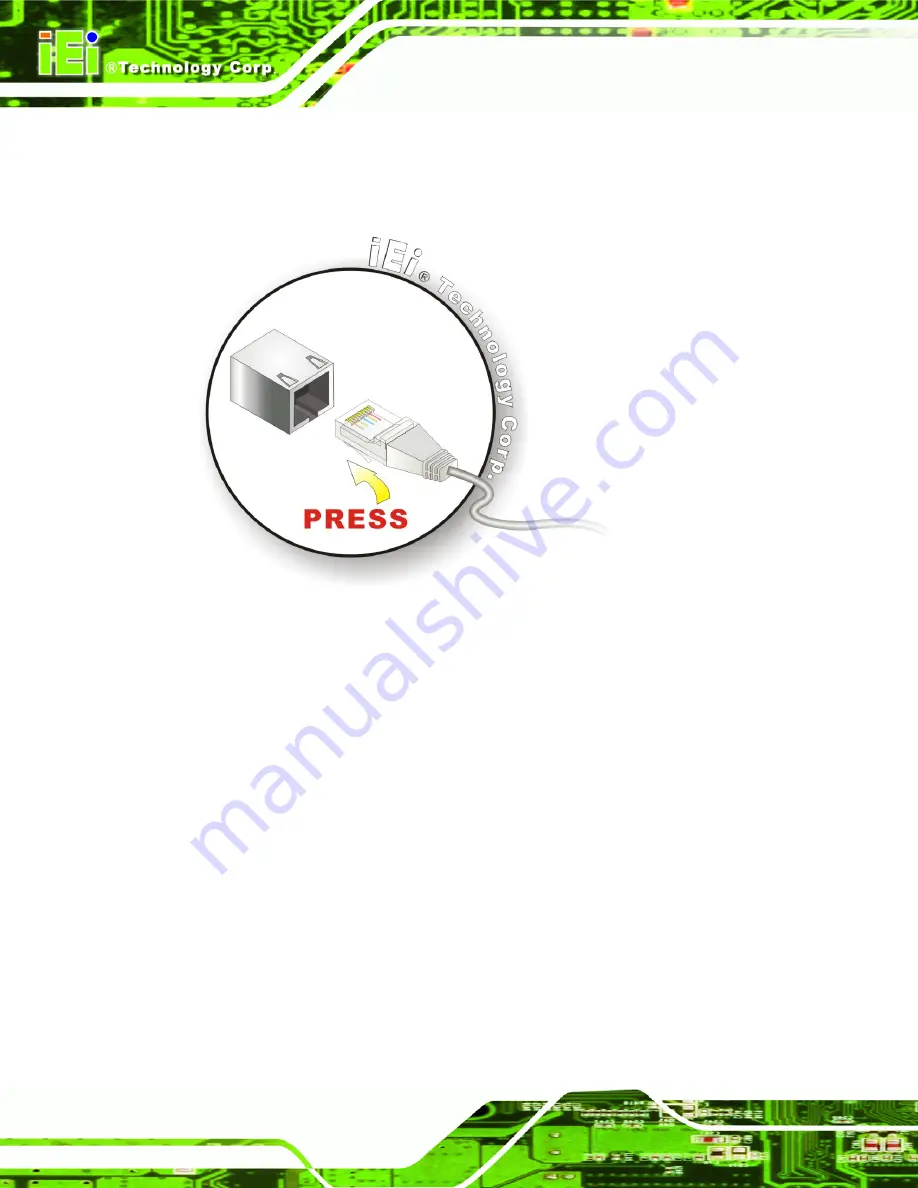
Step 2:
Align the connectors.
Align the RJ-45 connector on the LAN cable with one of
the RJ-45 connectors on the KINO-AH612. See
.
Figure 4-15: LAN Connection
Step 3:
Insert the LAN cable RJ-45 connector.
Once aligned, gently insert the LAN
cable RJ-45 connector into the on-board RJ-45 connector.
4.6.4 USB Connection
The external USB Series "A" receptacle connectors provide easier and quicker access to
external USB devices. Follow the steps below to connect USB devices to the
KINO-AH612.
Step 1:
Locate the USB Series "A" receptacle connectors
. The location of the USB
Series "A" receptacle connectors are shown in
Chapter 3
.
Step 2:
Insert a USB Series "A" plug
.
Insert the USB Series "A" plug of a device into
the USB Series "A" receptacle on the external peripheral interface. See
Содержание KINO-AH612
Страница 12: ...KINO AH612 Page 1 1 Introduction Chapter 1...
Страница 19: ...KINO AH612 Page 8 2 Unpacking Chapter 2...
Страница 24: ...KINO AH612 Page 13 3 Connectors Chapter 3...
Страница 49: ...KINO AH612 Page 38 4 Installation Chapter 4...
Страница 68: ...KINO AH612 Page 57 5 BIOS Screens Chapter 5...
Страница 106: ...KINO AH612 Page 95 6 Software Drivers Chapter 6...
Страница 109: ...KINO AH612 Page 98 Appendix A A BIOS Menu Options...
Страница 112: ...KINO AH612 Page 101 Appendix B B One Key Recovery...
Страница 120: ...KINO AH612 Page 109 Figure B 5 Partition Creation Commands...
Страница 152: ...KINO AH612 Page 141 Step 5 When the following window appears press S to select Specify Additional Device...
Страница 154: ...KINO AH612 Page 143 Appendix C C Terminology...
Страница 159: ...KINO AH612 Page 148 Appendix D D Watchdog Timer...
Страница 162: ...KINO AH612 Page 151 Appendix E E Hazardous Materials Disclosure...


