iSignager 500A
Page 16
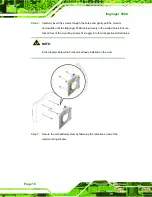
Step 2:
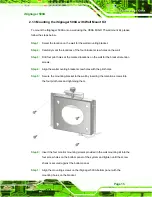
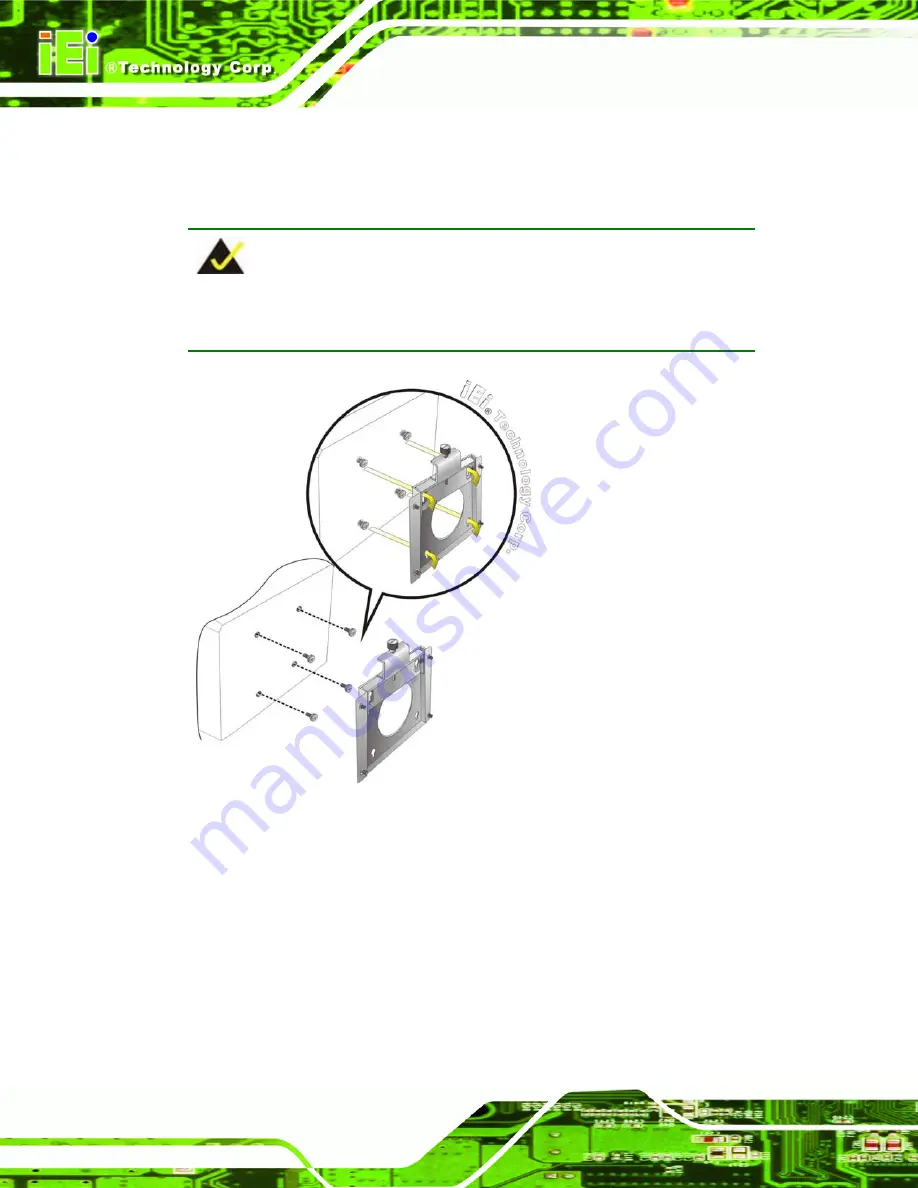
Carefully insert the screws through the holes and gently pull the monitor
downwards until the iSignager 500A rests securely in the slotted holes. Ensure
that all four of the mounting screws fit snuggly into their respective slotted holes.
NOTE:
In the diagram below the bracket is already installed on the wall.
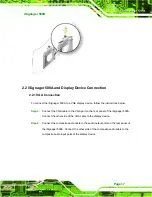
Step 7:
Secure the embedded system by fastening the retention screw of the
wall-mounting bracket.
Step 0:
Содержание iSignager 500A
Страница 1: ...iSignager 500A Page i iSignager 500A User Manual ...
Страница 2: ...iSignager 500A Page ii Revision Date Version Changes 2008 04 1 0 Initial Release ...
Страница 10: ......
Страница 11: ...iSignager 500A Page 1 1 Introduction Chapter 1 ...
Страница 20: ...iSignager 500A Page 10 THIS PAGE IS INTENTIONALLY LEFT BLANK ...
Страница 21: ...iSignager 500A Page 11 2 Installation Chapter 2 ...
Страница 34: ...iSignager 500A Page 24 ...
Страница 36: ...iSignager 500A Page 26 THIS PAGE IS INTENTIONALLY LEFT BLANK ...
Страница 37: ...iSignager 500A Page 27 A Video Audio and Graphic Formats Appendix A ...
Страница 45: ...iSignager 500A Page 35 B Check and Modify the Player Status by Serial Port Appendix B ...
Страница 58: ...iSignager 500A Page 48 THIS PAGE IS INTENTIONALLY LEFT BLANK ...
Страница 59: ...iSignager 500A Page 49 C Hazardous Materials Disclosure Appendix C ...
Страница 63: ...iSignager 500A Page 53 D Index ...


