45
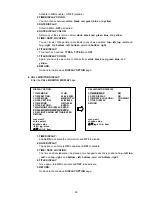
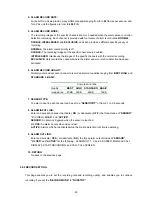
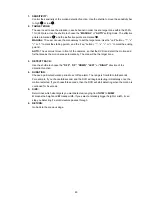
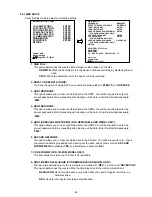
1. SENSITIVITY:
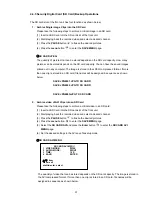
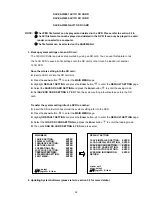
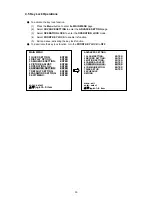
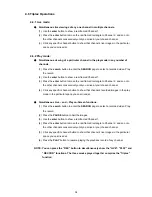
Control the sensitivity of the motion detection function. Use the shuttle to move the sensitivity bar
to high
○
+
or low
○
–
.
2. TARGET
ZONE:
The user need to see the situation in each channel in order to set a target zone within the 20W
×
11H (220) area. Use the shuttle to choose the "
MANUAL
" or "
AUTO
" setting mode. The effective
points are marked “
○
” and the ineffective points are marked “
×
”.
MANUAL:
The user can use the manual way to set the target area. Use the “call” “^”, “v”,
“<” or “>” to mark the starting point A, and the “seq.” “^”, “v”, “<” or “>” to mark the ending
point B.
AUTO:
The user must move in front of the cameras, so that the DVR can detect the motion and
fix that area as the motion area automatically. The area will be the target zone.
3. DETECT
TRACK:
Use the shuttle to choose the
“OFF”
, "
UP
", "
DOWN
", "
LEFT
" or "
RIGHT
" direction of the
detection function.
4. DURATION:
Choose a particular duration period to set off an alarm. The range is from
0.0
to
5.0
seconds.
For example, if you choose
0.0
second, and the DVR will begin detecting immediately once the
motion is started. If you choose
5.0
seconds, then the DVR will start detecting when the motion is
continued for 5 seconds.
5. SIZE:
Determines which size targets you want detected, ranging from
1H1W
to
9H9W
.
H
means the height and
W
means width. If you select a relatively bigger height or width, it can
stop you detecting if a small creature passes through.
6. RETURN:
Go back to the previous page.
Содержание IV-1600TX-SN
Страница 2: ......

