9
Introduce it in the metal case inside the wall but DO
NOT close it with the frame. Install the rest of the
controllers before continuing.
8.
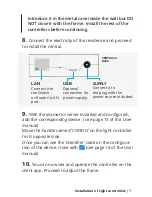
Connect the electricity of the residence and proceed
to install the central.
9.
With the idomotics server installed and configured,
add the corresponding device. ( see page 13 of the User
manual)
Move the handle named ‘CONFIG’ on the light controller
to its opposite side.
Once you can see the ‘identifier’ code on the configura-
tion of the device, close with (see page 14 of the User
manual)
10.
You can now see and operate the controller on the
client app. Proceed to adjust the frame.
Installation of Light controllers |
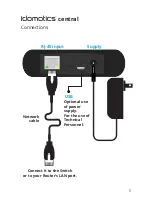
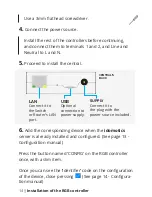
LAN
Connect it to
the Switch
or Router’s LAN
port.
USB
Optional
connection for
power supply.
CENTRAL’S
BACK
SUPPLY
Connect it to
the plug with the
power source included.
Содержание Starter Kit
Страница 1: ...QUICK INSTALLATION GUIDE...
Страница 2: ......

