


21
Part 3 - VA in the Box Setting via NVR
<Before You Configure VA settings>
Configure basic VA Box settings and all other system
settings.
•
Screen images may vary depending on the model.
•
When using the camera with Intelleigent Codec, it
could delay the image analysis up to 10 seconds.
•
When the MAT (Motion Adaptive Transmission)
function is active, the image analysis may not work
properly.
•
It is recommended that you do not use the MAT
function of the associated camera to increase the
accuracy of the image analysis.
•
In the case of cameras to be used for video analysis,
if one or more stream settings are not set to
640x360@10ips or more and 2mp@10ips or less, the
video analysis may not work properly.
Camera Protocol
VA Box supports
DirectIP™
protocol.
●
DirectIP™
protocol:
– Using with a DirectIP™ NVR enables VA Box use
without the need to configure network settings.
– The DirectIP™ NVR also allows you to control all VA
Box settings directly from the NVR, without the need
for a computer.
•
For more information on configuring VA Box
settings from a DirectIP™ NVR, refer to the
VA in the Box Setting via NVR on page <?>
.
•
For more information about video analysis report,
refer the
Part 4 - Video Analysis Report via IDIS
Firmware Upgrade
Remote software upgrade is not supported. If necessary,
Prepare a monitor, keyboard, and firmware for the device
to perform the upgrade yourself.
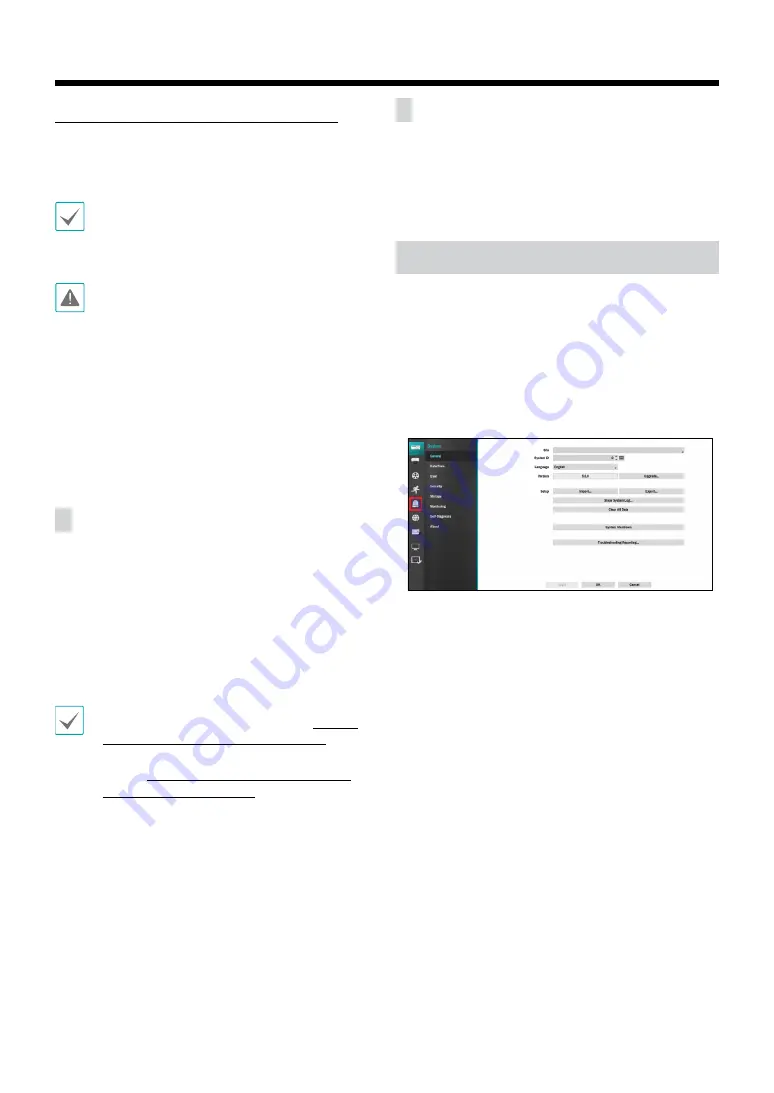
VA Box Setup
Select
5
Device Setup-VA Box
from the setup menu.
Login with an ID that has permission to access the setup
menu is needed to access and make changes to the
Setup menu.
1
While in Live mode, press the remote control's
SETUP
button or select Live menu > Setup using the mouse.
5
2
Use the remote control’s arrow buttons to select
an option and then press the remote control’s
$
button or left-click on the option using the mouse.


