


www.ideal-tek.com
Switzerland
5
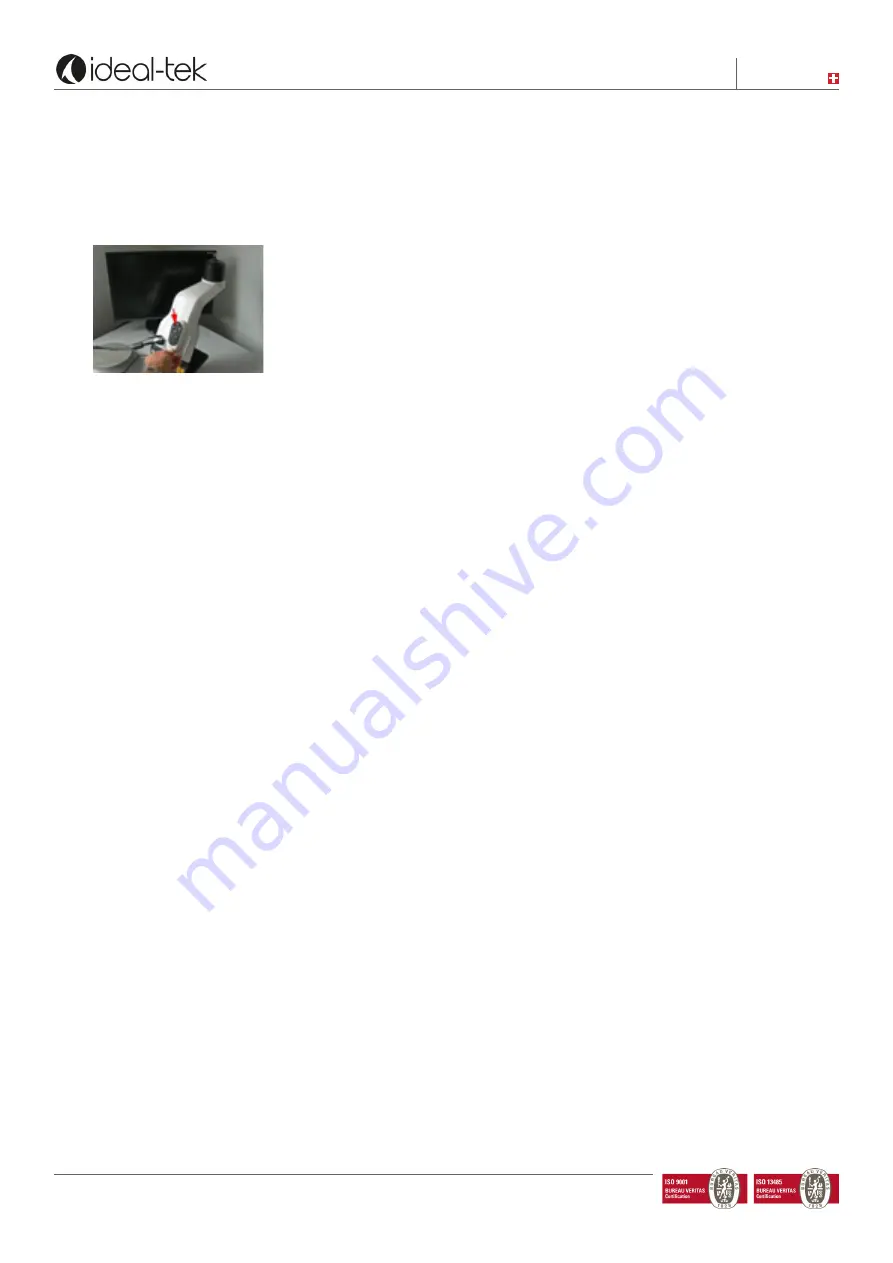
Remote control pairing
Hold the remote control on the back of the TEK-SCOPE PLUS while the power is on, then press the OK button
on the remote control for 5 seconds. When a red light start flashing, the pairing procedure is complete.
Note: The remote control inside the package is paired by the Factory. Changing batteries or using remote with
more than one device may require additional pairing.
TEK-SCOPE live streaming
Live streaming on TEK-SCOPE PLUS is only possible with a unique connection to a Monitor or to a PC.
The Device cannot work properly if connected to a PC and a Monitor at the same time.
4D LENS
If you are using a Tilt table or any higher object, you should replace the lens to a +4 lens.
You can do it using the removal tool. Clean the lens before using the system to avoid fingerprints etc. Notice that
you also need to change the lens settings in the TEK-SCOPE PLUS menu.
Press
FUNC
button on the remote for 5-8 seconds to get into the menu.
Lens
– Change to
+4
or
+3
by using the
34
buttons on the remote.
2. USE WITH A PC
TEK-SCOPE PLUS software
Operating System required: Windows 10 (only).
Ethernet connection and cable: yes
INSTALLATION
Copy and Paste the TEK-SCOPE PLUS Software folder on your desktop
To install TEK-SCOPE PLUS select “Ideal-Tek_1.0.96.0_x64.appxbundle”
To check the software is work properly you should connect TEK-SCOPE PLUS to the power supply and to the
computer using USB cable, start the device and then launch the app.
Authorize the app to connect to computer microphone and camera.
if you use the PC with an external monitor, don’t use extended or dual mode unless the resolution on both
displays are the same.


