background image


FiberTEK III 


 Document 164802 Iss 4 

User Manual 


Page 9  


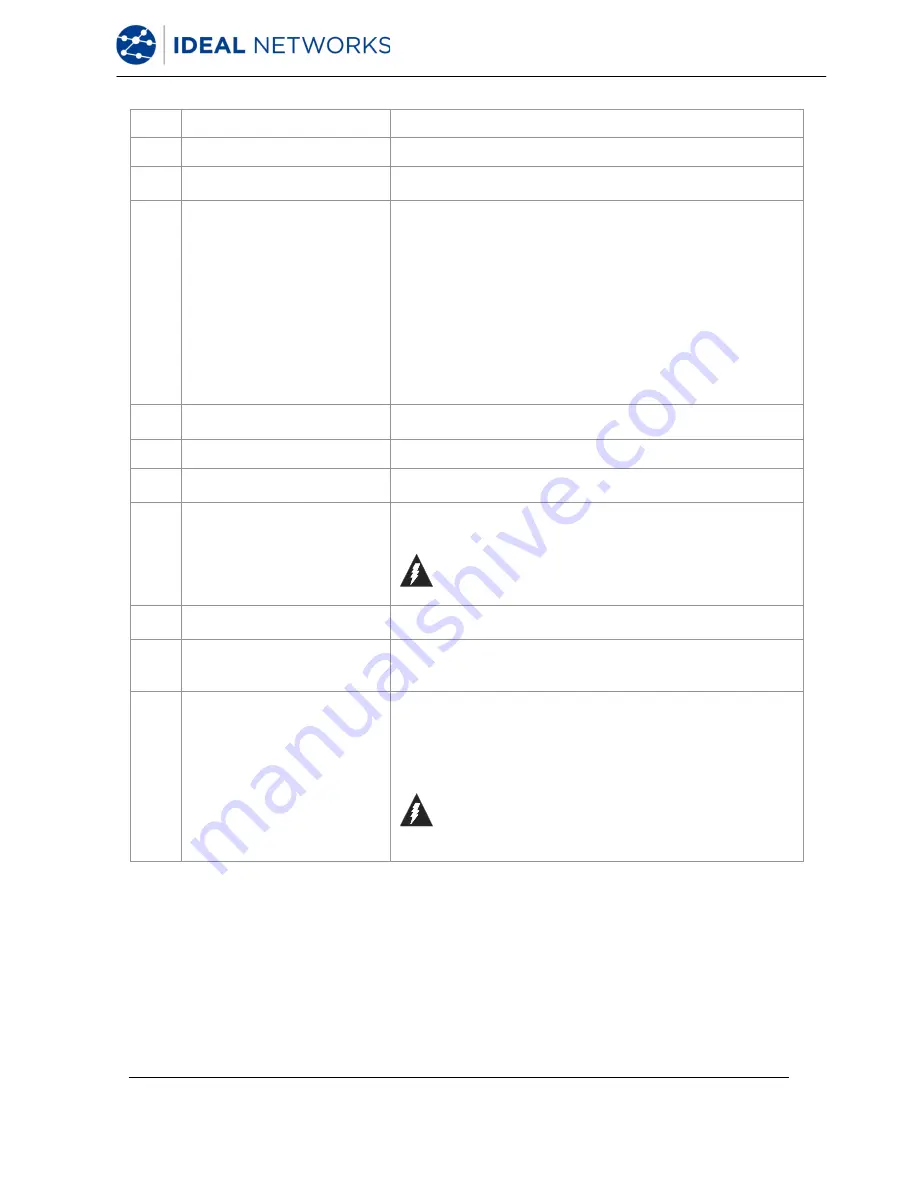
Item 

Description 

Rx Port 

Receiver port for cable testing and Power Meter input. 

Rx Port adapter ring 

Leave in place when using FC, SC or ST adapters. 

Remove when using LC adapters. 

Rx Status LED 

Dark: no light signal received 

Red blinking: light signal detected, but not recognised 

as from a FiberTEK

 III adaptor 

Green blinking: light signal detected and identified as 

from a FiberTEK

 III adaptor 

Green continuous: light signal received from FiberTEK


III adaptor and communications between adaptor(s) 

established 

Note: This LED is useful for identifying which fiber is 

which in a duplex cable. It is not necessary to plug the 

fiber into the Rx Port to do this - bringing the fiber end 

near to the Rx Port is sufficient.


Protective caps 

Always keep in place when the ports are not in use to 

protect against damage and dust.  

System connector 

Connection to LanTEK III 

Red light source 

Visible source for cable identification. 

2.5mm universal ferrule. 

Tx Port 

Dual Wavelength Light Source. 

Note that the Tx signal is switched on by the system 

software and cannot be switched off by the user. 


Do not look directly into the fiber end - it may be 

carrying a dangerous level of invisible light!


Visible Red light source 

status LED 

Dark: Off 

Red: On 

Tx Status LED 

Dark: light source OFF 

Orange: 850 nm (MM) or 1550 nm (SM) source on 

Red: 1300 nm (MM) or 1310 nm (SM) source on 

10 

Visible Red light source 

switch 

Press once: Visible light source blinks 

Press again: Visible light source On 

Press again: Visible light source Off 

Note: This function can be used to trace fibers by 

looking for the visible red light coming out of the end 

of a fiber or escaping from the jacket at a bend point.  


Do not look directly into the fiber end - it may be 

carrying a dangerous level of invisible light!


Содержание FiberTEK III

Страница 1: ...FiberTEK III ...

Страница 2: ...nd all restrictions on reproduction and use apply to all media in which this information may be placed IDEAL INDUSTRIES Ltd pursues a policy of continual product improvement and reserves the right to alter without notice the specification design price or conditions of supply of any product or service IDEAL INDUSTRIES LTD 2016 All rights reserved Publication ref 164802 Issue 4 02 2016 Applies to La...

Страница 3: ...specifications of individual modules Exceeding it could result in damages to FiberTEK III modules NOTE Before connecting cable adapter to FiberTEK III adapter ensure that the plugs of cable connectors are clean Clean ferrules of measuring adapter only with dry lint free non abrasive materials The plugs can be cleaned with suitable fiber cleaning cloths or cleaning pens IDEAL recommends cleaning se...

Страница 4: ...otentially lethal voltages or dangerous situations The life and or health of the person performing the activity or anybody in the vicinity is at risk CAUTION This symbol indicates that the relative activity could possibly harm the environment or damage technical equipment NOTE Here you will find general notes additional information or support Typographical Conventions Boldface Refers to a button o...

Страница 5: ...with Three Test Cords 14 4 2 Test Setup According to Reference Method with One Test Cord 14 4 3 Set Autotest Pref 15 4 3 1 Selection of Fiber Test Standard 15 4 3 2 Selection of Refractive Index 16 4 3 3 Selection of Fiber size and Wavelength 16 4 3 4 Determine Loss Budget 17 4 4 Evaluation of Autotest Results for Fibers LWL 18 4 4 1 Passed Failed Rating 18 4 4 2 Saving Current Autotest Results 18...

Страница 6: ...EF mode conditioner 18 to 23 dBm SM Laser 7 dBm Source power stability 850 1300 nm LED 0 25 dBm over 8 hours 1310 1550 nm Lasers 0 25 dBm over 8 hours Encircled Flux Compliance Using optional external mode conditioner complies withTIA 526 14 B and IEC 61280 1 4 at the end of the cable Length measurement MM LED 0 7 500 m of 50 125 or 62 5 125 µm fiber SM Laser 0 20 000 m 9 125 µm fiber Length measu...

Страница 7: ...orizontal link Single mode 9 1310 n s 0 75 0 3 26 90 n s 1 0 n a Horizontal link Single mode 9 1550 n s 0 75 0 3 26 90 n s 1 0 n a Backbone ISP Single mode 9 1310 n s 0 75 0 3 26 3km n s 1 0 n a Backbone ISP Single mode 9 1550 n s 0 75 0 3 26 3km n s 1 0 n a Backbone OSP Single mode 9 1310 n s 0 75 0 3 26 3km n s 0 5 n a Backbone OSP Single mode 9 1550 n s 0 75 0 3 26 3km n s 0 5 n a OF 300 OM1 50...

Страница 8: ... 5 1500 OF 2000 OM3 50 130 4 50 0 75 ea 1 5 total 0 3 20 n s 2km 1 5 500 OF 2000 OS1 9 1310 or 1550 3 50 0 75 ea 1 5 total 0 3 35 n s 2km 1 0 n a IEEE 802 3 10Base FL Multimode OM1 OM2 62 5 850 12 50 0 75 ea 1 5 total n s 20 2km 0 3 75 160 10Base FL Multimode OM1 OM3 50 850 12 50 0 75 ea 1 5 total n s 20 1 5km 0 3 75 160 100Base FX Multimode OM1 OM3 62 5 or 50 1300 11 00 0 75 ea 1 5 total n s n s ...

Страница 9: ... handset or as a pair also using the Remote handset NOTE Many of the generic functions of LanTEK III such as Power Jobs Management and Talk Mode are available when FiberTEK III is in use Please refer to LanTEK III documentation for further details The adaptor modules are hot swappable ie they can be changed without switching the LanTEK III power off The two adaptor modules have an identical layout...

Страница 10: ... when the ports are not in use to protect against damage and dust 5 System connector Connection to LanTEK III 6 Red light source Visible source for cable identification 2 5mm universal ferrule 7 Tx Port Dual Wavelength Light Source Note that the Tx signal is switched on by the system software and cannot be switched off by the user Do not look directly into the fiber end it may be carrying a danger...

Страница 11: ...x Port MM Orange boot part number 025202 SM Yellow boot part number 025201 When using LC adapters the adapter ring must first be removed from the Rx Port To remove an adapter unscrew it anticlockwise Before fitting the new adapter clean the inside of the ferrules in the port connector and in the adapter with a cotton bud Fit the new adapter by screwing it clockwise 2 3 Encircled Flux By using the ...

Страница 12: ...the ambient temperature To prevent condensation on optics do not remove dust covers on measuring adapters before performing cable test Close optical input output again immediately with dust covers after removal of launch fibers The field calibration values are saved in the Display handset DH The loss of the launch fibers and couplers used during calibration are deducted from the loss results durin...

Страница 13: ...Permanent Link the 3 Jumper test method must be used instead For Field calibration in this method 3 jumpers are used in each direction a Launch Cord a Field Calibration Cord and a Tail Cord Fig 4 Three Jumper Field Calibration For testing cables where both ends are available in one location a Loopback method is provided This method uses only the Display Handset A 1 Jumper or a 3 Jumper Field calib...

Страница 14: ...d Calibration result NOTE The cables connected to the Tx Ports must not be removed following calibration If field calibration was not successful implement the following measures Check correct connection of launch cords Check launch fiber connections for contamination If necessary clean connections and check with a fiber test microscope IDEAL order number 45 332 Dirty launch fibers also contaminate...

Страница 15: ... method based on ISO IEC 14763 3 which can be used for any topology both installation and transmission line Irrespective of the plug face it is also used on the measuring equipment and within the transmission line Calibration takes place via reference line between the launch cords and tail cords used for measurement Fig 8 Test Setup According to Reference Method with Three Test Cords 4 2 Test Setu...

Страница 16: ...e certification of fiber cabling is usually performed according to TIA 568 or ISO 11801 standards in doing so the passed failed criterion is based on cable length number of splices and connections in the fiber line In addition to these criteria the FiberTEK III can also be configured for application specific fiber tests These fiber tests are particular beneficial when determining whether a fiber l...

Страница 17: ...ractive Index screen 3 Set the Refractive Index according to the cable manufacturer s data Note The Refractive Index setting is not affected by changing the Fiber Standard Fig 11 Set refractive index 4 3 3 Selection of Fiber size and Wavelength 1 After selecting Fiber type the cable properties screen is displayed 2 Use soft key to select the fiber size 3 Use soft keys to select test wavelength Fig...

Страница 18: ...maller or equal to the loss budget a is displayed If the loss exceeds the loss budget the following symbol appears Use soft key to open Loss Budget Menu and to change limits according to wavelength Fig 13 Loss Budget NOTE Refer to Specifications to find an overview of cabling standards and application requirements for the installation of fibers If you want to keep the offered Budget value confirm ...

Страница 19: ... Autotest Result The overall Autotest was completed without errors if all single tests received a passing grade The overall Autotest receives a failing grade if at least one single test failed Autotest Symbols for Single Tests Symbol Single Autotest Results Passed All results are within the limits with adequate margins Implied Pass when the budget is set to zero Failed At least one result has exce...

Страница 20: ...ile 4 4 4 Working with Jobs The Autotest is saved under an unique name The test results can be viewed printed or deleted on the File screen 1 On the ready screen select File option and open job list 2 Mark the desired job Use to open the folder containing the option list 3 Mark the desired function and confirm with Enter 4 4 5 Display of Result Details The Autotest is saved under an unmistakable n...

Страница 21: ...ally powered on 1 Set the cable parameters including the wavelength and perform a field Calibration if necessary 2 On the ready screen select Analyse Fig 15 Analyze 5 1 1 Continuous Run This mode is used for troubleshooting During continuous run the measurement is repeated until it is manually cancelled There is no save function 1 In the Analyze screen select Continuous Mode Fig 16 Continuous Run ...

Страница 22: ... III can be used as a power meter to measure the optical power received from a source 1 In the Analyze screen select Power Meter Fig 18 Power Meter 2 Use soft key to select the desired measurement units for optical power 3 Use soft key to set the calibration wavelength to match the received signal as closely as possible 4 Use the soft key to set the current received power level to be a reference f...

Страница 23: ...Meter 5 Use soft key to start the power meter The display shows the received optical power numerically and graphically 6 Use soft key to stop the test 7 Use soft key to save the results 8 Use soft key to clear the reference level and return to absolute power measurements in dBm ...

Страница 24: ......

Отзывы: