PISO-P16R16U and PEX-P8R8i/P16R16i Quick Start Guide
ICP DAS CO., LTD.
2
WebSite: http:// www.icpdas.com.tw E-Mail: [email protected] , [email protected]
The PISO-DIO Series classic driver supports Windows 98/NT/2K and 32-bit
XP/ 2003/ Vista/7/8. Recommended to install this driver for have been
used PISO-P16R16U series boards of regular user, please refer to :
http://ftp.icpdas.com/pub/cd/iocard/pci/napdos/pci/piso-dio/manual/quickstar
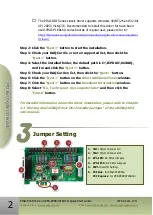
Step 2:
Click the
“Next>”
button to start the installation.
Step 3: Check your DAQ Card is or not on supported list, then click the
“Next>”
button.
Step 4: Select the installed folder, the default path is C:\ICPDAS\UniDAQ ,
confirm and click the
“Next>”
button.
Step 5: Check your DAQ Card on list, then click the
“Next>”
button.
Step 6: Click the
“Next>”
button on the
Select Additional Tasks
window.
Step 7: Click the
“Next>”
button on the
Download Information
window.
Step 8: Select
“No, I will restart my computer later”
and then click the
“Finish”
button.
For detailed information about the driver installation, please refer to Chapter
2.1 “Getting the UniDAQ Driver DLL Installer package” of the UniDAQ SDK
user manual.
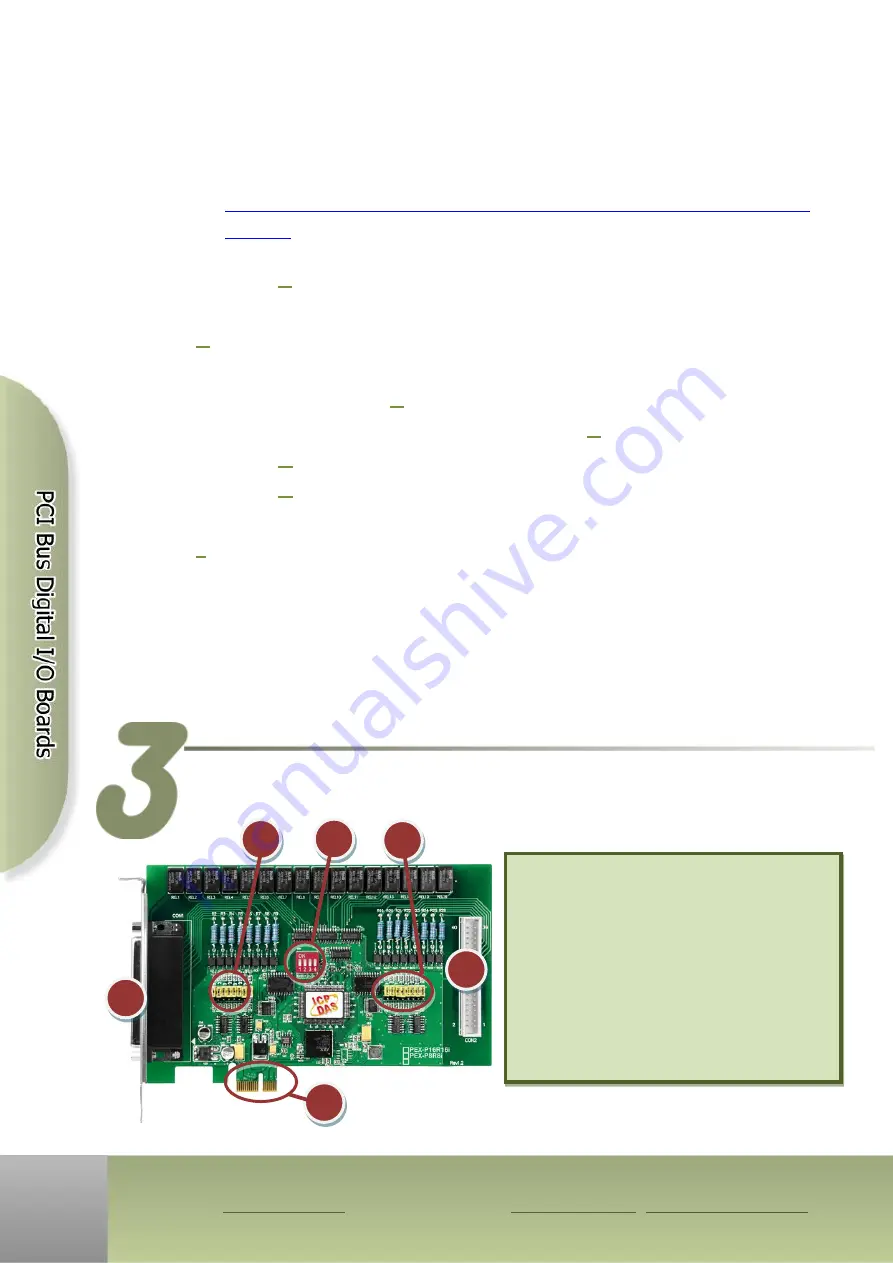
Jumper Setting
1.
CN1:
D/I/O channel 0-7.
2.
CN2:
D/I/O channel 8-15.
3.
JP1-JP8:
AC Filter Jumpers
4.
JP9-JP16:
AC Filter Jumpers
5.
SW1:
Card ID Setting.
6.
PCI Bus
: for PISO-P16R16U
PCI Express
: for PEX-P8R8i/P16R16i
1
2
3
4
5
6


