22
6
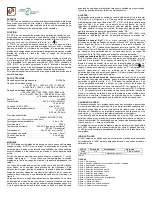
SPEAKER MICROPHONE
1
2
3
4
5
6
7
8
9
10
11
12
13
14
15
16
D
Description
Turn the transceiver
power OFF when at-
taching or detaching
the microphone.
Speaker
Belt clip
Microphone
PTT SWITCH
Push and hold to
transmit;
release to receive.
NEVER
immerse the connector in water. If the connector gets
wet, be sure to dry it BEFORE attaching it to the transceiver.
NOTE:
The microphone is located as shown in the dia-
gram above. To maximize the readability of your transmit-
ted signal (voice), hold the microphone approximately 5 to
10 cm (2 to 4 in.) from your mouth, and speak in a normal
voice level.
D
To attach
Attach the connector of the speaker-microphone into the
multi connector on the transceiver and tighten the screw with
a coin or flat head screwdriver.
CAUTION:
Attach the
multi connector properly,
but do not overtighten.
A loose connection will
allow water intrusion into
the connector; an over-
tightened connection will
damage the connector
pins in the transceiver.
Coin
Screw
IMPORTANT:
KEEP
the connector cover attached to the
transceiver when the speaker-microphone is not in use.
(p. 2) Water will not get into the transceiver even if the
cover is not attached; however, the terminals (pins) will
become rusty, or the transceiver will function abnormally if
the connector gets wet.
■
Optional speaker microphone (HM-184/HM-184H)


