i
i
C
C
a
a
n
n
V
V
i
i
e
e
w
w
3
3
7
7
2
2
U
U
s
s
e
e
r
r
’
’
s
s
G
G
u
u
i
i
d
d
e
e
(Rev.2.0 Oct. 2012)
19 of 32
4
4
.
.
2
2
.
.
Q
Q
u
u
i
i
c
c
k
k
I
I
n
n
s
s
t
t
a
a
l
l
l
l
a
a
t
t
i
i
o
o
n
n
G
G
u
u
i
i
d
d
e
e
This section provides brief description for quick installation of iCanView372 and monitoring Video/Audio
transmitted from iCanView372 at PC. Please refer to FAQ for any question in detailed procedure or non-
operation of product, if still in problem, please contact your supplier.
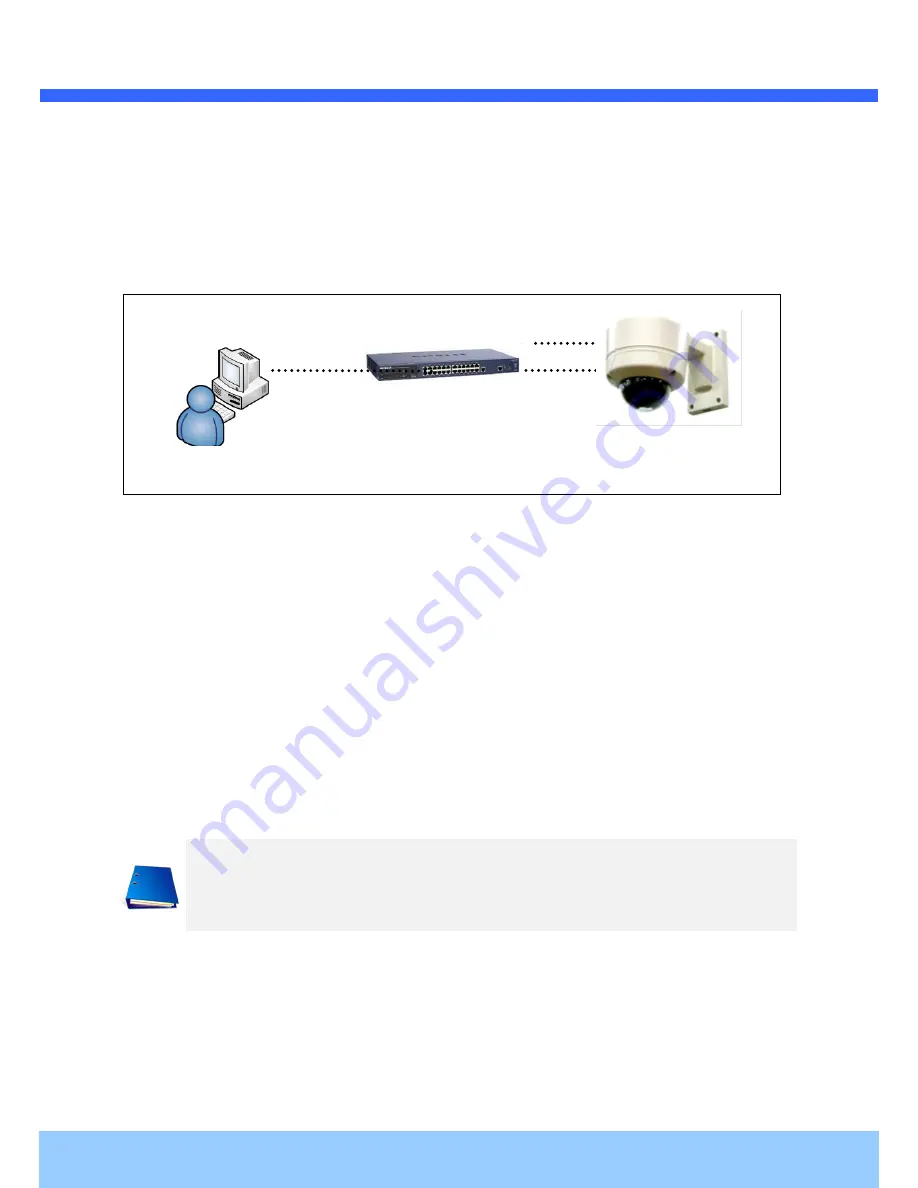
Fig. 4-1 LAN Cable Connection Diagram
1. Connection of PC, Network Device(HUB), IP Camera
I.
Prepare any PC needed to be connected to Network.
II. Connect PC(or Lap Top) with Product using LAN Cable.
Connect IP Camera as dotted line in Fig.4-1.
Power will be applied to product via separate DC Adaptor.
2. IP Camera Network Configuration using IP Installer
Run the CD and Install IP Installer included in CD. Once install IP Installer
, “WinPcap” will be installed. If
not install “WinPCap”, IP Installer won’t operate.
For the Network Configuration of iCanView372, IP Installer should be higher than
3.0.1
Version.
For the Window 7 User,
”WinPCap” should be higher than 4.0 Version.
1. Run IP Installer > Select Network Adaptor > Click OK.
2. If Configuration Window open, Click
①
> Double Click the relevant product at
②
> Fill in
④
>
Configure
⑤
> Fill in
⑥
.
Product
Normal HUB
Separate
DC Power
User


