


10.
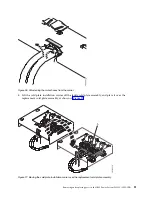
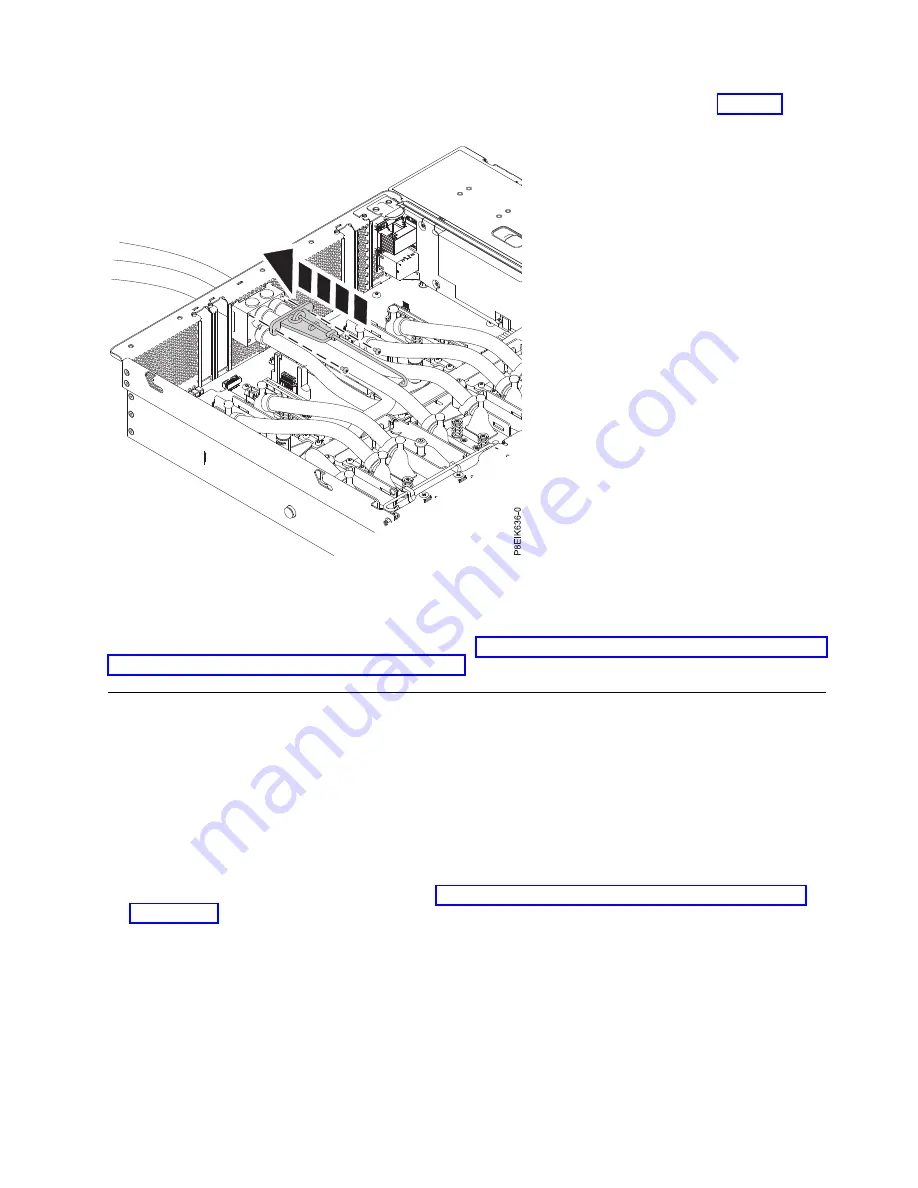
Replace the rear cold plate service clip and secure it with its two screws as shown in Figure 46.
What to do next
Prepare the system for operation. For instructions, see “Preparing the 8335-GTB system for operation after
you remove and replace internal parts” on page 198.
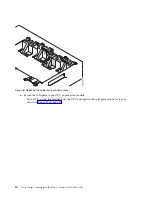
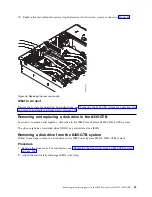
Removing and replacing a disk drive in the 8335-GTB
Learn how to remove and replace a disk drive in the IBM Power System S822LC (8335-GTB) system.
The drive might be a hard disk drive (HDD) or a solid-state drive (SSD).
Removing a disk drive from the 8335-GTB system
Follow these steps to remove a disk drive in the IBM Power System S822LC (8335-GTB) system.
Procedure
1.
Remove the front cover. For instructions, see “Removing the front cover from an 8335-GTB system”
on page 204.
2.
Attach the electrostatic discharge (ESD) wrist strap.
Figure 46. Replacing the rear service clip
Removing and replacing parts in the IBM Power System S822LC (8335-GTB)
35
Содержание S822LC
Страница 1: ...Power Systems Servicing the IBM Power System S822LC 8335 GTB IBM ...
Страница 2: ......
Страница 3: ...Power Systems Servicing the IBM Power System S822LC 8335 GTB IBM ...
Страница 16: ...xiv Power Systems Servicing the IBM Power System S822LC 8335 GTB ...
Страница 204: ...188 Power Systems Servicing the IBM Power System S822LC 8335 GTB ...
Страница 242: ...226 Power Systems Servicing the IBM Power System S822LC 8335 GTB ...
Страница 243: ......
Страница 244: ...IBM ...


