b.
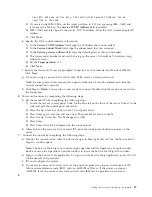
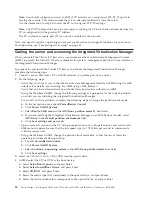
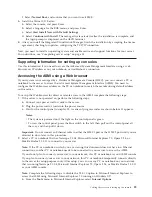
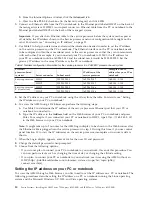
On the ASMI Welcome pane, specify your admin user ID and password, and click
Log In
.
c.
In the navigation area, expand
System Configuration
.
d.
Select
Time of Day
. The right pane displays a form that shows the current date (month, day, and
year) and time (hours, minutes, seconds).
e.
Change the date value, the time value, or both, and click
Save settings
.
5.
View and collect inventory, using the SDMC. For more information, see Viewing and collecting
inventory (http://publib.boulder.ibm.com/infocenter/director/v6r2x/index.jsp?topic=/dpsm/
dpsm_managing_hosts/dpsm_managing_hosts_update_view_collect_inventory.html).
6.
Import host updates from Fix Central to a PC, then import it onto your SDMC. For more
information about importing host updates onto your PC, see Fix Central (http://www-933.ibm.com/
support/fixcentral/).
7.
View and install host updates. For more information about using your SDMC to view and install
host updates, see Viewing and installing host updates (http://publib.boulder.ibm.com/infocenter/
director/v6r2x/index.jsp?topic=/dpsm/dpsm_managing_hosts/
dpsm_managing_hosts_display_needed_updates.html).
8.
Power on your managed system by using the correct Power-On Parameter. To power on your
managed system by using the SDMC, do the following steps:
a.
Right-click the managed system and select
System Configuration > Edit Host
.
b.
Click the
Power-On Parameters
tab.
c.
Ensure that the Partition start policy field is set to
User-Initiated
.
d.
Right-click the managed system and then select
Operations > Power On
.
e.
Click
OK
.
9.
Optional: Prepare the host for creating virtual servers. If this is a new host, or if this host does not
yet have virtual servers created, do the following to prepare this host for creating virtual servers:
a.
Configure the system with a single full system virtual server.
b.
Ensure that your hardware placement in the racks matches your system plan.
c.
Activate the virtual server and verify that the physical adapters are connected and reporting to
the server.
d.
Ensure that your components are running properly, then delete the full system virtual server.
10.
Create multiple virtual servers. For more information about creating virtual servers, see
Creating virtual servers.
11.
Install operating systems on the virtual servers you created, then update the operating
systems as needed.
For instructions to install the AIX operating system, see Installing AIX (http://
publib.boulder.ibm.com/infocenter/systems/scope/hw/topic/ipha8/iphayinstallaix.htm).
For instructions to install IBM i, go to Installing IBM i (http://publib.boulder.ibm.com/infocenter/
systems/scope/hw/topic/ipha8/iphaxinstallos400.htm).
For instructions to install the Linux operating system, see Installing Linux on Power Systems servers
(http://publib.boulder.ibm.com/infocenter/lnxinfo/v3r0m0/topic/liaae/
lcon_Installing_Linux_on_System_p5.htm).
For instructions to install the VIOS operating system, see Installing VIOS (http://
publib.boulder.ibm.com/infocenter/systems/scope/hw/topic/p7hch/iphchinstallvios.htm).
Completing server setup if you have an HMC
You must perform these tasks to complete server setup with a Hardware Management Console (HMC).
To manage POWER7 systems, the HMC must be at Version 7.7.2 or later.
To complete server setup with an HMC, do the following steps:
34
Power Systems: Installing the IBM Power 720 Express (8202-E4B) and IBM Power 740 Express (8205-E6B)
Содержание Power 720 Express 8202-E4B
Страница 2: ......
Страница 6: ...iv Power Systems Installing the IBM Power 720 Express 8202 E4B and IBM Power 740 Express 8205 E6B...
Страница 22: ...10 Power Systems Installing the IBM Power 720 Express 8202 E4B and IBM Power 740 Express 8205 E6B...
Страница 50: ...38 Power Systems Installing the IBM Power 720 Express 8202 E4B and IBM Power 740 Express 8205 E6B...
Страница 63: ......
Страница 64: ...Part Number 16R3036 Printed in USA GI11 9821 02 1P P N 16R3036...


