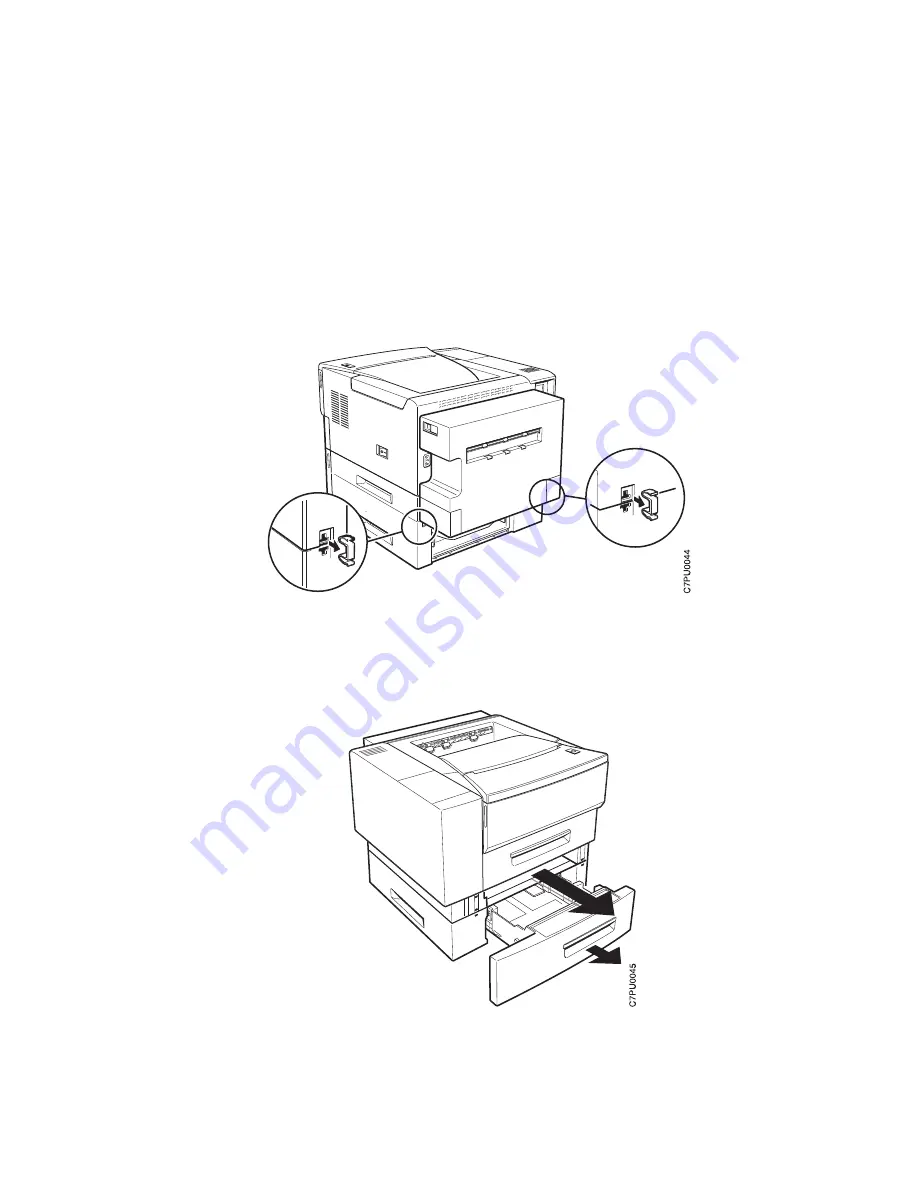
3. Snap the locking clips into the notches located at the back of the duplex unit and
the support unit.
4. Snap the locking clips into the notches located at the front of the duplex unit and
the support unit, as follows:
a. Remove the duplex paper tray completely and then slide the 500-sheet paper
tray out until the two locking clips at the front of the duplex unit are clearly
visible.
Chapter 7. Installing Printer Options
131
Содержание Network Printer 12
Страница 1: ...IBM Network Printer 12 IBM User s Guide S544 5370 03 ...
Страница 2: ......
Страница 3: ...IBM Network Printer 12 IBM User s Guide S544 5370 03 ...
Страница 12: ...x User s Guide ...
Страница 18: ...xvi User s Guide ...
Страница 20: ...xviii User s Guide ...
Страница 51: ...b Fold up the tray extension c Close the tray door Chapter 3 Paper Handling 31 ...
Страница 72: ...52 User s Guide ...
Страница 120: ...c At the back of the printer loosen the screws that fasten the side cover 100 User s Guide ...
Страница 126: ...c At the back of the printer loosen the screws that fasten the side cover d Grip the cover as shown 106 User s Guide ...
Страница 198: ...178 User s Guide ...
Страница 210: ...190 User s Guide ...
Страница 223: ......
Страница 224: ...IBM Part Number 63H3232 File Number S370 4300 9370 16 Printed in U S A S544 537ð ð3 63H3232 ...


