Chapter 2. Solving Problems
43
1.
Turn off the server and peripheral devices and disconnect all external cables and
power cords; then, remove the cover.
2.
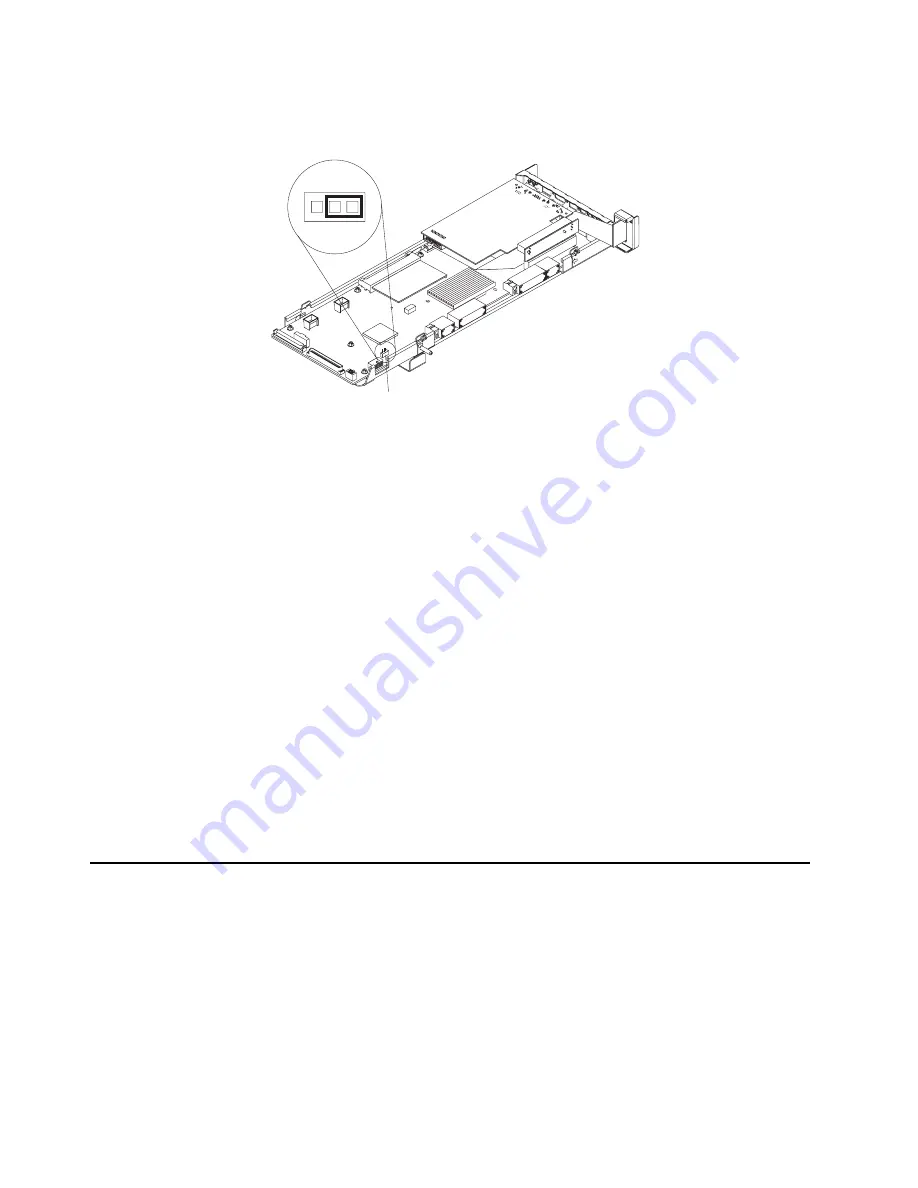
Locate the BIOS code page jumper (J28) on the I/O board.
3.
Move the jumper from pins 1 and 2 to pins 2 and 3 to enable the BIOS back-up
image.
4.
Reconnect all external cables and power cords and turn on the peripheral devices.
5.
Insert the BIOS flash diskette into the diskette drive.
6.
Restart the server. The system begins the power-on self-test (POST) and BIOS
flash.
7.
Select 1 - Update POST/BIOS from the menu that contains various flash (update)
options.
8.
When prompted as to whether you want to save the current code to a diskette,
press N.
9.
When prompted to choose a language, select a language (from 0 to 7) and press
Enter to accept your choice.
10. Do not restart your system at this time.
11. Remove the BIOS flash diskette from the diskette drive.
12. Turn off the server.
13. Move the jumper on J28 to pins 1 and 2 to return to normal startup mode.
14. Restart the server.
15. Replace the cover.
Troubleshooting charts
You can use the troubleshooting charts in this section to find solutions to problems
that have definite symptoms.
Look for the symptom in the left column of the chart. Instructions and probable
solutions to the problem are in the right column.
Note: If you have just added new software or a new option and your server is not
working, do the following before using the troubleshooting charts:
1.
Remove the software or device that you just added.
2.
Run the diagnostic tests to determine if your server is running correctly.
Jumper (J28)
1
2
3
Содержание eserver xSeries 440
Страница 1: ...Troubleshooting Guide xSeries 440 Type 8687...
Страница 2: ......
Страница 3: ...IBM xSeries 440 Troubleshooting Guide SC59 P651 50...
Страница 12: ...x xSeries 440 Troubleshooting Guide...
Страница 73: ......
Страница 74: ...IBM Part Number 59P6515 Printed in U S A 59P6515...


