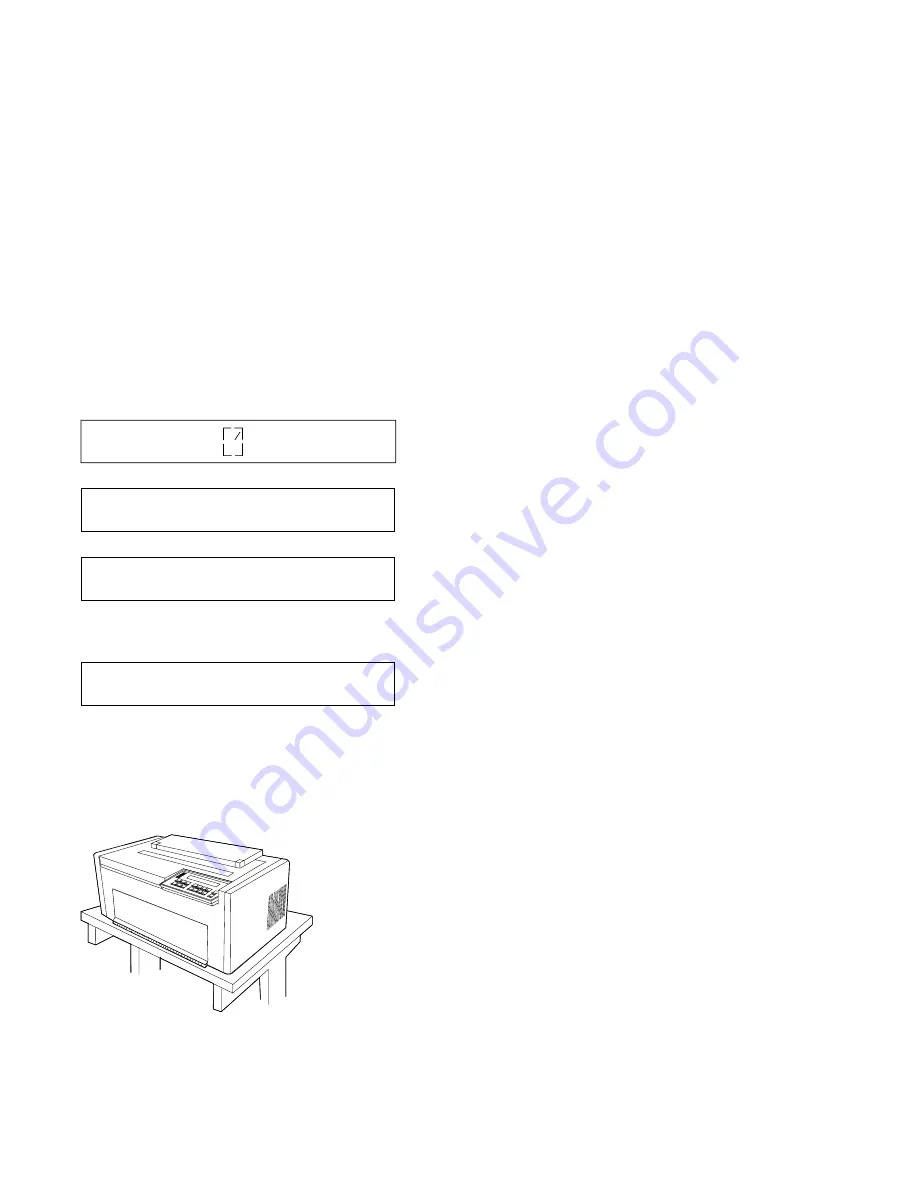
3. Connect the power cord to the printer and to the electrical outlet.
4. Turn the power On (|). All indicators and blocks on the display
light, and the alarm beeps. The printer then displays
and
Note: If the printer does not show the correct display sequence,
go to the status code section of Appendix B, “Problem Solving.”
5. You no longer need to have access to the rear of the printer.
Position the printer so that the front edge aligns with the front
edge of your printer stand or table.
6. Refer to your computer system documentation for information on
attaching the cable to your computer.
DIAGNOSTICS IN PROGRESS
<A>
DIAGNOSTICS COMPLETE
<A>
READY
<A>
1-120
User’s Guide Model 302
Содержание 4232 PRINTER MODEL 302
Страница 1: ...4232 Printer Model 302 User s Guide SA24 4386 01...
Страница 2: ......
Страница 3: ...4232 Printer Model 302 User s Guide SA24 4386 01 IBM...
Страница 9: ...Index X 7 Contents vii...
Страница 10: ...viii User s Guide Model 302...
Страница 54: ...1 32 User s Guide Model 302...
Страница 69: ...The printer displays Bidirectional Adjustment Chapter 1 Setting Up the 4232 Printer Model 302 1 47...
Страница 86: ...1 64 User s Guide Model 302...
Страница 130: ...The printer displays Bidirectional Adjustment 1 108 User s Guide Model 302...
Страница 166: ...2 24 User s Guide Model 302...
Страница 184: ...Figure 4 1 Sample Printer Configuration Printout Parallel Attached 4 10 User s Guide Model 302...
Страница 185: ...Figure 4 2 Sample Printer Configuration Printout Serial Attached Chapter 4 Tests 4 11...
Страница 187: ...The printout should look similar to Chapter 4 Tests 4 13...
Страница 190: ...The sample printout appears as follows 4 16 User s Guide Model 302...
Страница 192: ...4 18 User s Guide Model 302...
Страница 200: ...A 8 User s Guide Model 302...
Страница 248: ...C 12 User s Guide Model 302...
Страница 250: ...D 2 User s Guide Model 302...
Страница 270: ......
Страница 273: ......
Страница 274: ...IBM Part Number 56G9390 Printed in U S A 56G939 SA24 4386 1...


