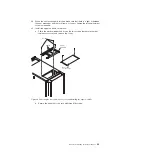
23. When the heat exchanger is latched, make sure that there is a tight fit between
the heat exchanger and the rack frame. Loosen or tighten the latch adjustment
screw as required.
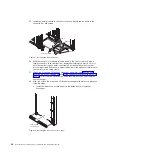
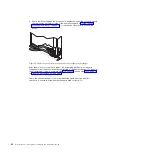
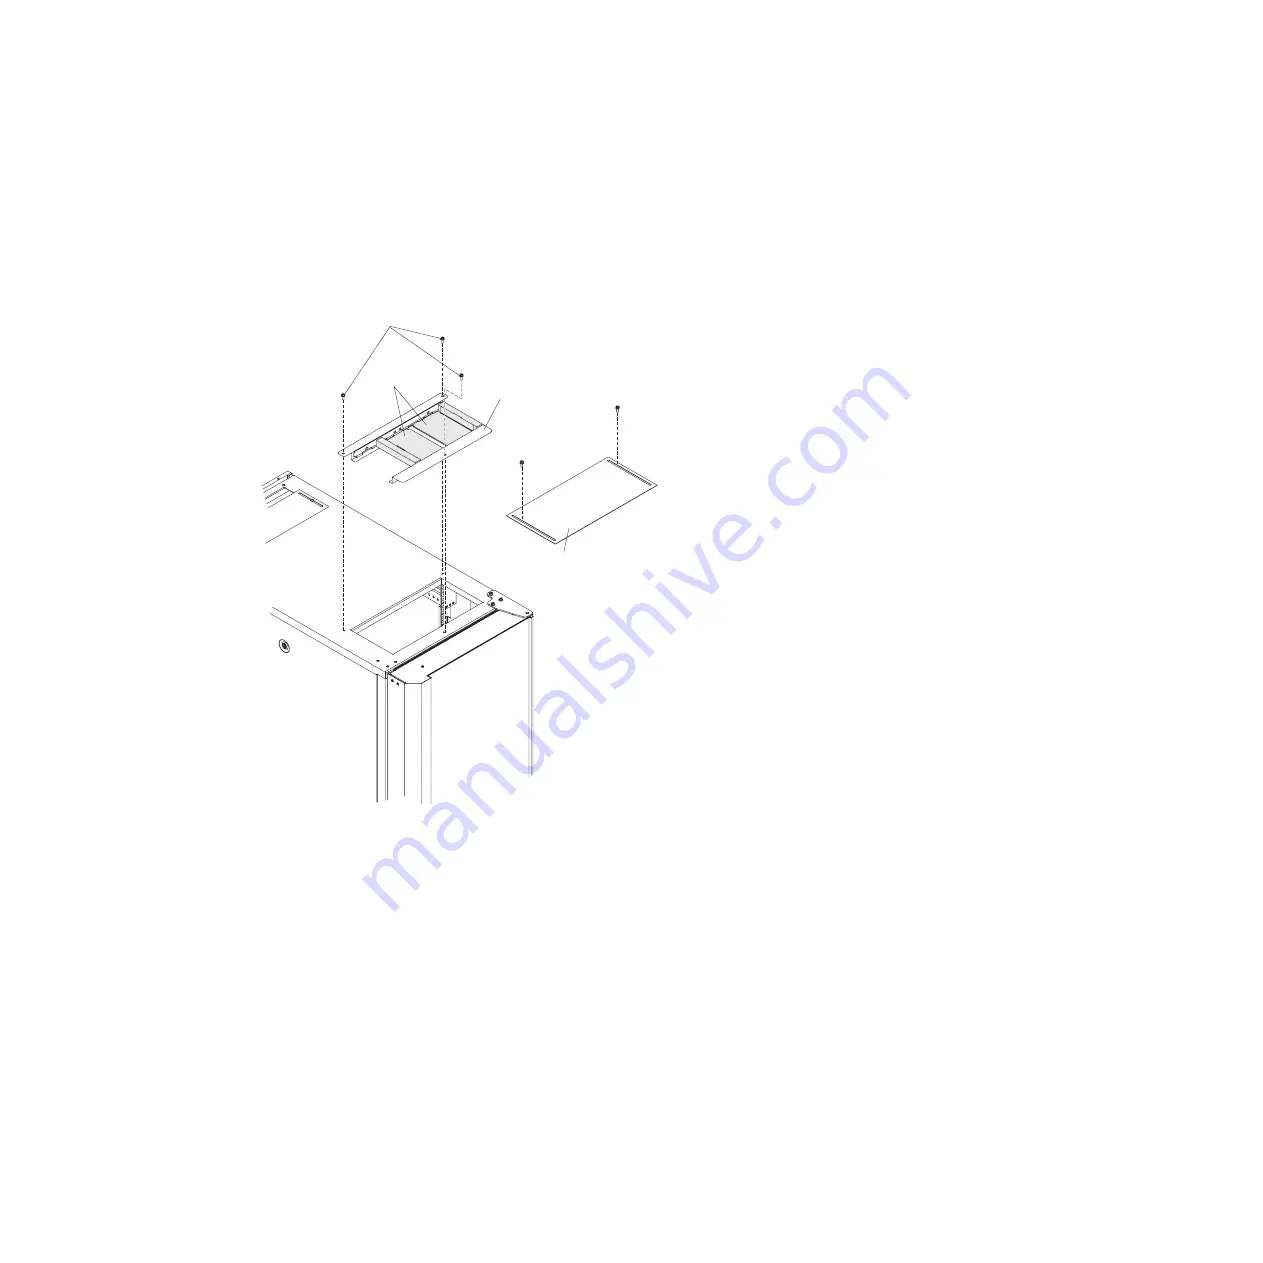
24. Install the upper air baffle on the rack:
a. Climb the platform ladder and loosen the two screws that secure the rear
cable-access cover and remove the cover.
b. Secure the air baffle to the rack with three M6 screws.
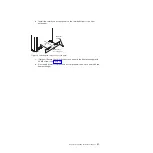
Upper
air baffle
Sliders
Screws
Rear cable
access cover
Figure 26. Removing the rear cable-access cover and installing the upper air baffle
Chapter 4. Installing the heat exchanger
39
Содержание 1756
Страница 1: ...Rear Door Heat eXchanger V2 Type 1756 Installation and Maintenance Guide ...
Страница 2: ......
Страница 3: ...Rear Door Heat eXchanger V2 Type 1756 Installation and Maintenance Guide ...
Страница 38: ...28 Rear Door Heat eXchanger V2 Installation and Maintenance Guide ...
Страница 64: ...54 Rear Door Heat eXchanger V2 Installation and Maintenance Guide ...
Страница 90: ...80 Rear Door Heat eXchanger V2 Installation and Maintenance Guide ...
Страница 98: ...88 Rear Door Heat eXchanger V2 Installation and Maintenance Guide ...
Страница 101: ...website continued support line telephone numbers 79 Index 91 ...
Страница 102: ...92 Rear Door Heat eXchanger V2 Installation and Maintenance Guide ...
Страница 103: ......
Страница 104: ... Part Number 00D2434 Printed in USA 1P P N 00D2434 ...


