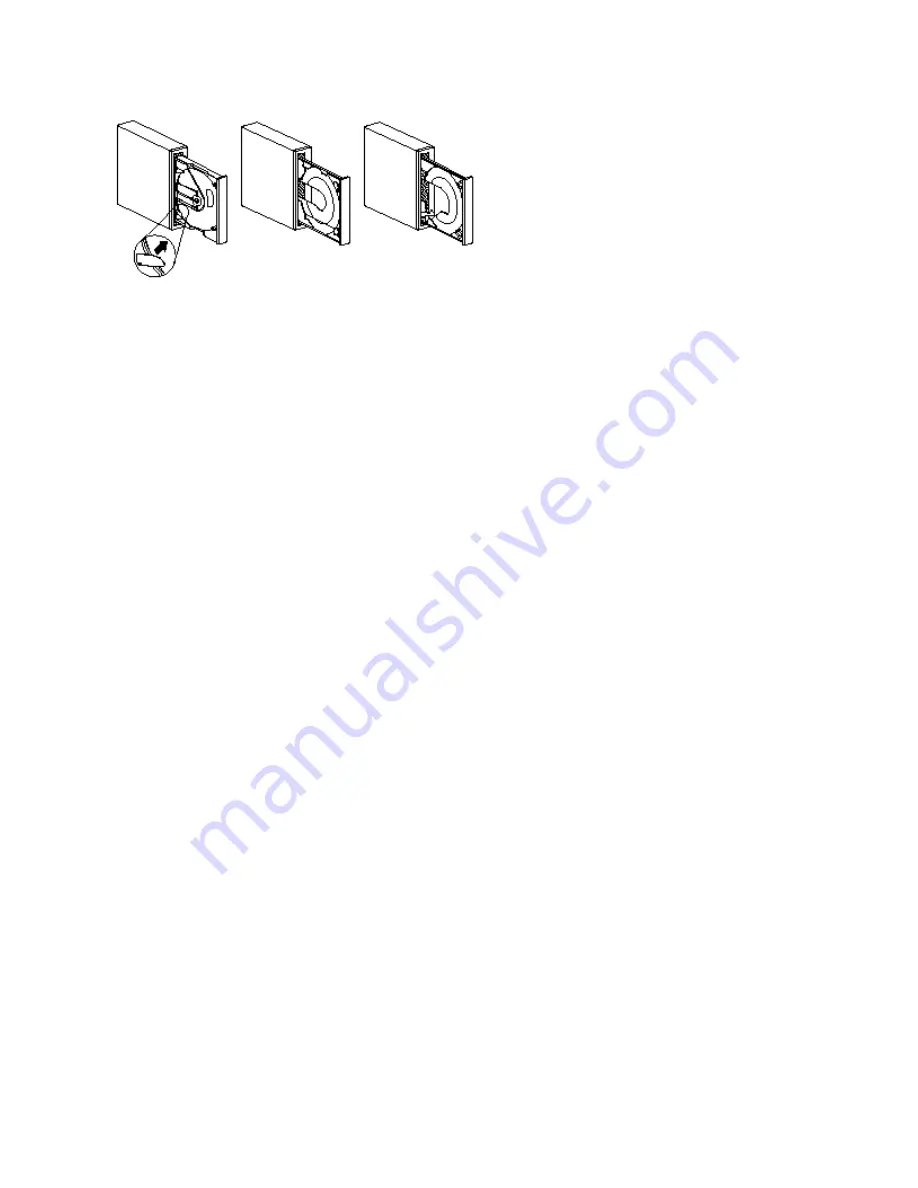
Securing a CD in a Tray with Rotating Clips:
The drive tray pictured on the left has four plastic clips which rotate over the edges of the CD-ROM or audio
CD and hold it in place when the drive is mounted vertically.
1. Push the Eject/Load button to open the loading tray.
2. Place your CD into the loading tray.
3. Using your fingernail or something similar, gently rotate the clips toward the center of the tray until they
cover the edges of the CD.
4. Close the tray, either by pushing the Eject/Load button again, or by gently pushing on the tray.
Securing a CD in a Tray with Pullout Clips:
The drive on the right of the illustration has clips that pull out to hold the CD in place.
1. Push the Eject/Load button to open the loading tray.
2. Place your CD into the loading tray.
3. Using your fingernail or something similar, gently pull the clips out, toward the center of the tray, until they
cover the edges of the CD.
4. Close the tray, either by pushing the Eject/Load button again, or by gently pushing on the tray.
Securing a CD in a Tray with a Metal Rod:
This kind of drive tray does not have clips to hold the CD. Instead, a small metal rod holds the CD or CD-
ROM in place when the drive is vertically mounted. When you first unpack your CD-ROM drive, the metal rod
will be in the storage position, located on the side of the tray. If the drive is mounted horizontally, this storage
position keeps the rod out of the way. In order to use the rod to hold in your CDs, you must follow these
instructions.
Attention: If your CD-ROM drive has a small metal rod attached to the side of the loading tray, and you do
not follow these instructions, your CD or CD-ROM will not be inserted properly and will not be read correctly
by the drive.
1. Locate the small metal rod on the side of the CD-ROM drive.
2. Remove the wire rod by unclipping each end from its housing.
3. Decide which side of the CD-ROM drive tray will be pointing down after the drive is vertically mounted.


