CONNECTION AND CABLE REPLACEMENT
Ⅲ
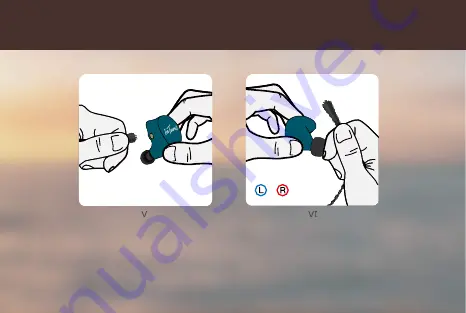
To complete the removal: Pull the cable
straight away from the MMCX socket,
making sure that you are grasping the
connector (MMCX) at the end and never
the cable.
Replacement of the cable: First check
to make sure you have the cable for the
left or right monitor. Notice how the
connection inserts and pushing straight
in, push but do not force, the connector
until you feel a slight click in the MMCX
socket.
10
Содержание IT07
Страница 1: ...Seven Driver Hybrid In Ear Monitor IT07...
Страница 4: ...11...
Страница 6: ...IT07 2 5mmMMCX 2 5 3 5 12...
Страница 8: ...13...
Страница 10: ...1 2 3 14...
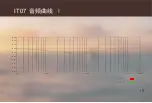
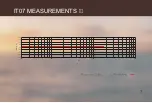
Страница 13: ...IT07 MEASUREMENTS 6 THD L THD R...
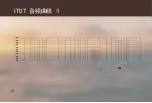
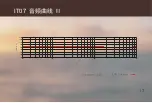
Страница 14: ...IT07 16 THD L THD R...
Страница 15: ...7 IT07 MEASUREMENTS 20 20 0 15 0 10 0 5 0 0 0 5 0 10 0 15 0 20 0 100 1k Hz 10k dB re 1...
Страница 16: ...17 IT07 20 20 0 15 0 10 0 5 0 0 0 5 0 10 0 15 0 20 0 100 1k Hz 10k dB re 1...
Страница 18: ...L R 18...
Страница 20: ...MMCX MMCX 19...
Страница 22: ...MMCX MMCX 20...
Страница 24: ......


