selection by pressing
, then the selected parameter will be highlighted in red. By pressing
, the users can re-
turn to the main menu to continue adjustment or they can exit to the operation mode by pressing
.
Note. In the "Security" mode, this setting is ignored.
2.3.3.7 Auto-shutdown time setting
While in the main menu Fig.13, select the"Auto-shutdown" item by pressing the
and
buttons and
confirm the selection by pressing
or
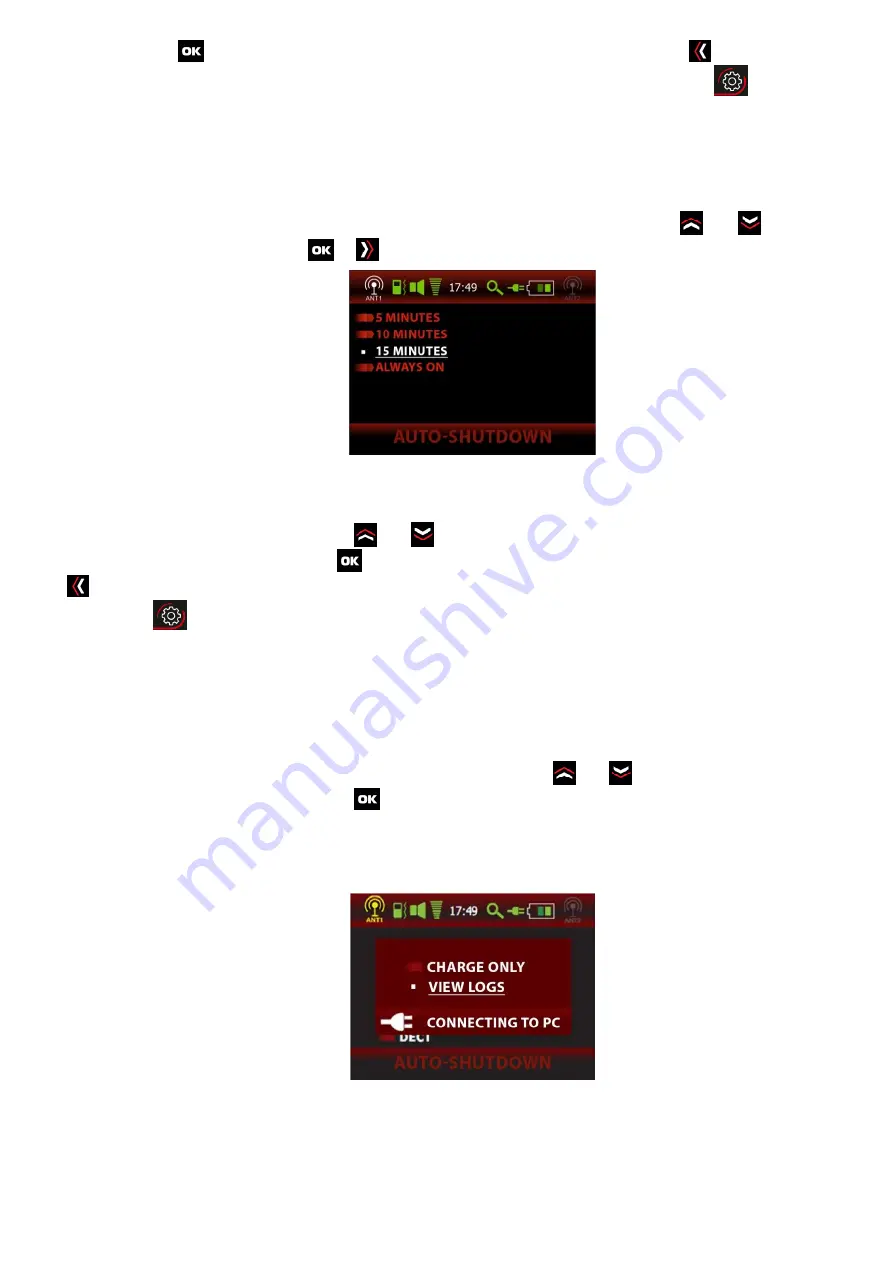
. A sub-menu will appear in Fig.23:
Fig.23 – Auto-shutdown time setting
Select the necessary timeout period, after which the Product screen will be turned off
to save battery
power
if there is no activity by pressing
and
buttons, or "Always on". Confirm (if changes are neces-
sary) parameter selection by pressing
, then the selected parameter will be highlighted in red. By pressing
users can return to the main menu in order to continue adjustment, or they can exit to the operation mode
by pressing
.
Note. In the "Security" mode, this setting is ignored.
2.3.4 Connection to PC.
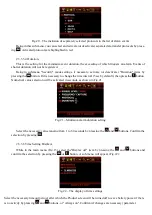
When connected to a PC over the current image, a dialog box is displayed on the screen with the choice:
"Charge only" / "View logs", as shown in Fig. 24. Using the buttons
and
, you can make a selection and
confirm the selection made by pressing
.
The Product continues its operation when "Charge only" is selected, while recharging the built-in battery
from the USB port of the PC.
To generate a report, select "View logs".
Fig.24 – Selection menu when connected to a PC
The operating system will identify the product as a standard flash drive (an image of a flash drive will
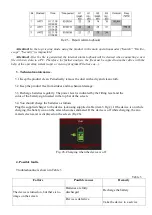
appear on the screen). A file in the form "BH-04-2018-11-30-23-33-45.pdf" will be generated on the drive,
available for viewing by any application intended for viewing PDF files (Acrobat Reader, etc). Inside the file,
a list of alarm events from the product log will be displayed as a table, as shown in Fig.25:


