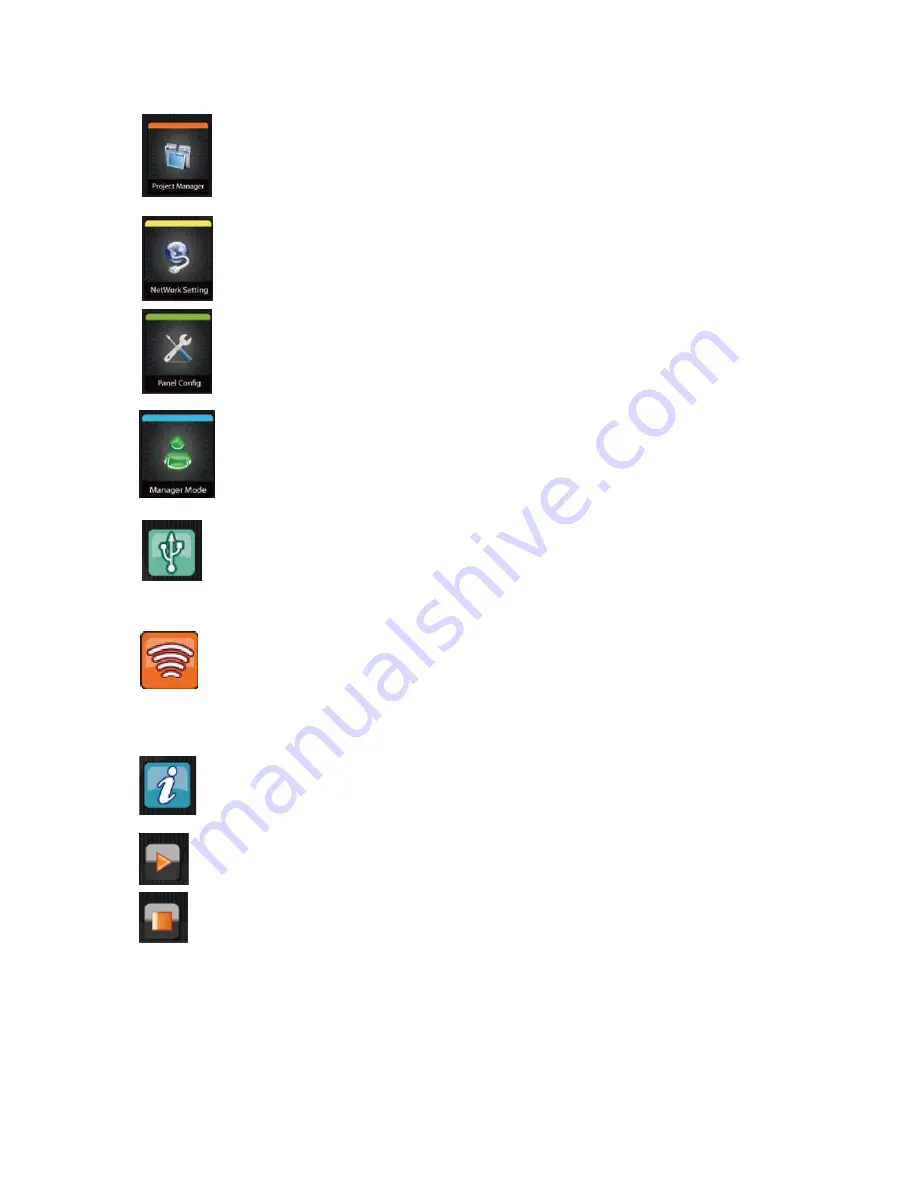
Project Manager
: The function of
Project Manager
is using for adding, editing, deleting,
importing, exporting projects or download projects to SLED.
Network Setting
: The function is used for searching SLED or download contents to
SLED by Ethernet.
【
Remark
】
The function is only available for connecting Sbravo’s remote control system.
Panel Config
: Display signage information. Such as Firmware version, brightness
and re-set default setting…etc.
Manager Mode
: The function is only for LED panel manager for setting LED screen.
To display the connection status between SLED and PC. If this Icon is green color
which means the SLED connects with PC properly. If it’s grey color which means
SLED didn’t connect with PC, or connection is improperly.
Display the connection status between SLED and remote control system. If icon is orange color
which means the connection between SLED and remote control system is properly.
If connection is improperly the icon will be grey color.
[Remark] The function is invalid if without connecting Sbravo’s remote control system.
Information about iTechLCD and software version.
Display all .bin files which saved to SLED.
Stop playing .bin file.
36.
Содержание SLED12848F-6
Страница 9: ...4 SLED Dimension 4 1 Model SLED6448F 6 Figure 1 8...
Страница 10: ...4 2 Model SLED12848F 6 9...
Страница 11: ...4 3 Model SLED19248F 6 Figure 3 10...
Страница 12: ...4 4 Model SLED25648F 6 Figure 4 11...
Страница 13: ...4 5 Model SLED12896F 6 Figure 5 12...
Страница 20: ...I The click NEXT to next step J When enter to License Agreement dialog please select I Agree 19...
Страница 21: ...K The please click Install button to start installation L The click Finish to finish the installation 20...
Страница 23: ...P S You may also find ezSignageAPP as below figure list 22...
Страница 24: ...For Windows 7 A Please execute ezSignageAPPA3 x x exe B Click NEXT to install EZSignageAPP 23...
Страница 27: ...F Please select Install this driver software anyway to next step 26...
Страница 29: ...I Then click NEXT to next step J When enter License Agreement dialog please click I Agree to next step 28...
Страница 30: ...K Please click Install to start installation L Please click Finish to finish the installation 29...
Страница 32: ...O Then click Next to next step P Please select the initial setting and click Next to next step 31...
Страница 33: ...Q Please select initial setting and click Next R Please click Next 32...
Страница 34: ...S Please select Install to start installation T Please select Finish to finish installation 33...
Страница 35: ...U Please select Yes to restart V You will find ezSignageApp shortcut on desktop when you restart the PC 34...
Страница 36: ...5 4 Please execute ezSignageAPP short cut The introduction and function of ezSignageAPP are 35...
Страница 40: ...6 1 1 Add one Project A Please click to add project 39...
Страница 60: ...C Please refer to below figure for contents loading status D Please click Yes to start playing contents 59...
Страница 68: ...C Then click to start loading D Please click Yes to start playing after loaded the contents 67...
Страница 69: ...6 2 Panel Config A Please click Panel Config icon if you plan to adjust parameters of sigange 68...


