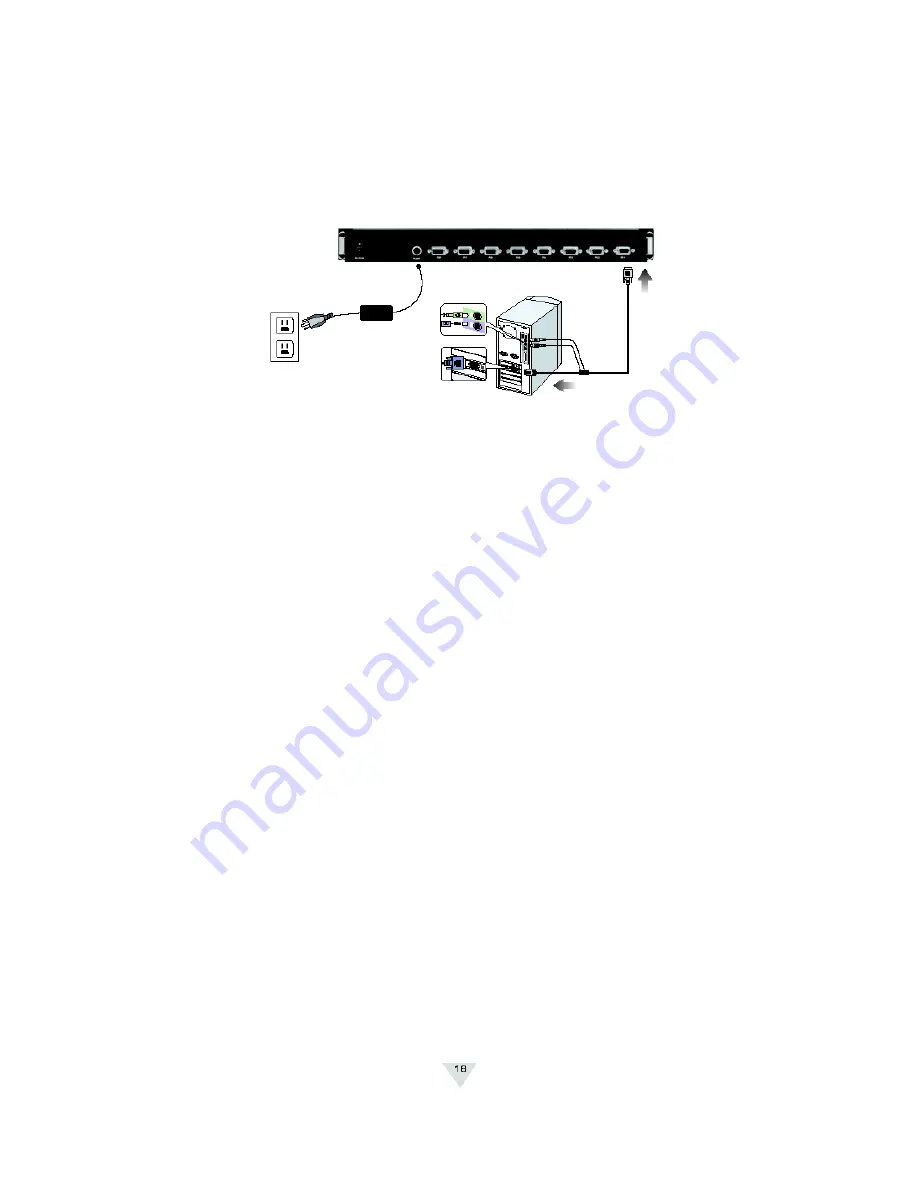
Connecting the Power Supply
1. Connect the power cord to the power jack on the rear of the JKP1 KVM switch. Then plug the
power cord into an available power outlet.
2. For all KVM switches attached, connect in turn, the “DC 9V, 600mA” power adapter to the
power jack on the rear of each switch.
3. Power on all computers.
4. Perform a Manual Reset of the “Master” KVM switch by pressing the Port 1 and Port 2 manual
push button selectors simultaneously for 2 seconds. All port LEDs of the “Master” switch will
flash green for reset confirmation.
Confirmation Procedure
Once all computers are powered on, the switch emulates both mouse and keyboard signals on each port
allowing your computer to boot normally without errors.
To make sure your Cascade installation was successful, do the following:
1. Press
[SCROLL LOCK]
twice and enter your 4 digit port ID code.
For example: if Cascading is successful, press [SCROLL LOCK], [SCROLL LOCK], “0101”, then
the monitor will show PC1
’
s screen.
2. Check to see that the keyboard, monitor, and mouse are working normally. Proceed to do this
with all occupied ports to verify that all computers are connected and responding correctly.
If
you encounter an error, check your cable connections for that computer and reboot.
Содержание JKP115-1601e
Страница 2: ......
Страница 8: ...Note Specifications are subject to change without notice...
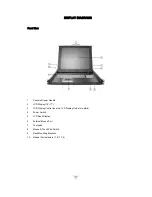
Страница 10: ...617JKP1 Rear View 1 DC Input 2 Firmware Upgrade Port 3 PC Ports...

