8
9
3. Installation and Operation
3.1 Powering up the Flood Sensor
• Remove the battery cover; insert new batteries, noting the
polarity as shown in Fig. 1, and replace the cover. (Requires
2x AAA batteries).
• Low battery indication: If the batteries need to be replaced,
the RED LED on the transmitter will flash slowly.
3.2 Installing the Flood Sensor
• Mount the transmitter on a fixed surface such as a wall using
either double-sided adhesive strips or the screws and wall
plugs provided.
• When mounting the water sensor part of the Flood Sensor use
the double-sided adhesive pad. If mounting onto on a porous
surface such as wood or concrete, make sure the surface is
painted to provide proper adhesive bonding.
• After installing, test the Flood Sensor using a bowl of water to
be certain it is working properly.
3.3 Installing using Double-Sided Adhesive Pads
• Ensure the mounting surface is clean.
• Peel back one layer of the protective film and attach it to the
transmitter.
• Peel back the remaining layer of protective film and press the
transmitter firmly in place against the mounting surface until
attached.
• Repeat the process to attach the water sensor.
4. House Security Code Settings
Unless the factory settings of the i.onik
®
Alarmsystem Smart
Panel have been altered, the house security code will NOT need
to be changed.
However, if the settings on the Smart Panel have been altered,
or need to be altered to solve the problem of the Smart Panel
and sensors activating intermittently (or not working at all) or
interference with other systems, then the house security code
on all system modules (sensors and sirens)will also need to be
changed.
House Security Code settings can be altered as follows:
• There are 4 jumpers or dip-switches on each device.
• Remove the jumper compartment cover, then pull out or plug
the jumper into the contacts to change the House Security
Code.
• If a jumper is plugged it is ON if it is removed it is OFF. Default
code is with all the jumpers plugged.
• To ensure the system works correctly, make sure the jumpers
on the Smart Panel and all other system modules (sensors and
sirens) match exactly.
Jumpers for
house
security code
- Smart Panel
- Each sensor
Default house code:
1: ON, 2: ON, 3: ON, 4: ON
*Jumper:
ON = Plugged,
OFF = Pull Out
Dip-Switches
for house
security code
- Key Fob Remote
Default house code:
1: ON, 2: ON, 3: ON, 4: ON
5. Zone Code Settings
The sensor is supplied with a pre-assigned zone setting.
The sensor can be assigned to a different zone as follows:
• Unscrew and remove the jumper compartment cover on the
rear of the sensor.
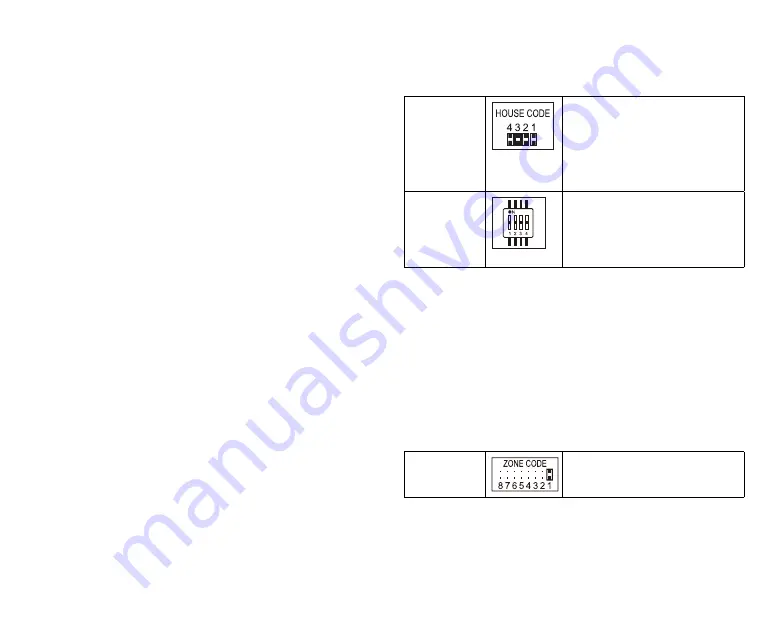
• In the area marked “Zone Code” there are eight pairs of
metal contacts with a number next to each.
• The number corresponding to the pair of contacts which is
plugged with a jumper is the current zone.
• To re-assign to a different zone simply unplug the jumper
from its current zone and plug it across the contacts corres-
ponding to the new zone number selected.
Jumpers for
zone code
Default zone code: Zone 1


