Home 2.0 EV Charger
Operating and Installation Manual
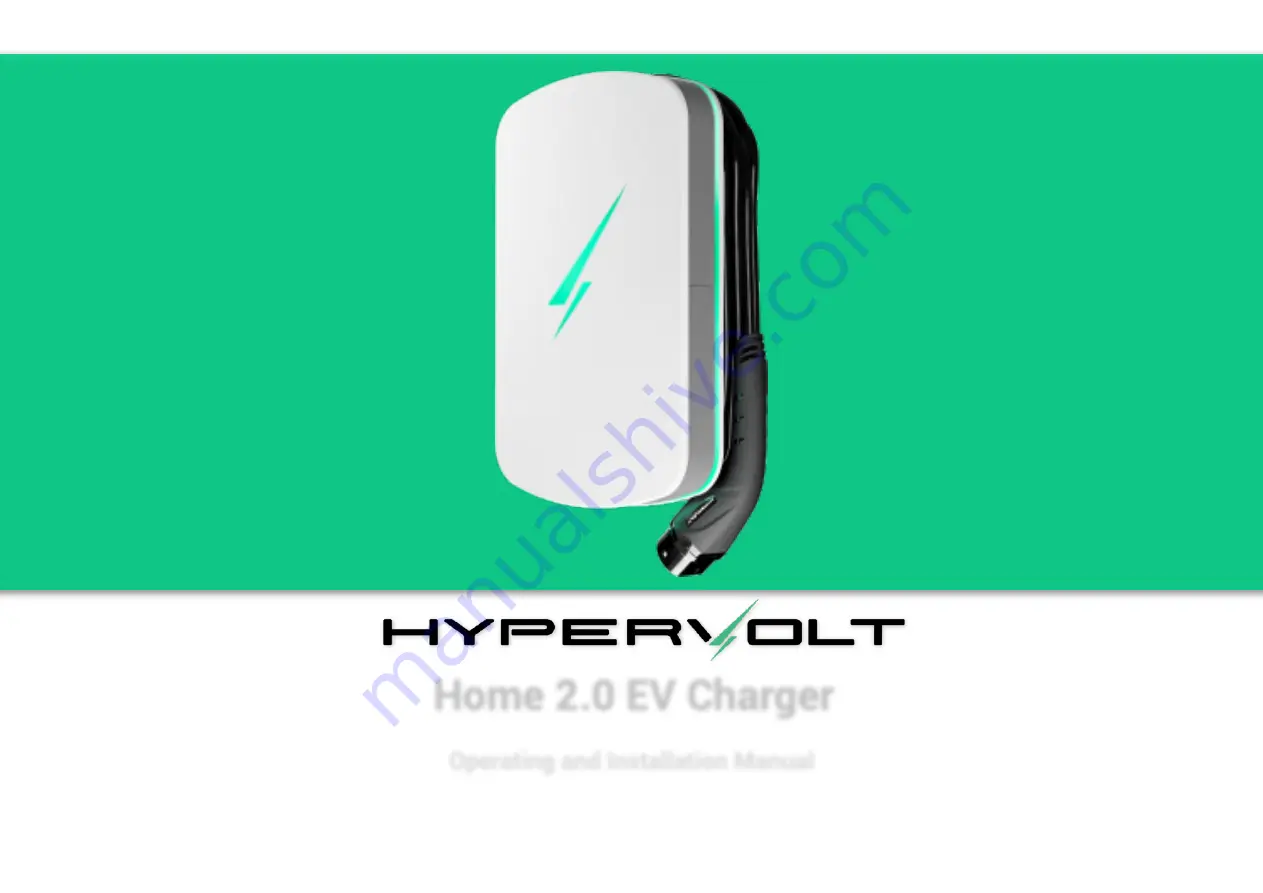
Страница 1: ...Home 2 0 EV Charger Operating and Installation Manual ...
Страница 2: ... the front enclosure Monitoring and Protection devices Automated Load Management Maximum Operating Current Using your charger LED Statuses App Setup App Basics App Settings Charging Modes Scheduling App Dashboard Getting it online via Hotspot Regulation Changes Notice Technical Specification Troubleshooting Getting in touch 4 5 6 8 9 10 11 12 13 14 15 16 17 19 20 21 22 23 24 1 2 3 25 26 27 29 Cont...
Страница 3: ...rt equipment embracing industry leading smart features backed up by excellent customer service The Hypervolt Home includes advanced built in automatic monitoring systems for intuitive use and to ensure your safety This guide will provide instructions on how to correctly install and operate your new charger by reading this guide it will ensure you or if you are an installer your customer receives t...
Страница 4: ...the warranty Legal Notice This document is intended to be used as a reference guide for the installation and operation of the Hypervolt Home 2 0 EV Charger The product images shown are for illustration purposes only and may not be an exact representation of the product Hypervolt Limited reserves the right to make changes to the specifications and processes of the product and documentation at any t...
Страница 5: ... Cable Holster Charging Cable fitted Charging Unit M4 Enclosure Screws Getting to know your Hypervolt Product Overview What comes in the box LED Status Indicator Outer Ring LED Status Indicator Charging Cable 243mm 328mm 101mm Charging Plug ...
Страница 6: ...g After installation and within 48hrs the unit must be registered as having been installed This is done by scanning the QR code on the side of the unit or online This is to validate the warranty failure to do so will void the warranty Installers should aim to do this before leaving site Installation Getting Started 1 Incoming Supply Connections up to 10mm 2 Tethered Cable Connections 3 Incoming Su...
Страница 7: ...5 Installation Enclosure Parts A B C A Back Box B LED Plate C Front Enclosure ...
Страница 8: ...0mm screws Hang the Hypervolt on to the top two screws Maximum height 1 5m Minimum height 0 5m Before removing the LED Plate B we recommend first mounting your Hypervolt charger Please note the following The mounting site should be flat away from extreme external influences and close enough to the EV to prevent the tethered cable causing a trip hazard There are many different fixings that can be u...
Страница 9: ...7 STEP 2 Insert the bottom 2 screws 6 then tighten all 4 up pinching the unit up tight to the wall Make sure the unit sits level and adjust if required Installation Mounting Continued ...
Страница 10: ...front enclosure C is fitted To remove simply pull up on the top two tabs and unhook the plate Separate the square white cable joint behind pressing down on the latch to release it The unit will be shipped with this connector already disconnected however still take care on first removal just in case Put the LED Plate back in the box to keep it save until you refit it ...
Страница 11: ...paration Separate data power cables should not be run directly next to each other outside of the unit STEP 4 Connect the power cables to the incoming terminals 1 and tighten to 2Nm We recommend using ferrules on stranded cables Pictured is HyperConnect 3 cable available from us Do not use powered screwdrivers to tighten terminals Tighten the CTS Gand provided to hold the incoming cable in place If...
Страница 12: ... be run directly alongside each other Connection Method 2 This is the same as above apart from the supply is taken from an existing consumer unit Remember not to share an RCD with another circuit Both wiring methods can still be used For Both Methods Connect the power cable to a suitably sized protective device The Hypervolt takes a maximum load just below 32A Consideration should be given to if a...
Страница 13: ...e fit the LED plate B First reconnect the square white LED cable connector back together it should click Put the top two tabs of part B over their locators on the top side of the back box A Now pull down on the middle bottom edge of part B and click the bottom into place Take care not to trap any cabling between parts A B ...
Страница 14: ...front or the front enclosure to line the holes up Please take care not to cross thread the screws and certainly do not do these up using a powered tool such as an electric screwdriver Spare screws and captive square bolts are supplied if you lose or damage one To change the captive bolts first pop out the green retaining peg Installation Fitting the Front Enclosure ...
Страница 15: ...onnections through Details of how to test the CT clamp are on page 15 The CT Clamp should be positioned where it will measure the total load on the property If you wish to position it in a different location due to practicality permission should be sort from Hypervolt first Be aware that positioning other than at the origin of the supply will limit the functionality of the Hypervolt Note The CT cl...
Страница 16: ...green 6 Turn on the customers kettle to increase house load to above 10A 7 Watch that the green bolt on the front of the Hypervolt decreases 8 Turn the kettle off and check the green bolt extends back 9 Isolate the supply to the Hypervolt remove the cover 10 Set the ALM dial 10 back to the required load setting 60A is 6 80A is 7 100A is 8 You might choose to set this to 60A even if the main fuse i...
Страница 17: ...ip switches to your required maximum output as per the following positions 5 Replace the cover and turn the power back on Reducing the maximum operating current can sometimes be requested by your DNO and should be done using the Hard Set method only not the soft set It is possible to limit the maximum current the Hypervolt Charger will operate at by permanently derating the unit using the internal...
Страница 18: ...ut no car plugged in Pulsing Car plugged in waiting to start charging accordingly to set schedule Green Solid Car is charging Reduced bolt size indicates lower charging rate due to activation of ALM safety system or derating of charger Flashing Waiting on random delay page 25 Orange Solid Charger Locked Flashing A Locked charger is trying to be used Red The Charger s safety system has activated Th...
Страница 19: ...s and your own unique password Google or Apple account users can sign up using the icons above Adopt a Charger When you first sign in there will be no chargers adopted to your account so click start to begin You must be stood next to the charger to complete the next steps Select a Charger Select the charger shown on the list as Available Units already assigned to an a c c o u n t w i l l s h o w a...
Страница 20: ...ect Once the Hypervolt is adopted the next screen will display the Wi Fi networks available in your area Choose the Wi Fi network you wish to connect your Hypervolt to type in the password and hit Connect Its very important that the signal strength is below 70dBm for a reliable connection Connection Issues If the network is not available or you have typed in the password wrong you will see this sc...
Страница 21: ...e first icon displays whether the charger is on scheduled or plug and charge mode Just tap on each icon to change its mode Stop and start charging By using this sliding button it toggles between charging your car and stopping charging Session data See real time data for the current charge session such as charging rate cost consumption and environmental impact Adopted chargers See here for the char...
Страница 22: ...s useful if you just want to trickle charge Key information about your charger Under Your Hypervolt you can get unique information to identify your charger You can also un adopt your charger to disconnect it from your account Here you can also access the default settings for schedule and randomised start and keep them on or off Setup your energy tariffs Here you can set the prices your energy supp...
Страница 23: ...te tariff See the scheduling page for more detail For more help see page 22 Note your charger come preset with a default schedule charge see page 25 Solar Charging Solar charging mode provides 3 choices By tapping the arrow below the locking icon you can switch your charger to use the following Super Eco Mode Uses only solar energy to charge your car Minimum of 1 4k kW 6amps power current needed E...
Страница 24: ...e the times to suit Setting scheduling times The top box is to set the starting time and the bottom is to set the finishing time for the session Session total Displayed is the total charging time you have s e t a n d w h a t t h e approximate mileage gain will be against the rate of charge for the session Saving the session After tapping next you will be presented with the summary of the sessions ...
Страница 25: ...finished setup you can now access the dashboard From here you will be able to view your charger usage and access a limited number of your charger settings and controls In the Schedule Charging section you can set up the times you would like the charger to operate to match your favoured energy tariff Accessing the dashboard If you already have an account click on Sign In To access the dashboard cli...
Страница 26: ...address bar hypervolt energy When the page loads check you are in the network tab Alternatively use this IP address 172 16 73 1 4 Connecting to Wi Fi Tap on the Wi Fi network you want to connect to and fill in the password in the box below 5 Review Tap next and an information page will come up giving you a n i n d i c a t i o n o f s i g n a l strength Make a note of this and tap next It needs to ...
Страница 27: ... be set back to the default setting upon completion of the installation Setting Your Hypervolt Default Schedule and Random Start Both Set to On Default Charging Mode Your Hypervolt will come with a pre set off peak schedule A pop up window will let you know this on the Select Mode page You can opt out by either changing the schedule choosing Plug Charge or unselecting Default Schedule on the Your ...
Страница 28: ...via MID grade meter Rating against shock Class I Equipment Type of system earthing TN C S TN S PEN Fault Protection or TT Electromagnet Compatibility EMC Classification Type B Connectivity WiFi Wi Fi 802 11b g n 2 4 GHz Bluetooth Adoption via bluetooth low energy GPRS 3G 4G Optional Network Security State of the art Cryptography Engine for fast and secure WLAN Connections with 256 Bit Encryption A...
Страница 29: ...ection when in fact you don t try opening a webpage you have not been to before and see what happens Believe it or not this also happens on 5G connections Some Apps look like they are working but all they are doing is showing information stored on your phone during times of poor connection the Hypervolt App needs to get live data from the charger so of course cannot use this tick 3 The charger loo...
Страница 30: ...than full Some vehicles have this setting available to the driver in order to reduce congestion at the motorway charging services 7 The charging time is greater than expected When a vehicle s charging session is almost complete the charging speed and input power begin to fall below the maximum available Please check your vehicle s dashboard for an indication of the charging power and whether it is...
Страница 31: ...13 8JE United Kingdom Disclaimer Diagram supplied are as examples and may differ or not be the full representation of the product that you have This document can be subject to change at anytime without notice You can find the latest version of the manual at support hypervolt co uk All rights reserved by Hypervolt Ltd Release June 2022 Version 2 0 ...