


2 2
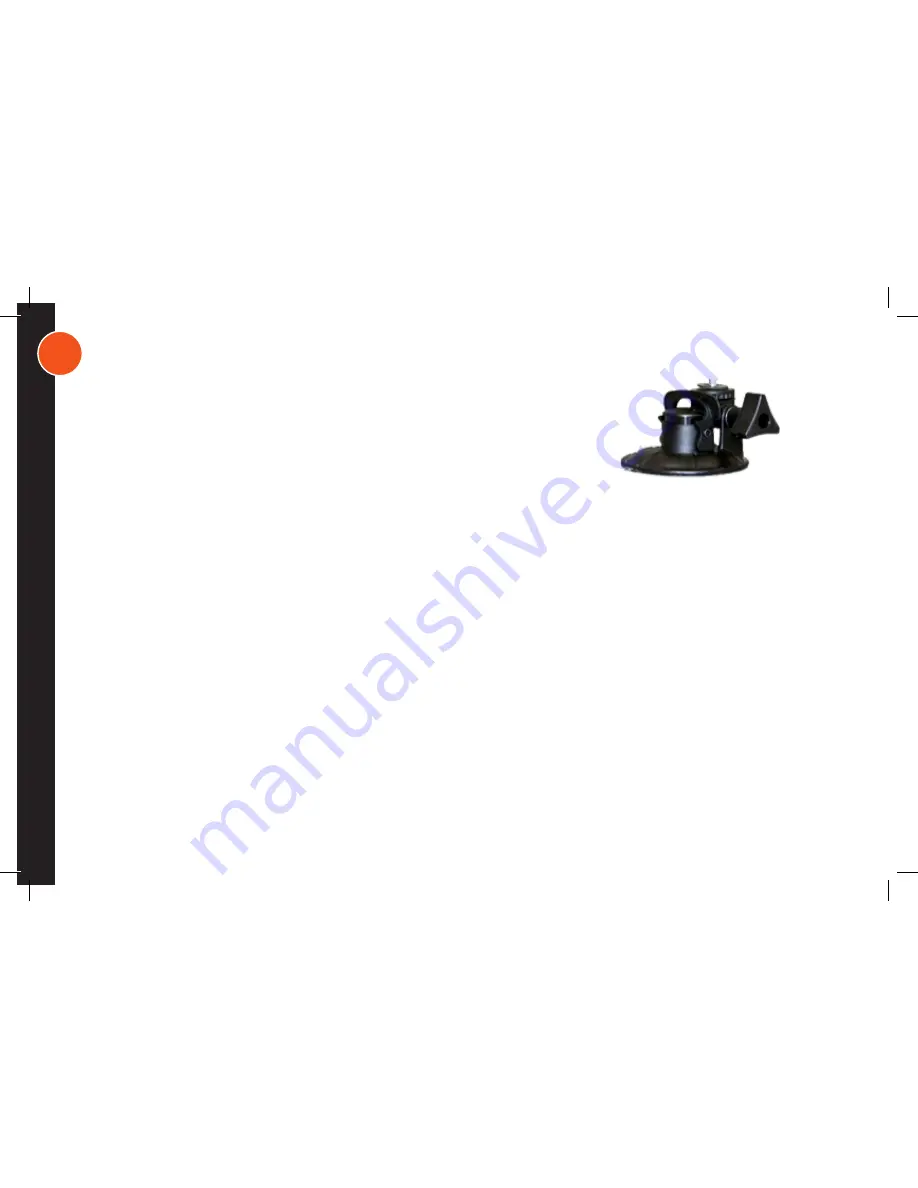
F L U S H B R A C K E T M O U N T I N G
To attach the Camera or Monitor to the desired smooth, clean, flat, non-po-
rous surface, follow the instructions below. Note: The mounting surface and
the Suction Cup should be clean and dry. Wipe with a clean, damp cloth and
let dry completely. The Flush Mount should be installed at room temperature
(avoid extreme heat or cold). Do not moisten the Suction Cup.
• Thoroughly clean the smooth, flat, non-porous surface, making sure the surface is dry and free of scratches.
• Twist the Camera or Monitor onto the flush mount’s threaded mounting stud. Do not remove the Rubber Washer.
• Hold the Camera in place and firmly tighten the Lock Ring.
• Position the Suction Cup Lever in the “down” position.
• Position the Suction Cup on your mounting area. In order to remove the Flush mount easily, HVS recommends that
the Suction cup Release Tab be at the bottom of the installation area.
• Push the Suction Cup firmly against the mounting surface (the Suction Cup Lever should be in the “down” position).
Press the Suction Cup Button that reads “PRESS,” and pull the Suction Cup Lever up and over the Button. You will
feel the Button move out during this procedure; this action locks the Suction Cup into place.
• Loosen the Flush Mount Adjusting Knob, position the Camera or Monitor, and then retighten the Adjusting Knob.
• Check the Camera’s position as necessary by loosening the Adjusting Knob. Tighten securely when in position.
• To release the Suction Cup, move the Suction Cup Lever back into its “down” position. Lift the Suction Cup
Release Tab to help break the hold.


