16
After choosing, touch “Confirm” key on the interface. Following a buzz, the instrument will
enter the chosen status. The default setting is “Save”. When “Save” is chosen, the
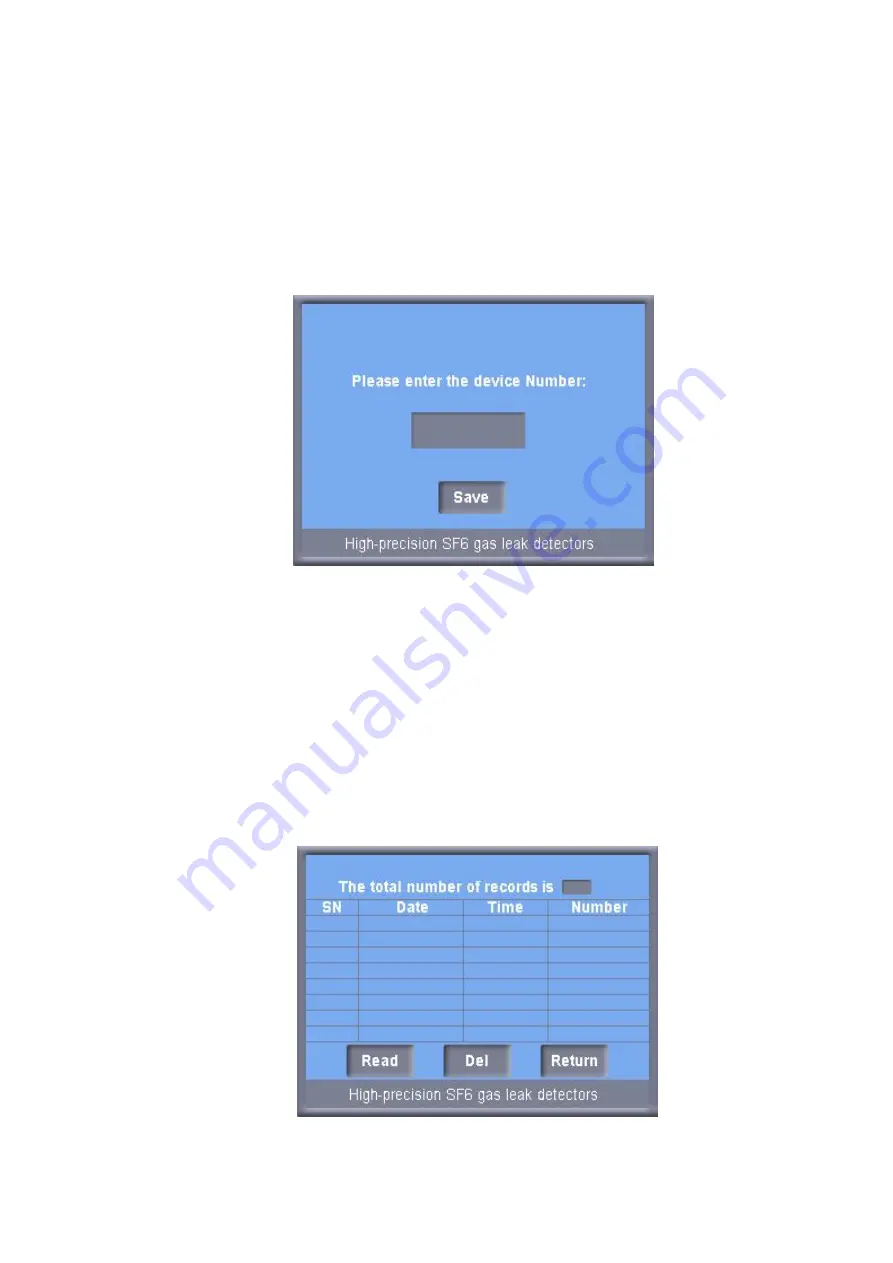
instrument will enter the save status. Touch “Up”, “Down”, “Left” or “Right” key on the
interface to set the instrument numbers. Touch “Left” or “Right” key to move the cursor,
and “Up” or “Down” key to choose the number between 0~9. Please refer to Figure 11
below:
Figure 11
After setting, touch the “Confirm” key for data saving process. The maximum storage
capacity is 100 data. When the data saving process is finished, the instrument will
automatically turn to the upper interface. As shown in Figure 10, choose “Back” key and
the instrument will directly turn to the function selection interface, which means the end
of the current measuring process.
3.13 As shown in “Function Selection Interface” (Figure 2), choose “Historical Data Query”
and the instrument will turn to the historical data query interface. See Figure 12 below:
Figure 12


