6
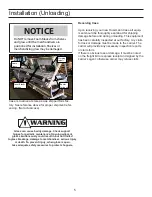
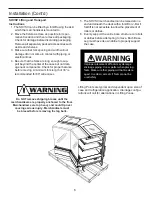
SHVSV Lifting and Transport
Instructions
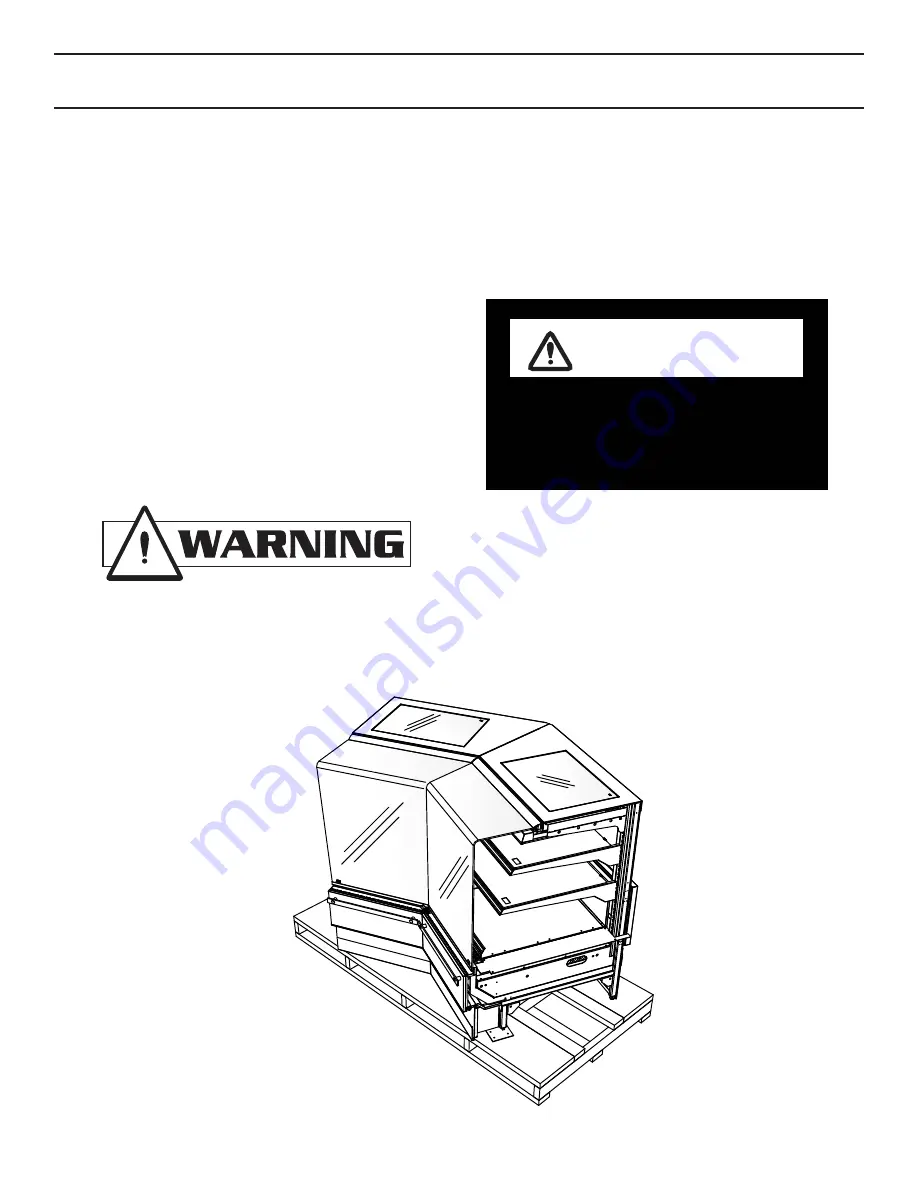
1. The SHVSV can be lifted by a forklift using the skid
which the merchandiser is mounted to.
2. Move the fi xture as close as possible to its per-
manent location and then remove all packaging.
Check for damage before discarding packaging.
Remove all separately packed accessories such
as kits and shelves.
3. Make sure that fork spacing and width will not
damage drain or come in contact with piping, or
electrical lines
4. Be sure that the forks are long enough to sup-
port beyond the center of the case but not dam-
age near components. Check for proper balance
before moving. A minimum fork length of 36” is
recommended for 68” wide cases
Installation (Cont’d)
5. The SHVSV merchandiser can be raised at one
end underneath the deck with a forklift or J-Bar if
forklift is not accesible to allow the placement of
rollers or dollies.
6. Evenly support the entire base structure on rollers
or dollies before attempting to move. Each Base
Leg must have its own dollie to properly support
the case.
WARNING
Improper placement of forks may damage
drainage piping. Use a spotter when placing
forks. Make sure that piping will not be dam-
aged. Use J-Bars or Jacks if forks cannot be
used safely
Lifting Points are typical and dependent upon size of
case and refrigeration application, drainage confi gu-
rations will call for altercations in Lifting Zones.
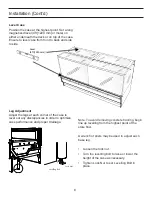
Do NOT remove shipping braces until the
merchandisers are properly anchored to the floor.
Merchandisers are top heavy and could tip over
causing serious injury. Merchandisers must
be braced before removing the lag bolts.
Содержание SHVSV Series
Страница 9: ...9 Joint Trim Pack list ...
Страница 20: ...20 Electrical Wiring Diagram 0 0 0 1 0 0 0 0 2 0 0 3 0 0 1 1 1 1 1 ...
Страница 21: ...21 Electrical Wiring Diagram Cont d 0 1 1 1 2 0 1 1 0 1 1 3 0 1 1 4 0 1 1 2 2 2 2 ...
Страница 23: ...23 0 0 0 1 2 0 0 0 0 0 0 345 0 0 0 0 6 0 0 2 2 2 2 2 2 2 2 2 0 0 0 1 Electrical Wiring Diagram Cont d ...
Страница 24: ...24 0 1 1 1 2 0 1 1 0 1 1 2 3 0 1 1 4 0 1 1 2 2 2 2 2 2 2 2 Electrical Wiring Diagram Cont d ...


