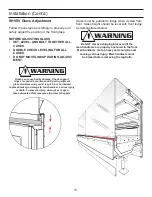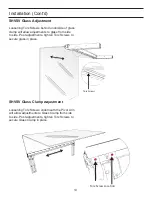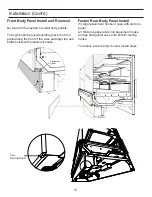
12
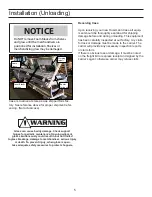
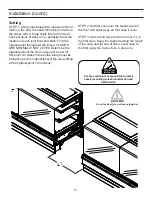
STEP 4. Apply liberal bead of case joint sealant
(Silicone) to fi rst case. Sealant area is shown in
illustration. Apply heavy amount to cover entire
shaded area. (pg10)
STEP 5. Slide second case up to fi rst case
snugly. Then level second case to the fi rst case
so glass front, bumper and top are fl ush.
Installation (Cont’d)
STEP 6. To compress butyl at joint, use two
Jurgenson wood clamps. Make sure case is
level from front to back and side to side on inside
bulkheads at joint.
STEP 7. Attach sections together using bolting
locations.
Содержание SHVSV Series
Страница 9: ...9 Joint Trim Pack list ...
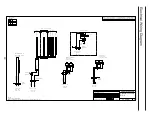
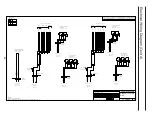
Страница 20: ...20 Electrical Wiring Diagram 0 0 0 1 0 0 0 0 2 0 0 3 0 0 1 1 1 1 1 ...
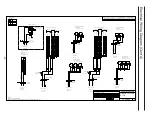
Страница 21: ...21 Electrical Wiring Diagram Cont d 0 1 1 1 2 0 1 1 0 1 1 3 0 1 1 4 0 1 1 2 2 2 2 ...
Страница 23: ...23 0 0 0 1 2 0 0 0 0 0 0 345 0 0 0 0 6 0 0 2 2 2 2 2 2 2 2 2 0 0 0 1 Electrical Wiring Diagram Cont d ...
Страница 24: ...24 0 1 1 1 2 0 1 1 0 1 1 2 3 0 1 1 4 0 1 1 2 2 2 2 2 2 2 2 Electrical Wiring Diagram Cont d ...


