


17
2.
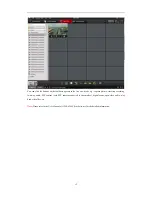
Click the camera from the device list for playback.
3.
Select the date from the calendar and click
Search
.
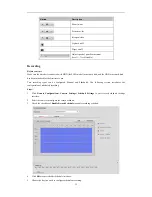
4.
Click the
button to play the video file searched on the current date.
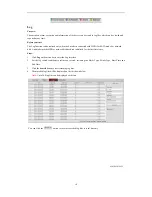
5.
Use the buttons on the toolbar to operate in playback mode
Button
Operation
Button
Operation
Select window-division mode
/
Play/Pause
Stop playing
Slow forward
Fast forward
Play by single frame
Stop all channels from playing
Capture pictures in playback mode
Download video files
/
Start/Stop clipping video files
/
Audio on/off
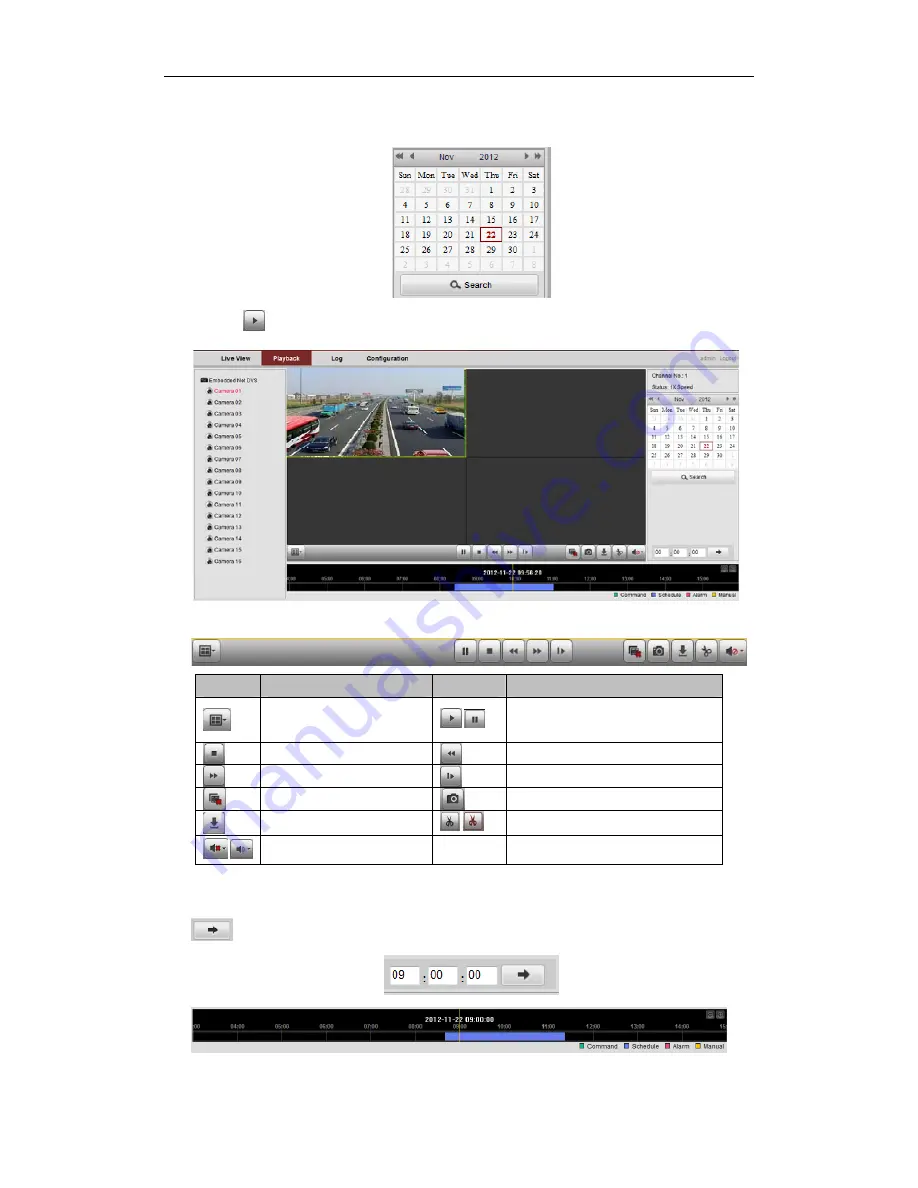
6.
You can drag the progress bar with the mouse to locate the exact playback point, or input the time and click
button to locate the playback point.
The color of the video on the progress bar stands for the different video types.