Installation
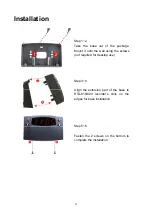
Step 1~2
Take the base out of the package.
Mount it onto the wall using the screws
(not required for desktop use)
Step 3~4
Align the extrusion part of the base to
HTA-810/820 recorder’s slots on the
edges for base installation
Step 5~6
Fasten the 2 screws on the bottom to
complete the installation.
21
Содержание HTA-810
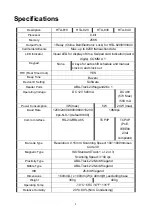
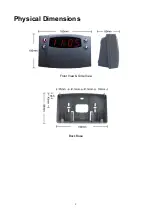
Страница 9: ...Physical Dimensions Front View Side View Back Base 9...
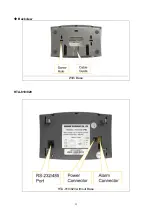
Страница 13: ...Backview With Base HTA 810 820 HTA 810 820 without Base 13...
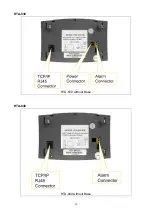
Страница 14: ...HTA 830 HTA 830 without Base HTA 840 HTA 840 without Base 14...
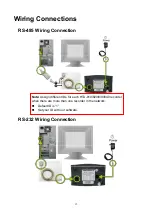
Страница 16: ...TCP IP RJ 45 Connection for HTA 830 TCP IP RJ 45 Connection for HTA 840 16...
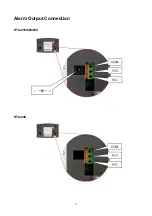
Страница 17: ...Alarm Output Connection HTA 810 820 830 HTA 840 17...
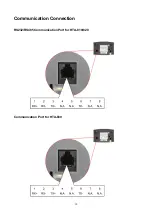
Страница 18: ...Communication Connection RS232 RS485 Communication Port for HTA 810 820 Communication Port for HTA 830 18...
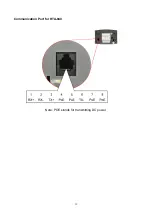
Страница 19: ...Communication Port for HTA 840 Note POE stands for transmitting DC power 19...


