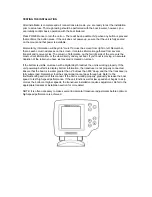
UP ARROW selects the next larger or next sequential adjustment within the menu. Holding an
Arrow button down will cause the unit to continue to make the adjustment, until a limit is reached,
and a continuous chirp is heard.
DOWN ARROW selects the next smaller adjustment within the menu.
ENTER is used to toggle other menu options on and oft.
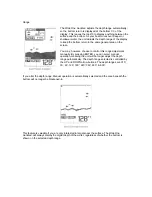
All menus use the same general layout as shown in in the sample menu below. The heading of
the menu is at the top. The area in the center is controlled by the UP and DOWN ARROWS, and
the area under the horizontal line is controlled by the ENTER button. Not all menus are affected
by all controls, but the layout is the same regardless.
Pressing MENU repeatedly will sequentially display all available menus.
Menu Functions
The following section explains each menu in detail, and how these adjustments can be used to
extract the maximum information from the sonar returns. Remember, once a setting has been
changed, the Wide One Hundred will remember that setting until it is changed again, or until the
unit is powered off.
Sensitivity
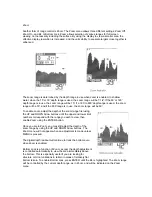
As the Wide One Hundred receives returned signals, the
sensitivity of the receiver is adjusted automatically based on a
number of factors such as the depth of the water, and the
signal clarity. In murky water, full of debris, the Wide One
Hundred will select a lower sensitivity setting. In clear water,
where there is little debris to defract the sonar signal, the
sensitivity is set higher.
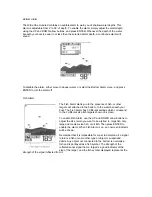
The Sensitivity menu allows you to "bias" this automatic setting
up or down based on personal preference. You can select a
bias of +5 to -5, for 11 different bias settings. A bias setting of
"0" has no effect on the automatic function. A +3 setting selects
a sensitivity setting three steps higher than the unit would
normally select, so even the smallest returns are displayed
onscreen.
A setting of -2 sets the sensitivity two steps below what the unit
would normally select, so only the largest targets or other
returns are displayed.
Содержание Wide 100
Страница 1: ......
Страница 8: ......
Страница 10: ...mounting bracket Drill this hole and install the screw after final testing and adjustments have been completed...


