


14
Control Head Setup
2. Set Up the Transducer
Use the following instructions to select the connected transducer for your control
head. These steps are only required the first time you set up your HELIX control head
with a new transducer.
1.
Main Menu:
Press the Menu key twice.
2. Select the Sonar tab > Connected Transducer.
3. Press the RIGHT or LEFT Cursor keys to scroll through the compatible
transducers. Select the transducer that is attached to the control head.
Selecting the Connected Transducer
Set Up the Control Head
When the control head detects the MEGA 360 Imaging transducer, it will select it
automatically as the 360 sonar source. The related views and menus will be added
to the system.
Use the following instructions to power on the control head and confirm the MEGA
360 Imaging transducer is detected by the unit.
CAUTION!
It is important to finish all installation connections before powering on
the control head.
1. Confirm Connections
1. Turn on the power source from the main switch.
2. On the control head, press the POWER key.
If you are powering on a control
head in a multiple-control head Ethernet network,
power on the control
head that is connected to the MEGA 360 Imaging transducer first.
3. When the Title screen is displayed, press the MENU key.
4. Select Normal. Press the RIGHT Cursor key.
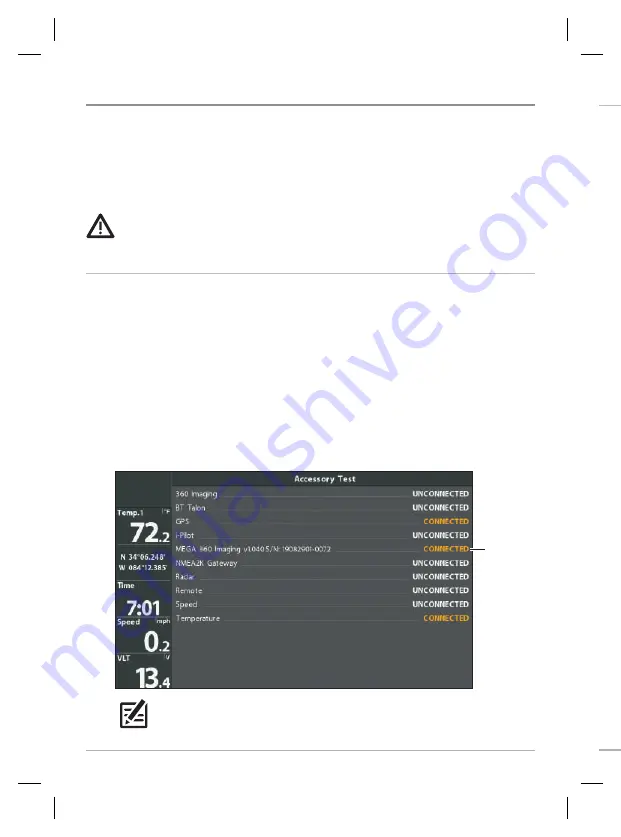
5. Press and hold the VIEW key. Select System > Accessory Test. Confirm that
MEGA 360 Imaging
is listed as Connected.
MEGA 360
Imaging listed
as Connected
HELIX Accessory Test
NOTE:
If the Accessory Test is not displayed in the View Rotation, press the
MENU key twice to open the Main Menu. Select the Views tab > Accessory
Test. Change the setting to Visible.


