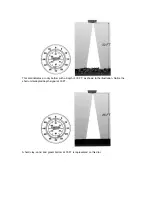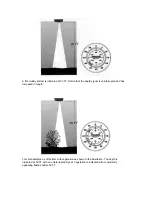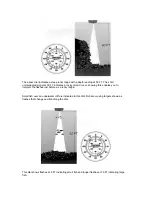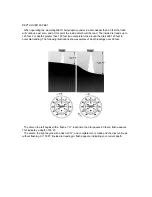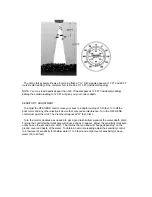
NOTE: Be sure that the unit’s orientation reads properly before continuing.
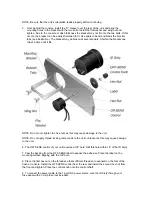
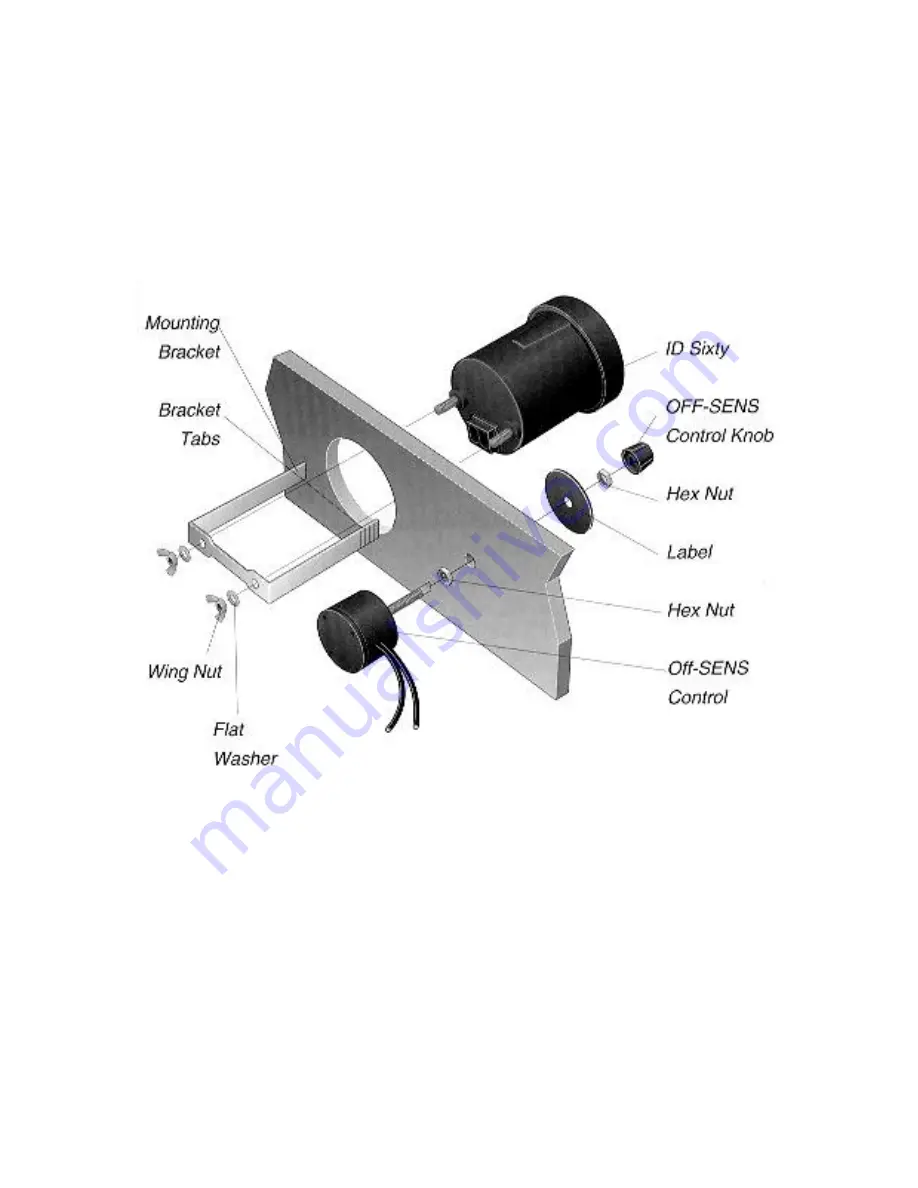
3. From behind the console, install the “U” bracket over the rear of the unit and align the
mounting holes in the bracket with the two bolts. Install the flat washer and wing nut and
tighten. Due to the console or dash thickness the bracket may not fit onto the two bolts. If this
occurs, the bracket can be easily shortened to fit. Use pliers to bend and break the bracket
tabs (see illustration). The bracket may be broken at several points. Shorten the bracket one
tab at a time until it fits.
NOTE: Do not over tighten the hex nuts as this may cause damage to the unit.
NOTE: Do not apply thread locking compounds to the unit or bracket as this may cause damage
to the unit.
6. The OFF-SENS control of your unit requires a 3/8” hole. Drill this hole within 18” of the ID Sixty.
7. Peel the backing from the OFF-SENS label to expose the adhesive. Place the label on the
mounting surface aligning with the 3/8” hole.
8. Place the first hex nut on the threads so that sufficient threads are exposed on the font of the
dash or console. Install the OFF-SENS control from the rear and install the second hex nut from
the front and tighten. Place the control knob onto the control shaft.
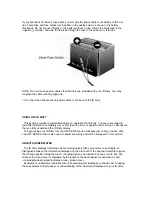
9. To connect the power cable to the 12-volt DC power source, wire the ID Sixty through your
fuse panel with a 1-amp fuse (not included).
Содержание ID Sixty
Страница 1: ......


