background image

  The ID Sixty comes with a high-speed, 24-degree transducer as standard equipment. This 
transducer can be mounted on the transom or inside the hull, as described in section Two later in 
this manual. You should familiarize yourself with this material before actually beginning 
transducer installation.  
  If you find the standard transducer doesn’t meet your needs, you can exchange it, unused, for 
one of he following models by returning it to your local distributor, or by calling Hummingbird’s 
Customer Support Hotline  


ACCESSORIES 

 
  For installation on a larger boat where the transducer is located well away from the ID Sixty, 
Hummingbird offers a 10-foot x 20 foot extension cable for the transducer.  
  For more information on accessories contact your local Hummingbird dealer or call our toll-free 
Customer Support Hotline 
 
 
Item                                                   Part No.                                         Use 
10 foot cable                                   EC-6                                                 Extends transducer 
20 foot cable                                   EC-6-20                                            Extends transducer 


INSTALLING THE ID SIXTY 

 
  Before mounting the ID Sixty control head, gather the parts you need: ID Sixty, mounting 
hardware kit, power cable, and transducer cable. If the transducer cable is not long enough for 
your installation, see “Accessories” earlier in this manual for information on the EC-6-10 foot 
extension cable. 
 
  Next, consider where to mount the ID Sixty. To choose the best location, consider the following: 
 

• 

The mounting area should allow at least 2” clearance around the back of the unit for 
connection, air flow, and ease of removal. 


• 

Any VHF radio you have may incur some degree of interference with the depth sounder. 
Hummingbird depth sounders are designed to minimize this interference, although it is best to 
route the transducer cable and antenna cable as far away from each other as possible, for 
example, on opposite sides of the boat. 

 
After you have determined the best location for your ID Sixty, pr0ceed with the following 
instructions. 
 
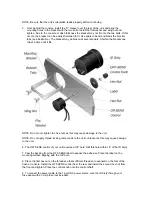
1.  Drill a 3.5’ hole to accommodate the control head. 
 
NOTE: 3.5” hole saws are readily available at most hardware stores. If you do not want to but a 
saw for this purpose, tool rental stores or marine dealers may be another source. 
 
2.  From the front, place the unit into the 3.5” hole. 

Содержание ID Sixty

Страница 1: ......

Страница 2: ...m the transducer to the reflecting object and back again This time is then converted into feet and the number of feet to the object is indicated on the calibrated dial with the spinning lamp The lamp...

Страница 3: ...control head gather the parts you need ID Sixty mounting hardware kit power cable and transducer cable If the transducer cable is not long enough for your installation see Accessories earlier in this...

Страница 4: ...n the hex nuts as this may cause damage to the unit NOTE Do not apply thread locking compounds to the unit or bracket as this may cause damage to the unit 6 The OFF SENS control of your unit requires...

Страница 5: ...arn to use your depth sounder Doing so will ensure that you fully understand the ID Sixty display To begin using your ID Sixty turn the OFF SENS control clockwise just until you hear a click The OFF S...

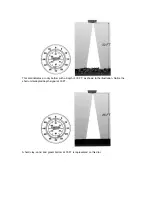
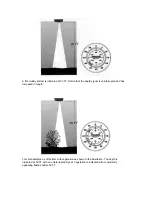
Страница 6: ...dial indicates a rocky bottom with a depth of 30 FT as shown in the illustration Notice the short uninterrupted depth signal at 30 FT A hard clay sand and gravel bottom at 35 FT is represented on this...

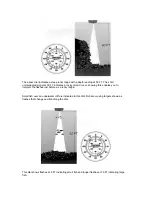
Страница 7: ...signal is uninterrupted and has increased in length This dial indicates a soft bottom with vegetation as shown in the illustration The depth is indicated at 50 FT with an uninterrupted signal Vegetati...

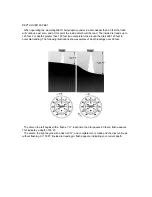
Страница 8: ...round cover knowing this enables you to interpret the flashes just before as a rocky ledge Small fish over an underwater cliff are indicated in this dial Fish are moving targets shown as flashes that...

Страница 9: ...o complete turns around the dial add 120 feet to outer dial reading The following illustrations show examples of depth readings over 60 feet The dial on the left begins with a flash at O Each time the...

Страница 10: ...and any other electronic device that may cause interference Turn the OFF SENS control just past the click The dial should signal at O feet dial 1 Turn the control clockwise as needed to get a good la...

Отзывы: