Troubleshooting common problems
The Problem Troubleshooting page helps you correct problems you could encounter while using
the satellite modem. Follow these steps to use the Problem Troubleshooting page to diagnose
and correct a problem:
1.
Click the
Problem Troubleshooting
link in the left panel of any System Control Center
page. (An exception: On the System Control Center home page, the
Problem Troubleshooting
link is located below the DIAGNOSTIC UTILITIES heading.)
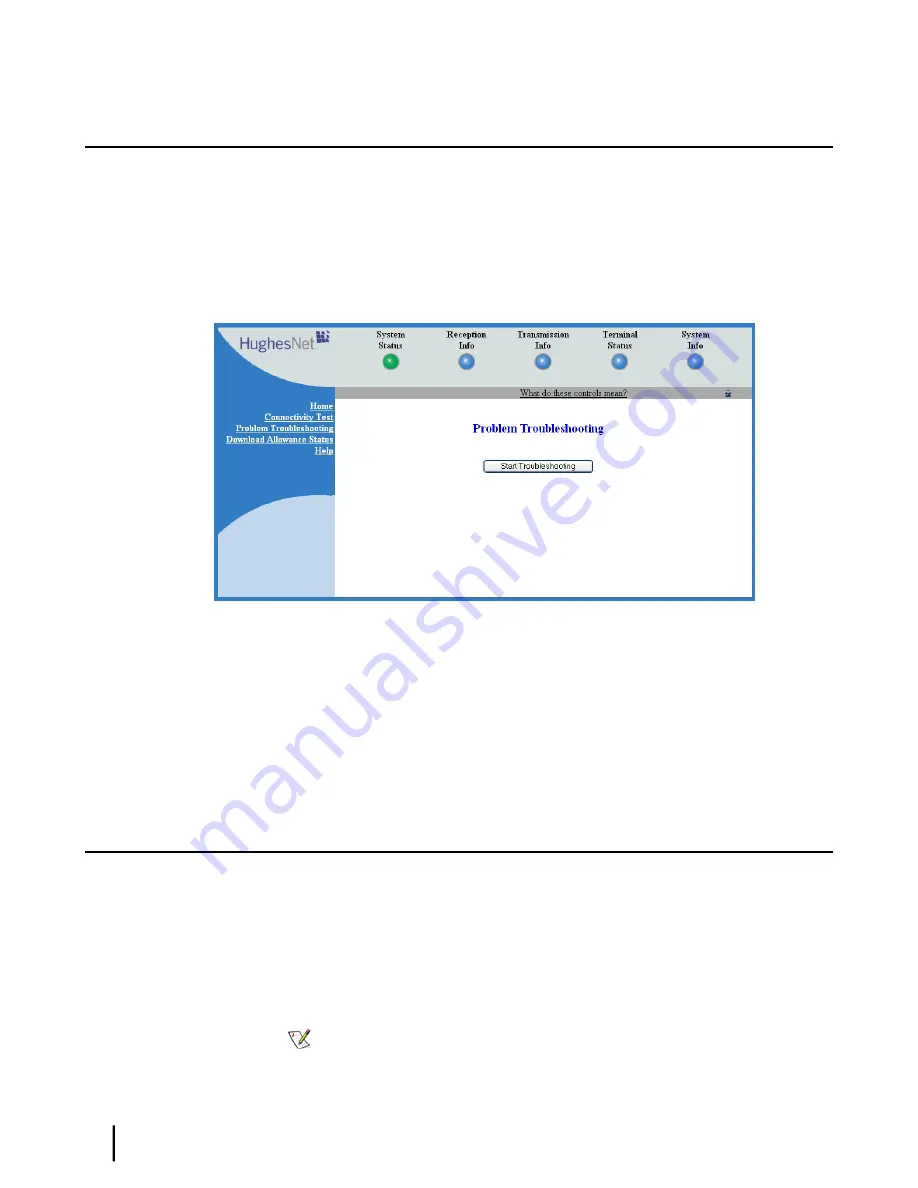
The Problem Troubleshooting page opens (
Figure 26: Problem Troubleshooting page
on
page 44).
Figure 26: Problem Troubleshooting page
2.
Click the
Start Troubleshooting
button.
The System Control Center examines operational data and attempts to identify the problem.
After a short wait it displays a Troubleshooting Results page with appropriate suggestions
for correcting the problem.
3.
Follow the instructions on the Troubleshooting Results page.
4.
If these steps do not correct the problem, contact your service provider for assistance.
Cannot access the System Control Center
Follow these steps if you cannot access the System Control Center after installation of the satellite
modem.
1.
If the modem is using a dynamic IP address, confirm that DHCP is enabled on the computer.
This procedure is explained in
Configuring a computer to use DHCP
on page 50.
2.
Open a web browser on a computer connected to the satellite modem.
3.
In the browser address bar, type
www.systemcontrolcenter.com
or
192.168.0.1
and press
Enter
.
Note:
To use 192.168.0.1, DHCP must be enabled on the computer.
If the System Control Center does not appear, continue with the remaining steps.
HN9000 Satellite Modem User Guide
44
1037577-0001 Revision F
Troubleshooting
Chapter 4


