Installation/Removal Guide
The procedure for installing the management program depends on the operating system
(OS) installed on your PC. The following sections take Windows XP as an example.
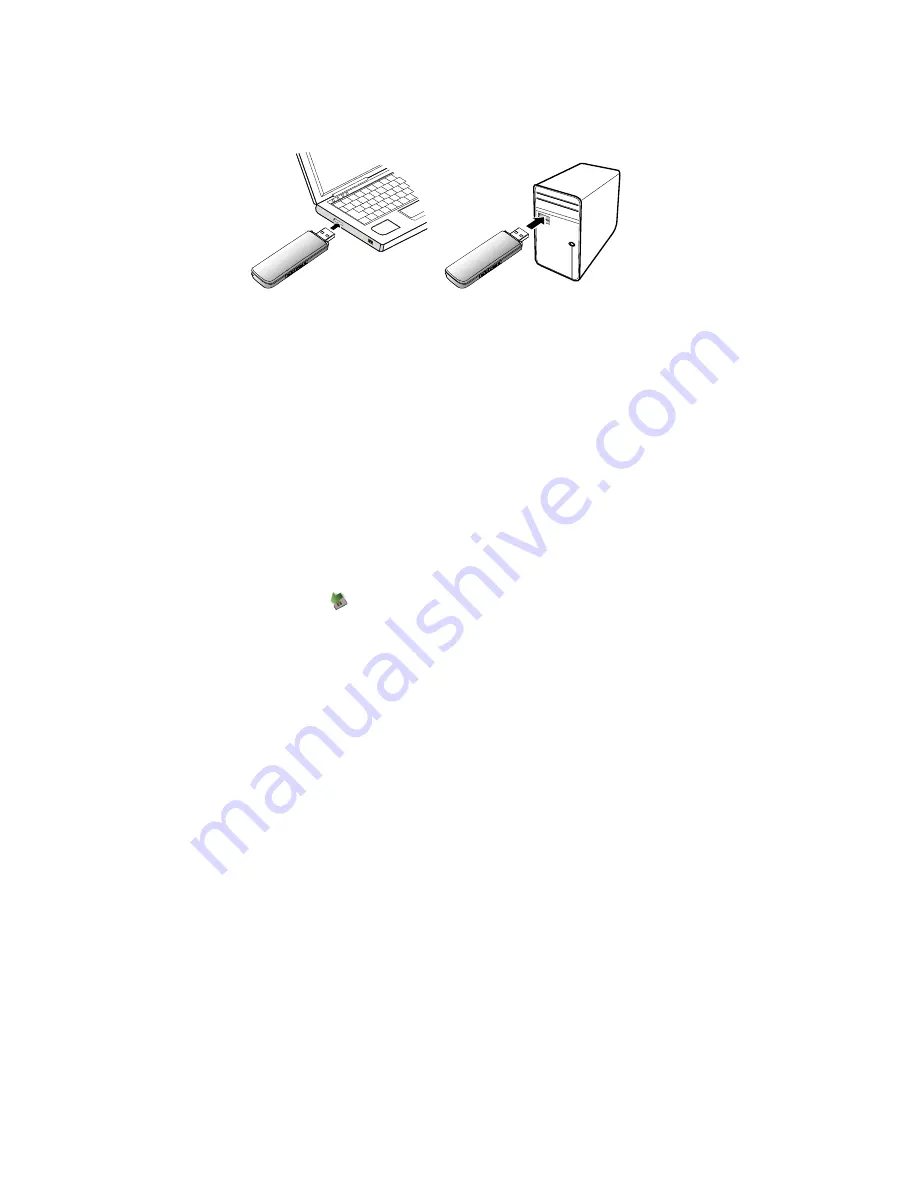
Connecting the USB Stick to a PC
Plug the USB Stick into the USB port of your PC.
Installing the USB Stick Management Program
1.
Connect the USB Stick with the PC.
2.
The OS automatically detects and recognizes the new hardware and starts the
installation wizard.
Note:
If the auto-run program does not respond, find the AutoRun.exe file in the driver path.
Then double-click AutoRun.exe to run the program.
3.
Follow the on-screen instructions of the installation wizard.
4.
After the program is installed, a shortcut icon for the management program appears on
the desktop.
Starting the Management Program
After being installed, the management program starts automatically. Then every time the
USB Stick is connected to the PC, the management program starts automatically.
You can also double-click the shortcut icon on the desktop to start the management
program.
Removing the USB Stick
1.
Double-click
in the notification area. Then the Unplug or Eject Hardware dialog
box appears.
2.
Select the corresponding hardware and then click Stop.
3.
When the message "It is safe to remove the device" appears, remove the USB Stick.
Uninstalling the Management Program
1.
Choose Start > Control Panel > Add or Remove Programs.
2.
Find the management program and click Remove to uninstall the management
program.
Note:
Exit the management program before uninstalling it.
Version: V100R001_01 Part Number: 31010AQK


