Repair Information
185
2. Open the HAFM application. The View All - HAFM 8 main window displays.
3. Double-click the icon representing the director for which the loopback test
will be performed. The Hardware View for the selected director displays.
4. At the Hardware View, verify the location of the port or UPM card to be
tested. When the mouse pointer is passed over a graphical UPM card on the
front view of the director, the card highlights with a blue border and a pop-up
displays with the following information:
— Port card type (UPM).
— Chassis slot number (0 through 35, slot 32 is for internal use only).
— The four consecutive port numbers on the selected card. Valid port
numbers are in the range of (0-127 and 132-143 inclusive).
5. Reset each port to be tested:
a.
At the Hardware View, double-click the UPM card for which ports are to
be tested. The Port Card View displays.
b. At the Port Card View, right-click the tested port. A menu displays.
c.
Choose Reset Port. A reset warning message box displays.
d. Click OK. The port resets.
e.
Click Back To Full View to return to the Hardware View.
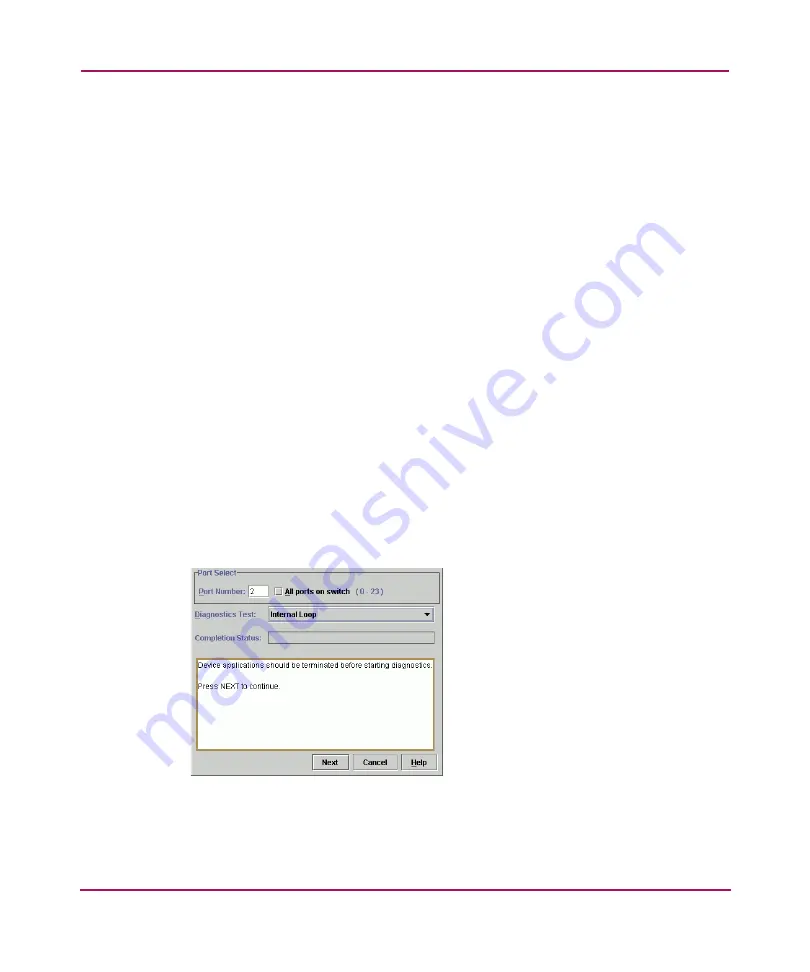
6. Click Maintenance and choose Port Diagnostics. The Port Diagnostics
dialog box displays, as shown in
Figure 47: Port Diagnostics dialog box
7. Select a port or UPM card for test:
Содержание StorageWorks 2/140 - Director Switch
Страница 18: ...About this Guide 18 Director 2 140 Service Manual ...
Страница 160: ...Diagnostics 160 Director 2 140 Service Manual ...
Страница 224: ...FRU Removal and Replacement 224 Director 2 140 Service Manual Figure 72 ESD grounding points 1 ...
Страница 262: ...FRU Removal and Replacement 262 Director 2 140 Service Manual ...
Страница 270: ...Illustrated Parts Breakdown 270 Director 2 140 Service Manual ...
Страница 318: ...Information and Error Messages 318 Error Messages ...
Страница 388: ...Event Code Tables 388 Director 2 140 Service Manual ...


