64
Wireless configuration
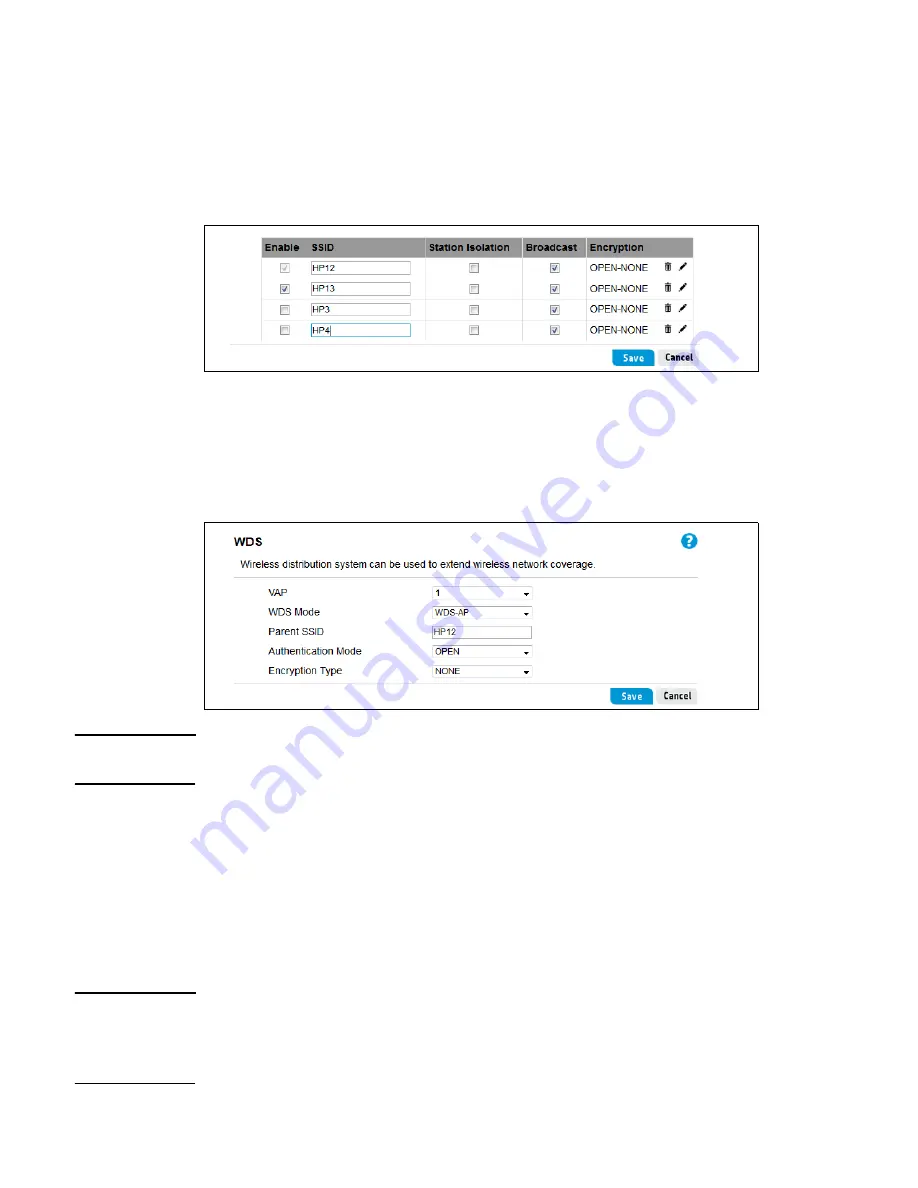
4. Set a common SSID for each WDS link.
To establish a WDS link, you must assign a common wireless community name (SSID) for a
VAP interface on both routers. To configure SSIDs for R110 #1, select
Wireless
>
Basic
,
enable the first two VAP interfaces, and set the SSIDs as follows:
•
VAP 1 to
HP12
(for WDS link with R110 #2)
•
VAP 2 to
HP13
(for WDS link with R110 #4)
5. Enable WDS Mode for the VAP interfaces.
Select
Wireless
>
WDS
. For R110 #1 VAP interfaces, set the WDS Mode as follows:
•
Set VAP 1 to
WDS-AP
.
•
Set VAP 2 to
WDS-AP
.
Note
The
Parent SSID
settings do not need to be changed on the WDS page, the SSIDs have
already been configured in step 4.
Configure R110 #2
1. Connect your computer to one of the router’s LAN ports and access the web management
interface using the default IP address
192.168.1.1
.
2. Set the System Mode.
For R110 #2, HP recommends setting the operation mode to
Bridge
. Select
System
>
Mode
. Select the
Bridge
option and click
Save
. Wait for the router to reboot in Bridge
mode.
Note
Bridge mode disables the DHCP server for a router. For R110 #1, the operation mode is set to
the default
Router
. In this mode, R110 #1 can connect to the Internet and provide a DHCP
server for the network. If you need to operate other R110/R120 devices in Router mode, be sure
to disable the DHCP server on the
LAN
>
Settings
page.
Содержание R100-Series
Страница 6: ...6 ...
Страница 10: ...10 Deploying the HP R110 R120 ...
Страница 44: ...44 LAN configuration ...
Страница 80: ...80 VPN configuration ...
Страница 88: ...88 Routing configuration ...
Страница 98: ...98 Firewall configuration ...
Страница 130: ...130 Tools ...
Страница 134: ...134 ...
Страница 142: ...142 ...


