


MSM710 Controller Quickstart
3
HP ProCurve Networking
Initial configuration
This procedure describes how to perform the initial configuration of a factory-default
MSM710, enabling you to establish a wired connection through the MSM710 to the Internet.
The MSM710 is managed via its web-based management tool using at least Microsoft
Internet Explorer 7/8 or Mozilla Firefox 3.
x
.
Note:
Since the provided power supply is the recommended way of powering the
MSM710, it is the assumed powering method in all procedures in this Quickstart.
Note:
Do not power on the MSM710 until directed.
A.
Configure the management computer
1.
Configure your computer to use a static IP address in the range
192.168.1.2
to
192.168.1.254
, and a subnet mask of
255.255.255.0
. Set the default gateway to
192.168.1.1
, and DNS server to
192.168.1.1
. For example to do this in Windows Vista,
use
Control Panel > Network and Sharing Center > Manage Network Connections >
Local Area Connection,
right-click
Properties
then select
Internet Protocol Version 4
(TCP/IPv4) > Properties
.
B.
Make these connections
1.
Disconnect any cable from the LAN port on your computer, and disable any wireless
connection.
2.
Connect the MSM710 LAN port to the LAN port on your computer.
3.
Connect the MSM710 Internet port to a network with Internet access or to the PC port of
a DSL modem or equivalent.
C.
Start the MSM710
Power on the MSM710 and wait until the power light stops blinking.
D.
Connect to the management tool and log in
Note:
A factory-default MSM710 is assumed.
1.
In a web browser, enter the address:
https://192.168.1.1
.
2.
A security certificate warning is displayed the first time you connect to the management
tool. This is normal. Select whatever option is needed in your Web browser to continue
to the management tool. The security warning will not appear again unless you change
the IP address of the MSM710.
3.
On the Login page, enter
admin
for both
Username
and
Password
and then select
Login
.
4.
On the License Agreement page, read the agreement and select
Accept License
Agreement
.
5.
The registration page appears. It is recommended that you register later by selecting
Controller >> Maintenance > Registration
.
6.
If a
Country
prompt appears, select the country in which the MSM710 will operate.
Caution:
The correct country must be selected.
7.
At the password prompt it is recommended that you change the default password. Enter
the new password and select
Save
. Passwords must be at least six characters long and
include four different characters.
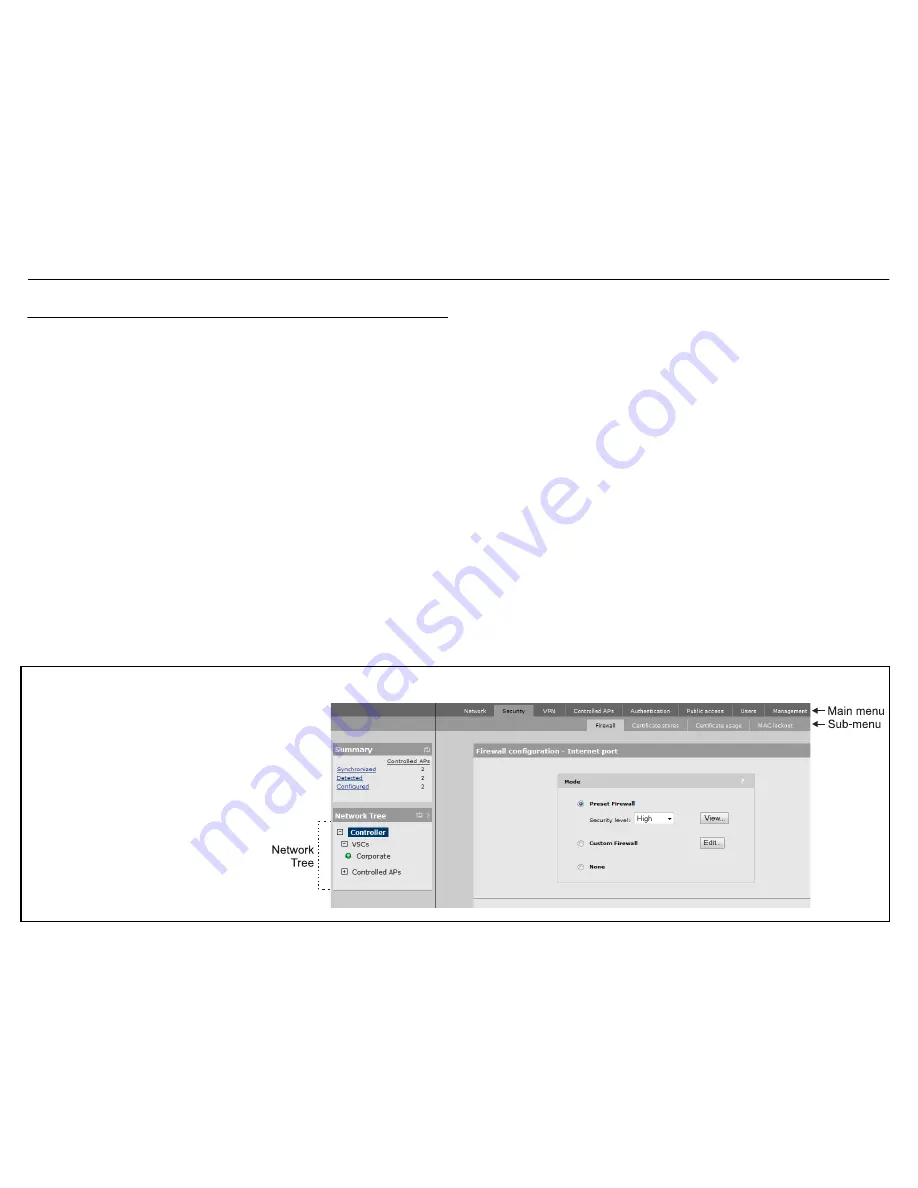
Using the management tool
In this quickstart and referenced documentation,
instructions to select specific management tool
elements and menus are specified in the form:
“Select
Controller >> Security > Firewall
.”
This instructs you to select the
Controller
element
in the Network Tree, and then in the right pane,
select the
Security
main menu, and finally, select
its
Firewall
sub-menu. All elements to the left of
the double angle brackets
>>
are found in the
Network Tree.
Key elements of the management tool user interface are defined as follows: