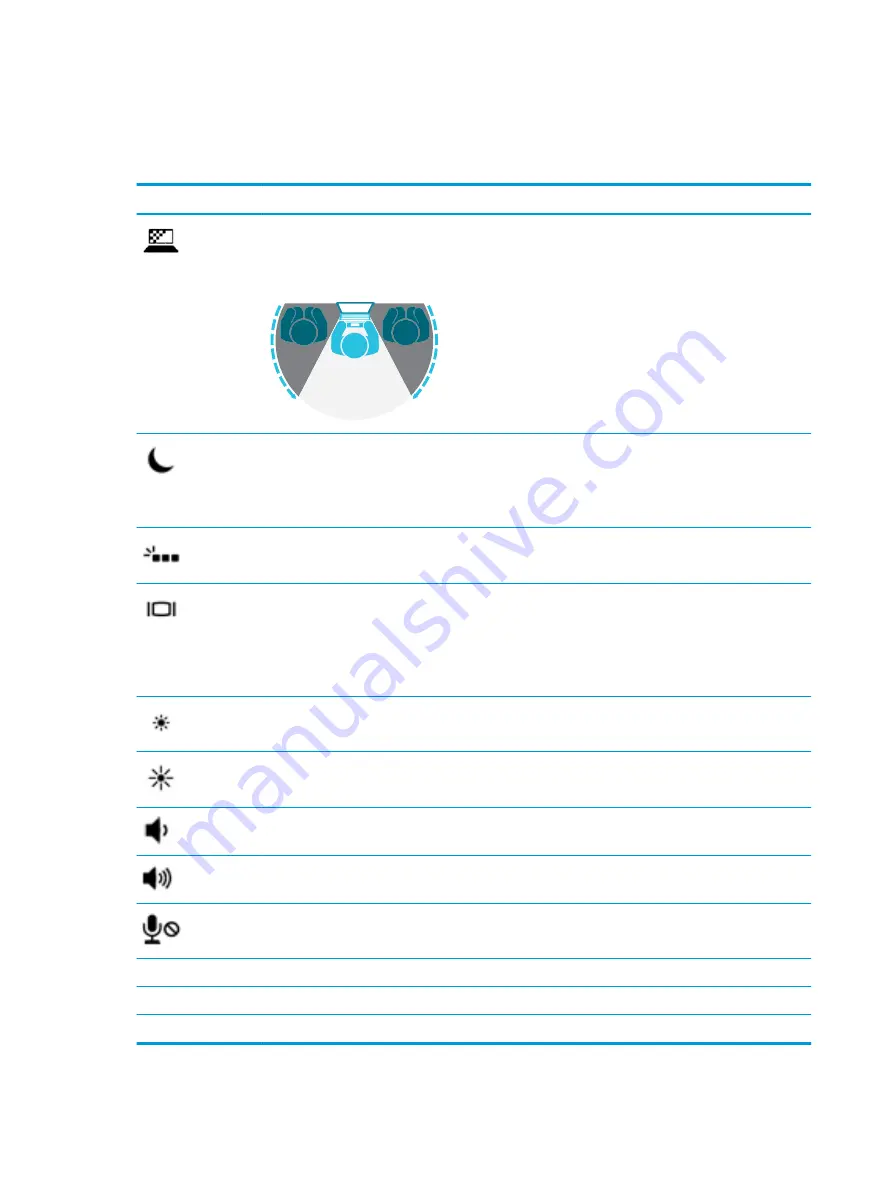
Using the hot keys
To use a hot key:
▲
Press the
fn
key, and then press one of the keys listed in the following table.
Press
fn
+function key Description
To help prevent side-angle viewing from onlookers, press
fn
+
f2
to turn on your privacy screen. If needed,
press
fn
+
f5
or
fn
+
f6
to adjust your privacy screen for well-lit or darker environments. Press
fn
+
f2
again to
turn off the privacy screen.
NOTE:
To quickly turn on the highest privacy setting, press
fn
+
p
.
Initiates Sleep, which saves your information in system memory. The display and other system components
turn off and power is conserved.
To exit Sleep, briefly press the power button.
CAUTION:
To reduce the risk of information loss, save your work before initiating Sleep.
Turns the backlight keyboard off or on.
NOTE:
To conserve battery power, turn off this feature.
Switches the screen image among display devices connected to the system. For example, if a monitor is
connected to the computer, repeatedly pressing
fn
+
f4
alternates the screen image from computer display to
monitor display to simultaneous display on both the computer and the monitor.
Most external monitors receive video information on the computer using the external VGA video standard.
The
fn
+
f4
hot key can also alternate images among other devices that are receiving video information on the
computer.
Decreases the screen brightness incrementally as long as you hold down the key.
Increases the screen brightness incrementally as long as you hold down the key.
Decreases speaker volume incrementally while you hold down the key.
Increases speaker volume incrementally while you hold down the key.
Mutes the microphone.
R
Pauses or breaks an operation. This replaces the break key.
C
Locks cell. This replaces the scroll lock key.
S
Sends a programming query. This replaces the sys rq key.
14
Chapter 2 External component identification
Содержание ELITEBOOK 840 G4
Страница 1: ...HP EliteBook 840 G4 Notebook PC HP EliteBook 848 G4 Notebook PC Maintenance and Service Guide ...
Страница 4: ...iv Important Notice about Customer Self Repair Parts ...
Страница 6: ...vi Safety warning notice ...
Страница 10: ...x ...
Страница 59: ...10 Remove the keyboard 8 Reverse this procedure to install the keyboard Component replacement procedures 49 ...


