Removal and Replacement Procedures
Maintenance and Service Guide
5–31
Ä
CAUTION:
Support the display assembly when removing the following
screws. Failure to follow this caution can result in damage to the
display assembly.
✎
Steps 9 and 10 apply only to HP Pavilion ze2000 models. See
steps 11 and 12 in this section for information on removing the
display assembly on Compaq Presario M2000 models.
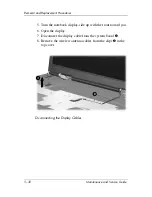
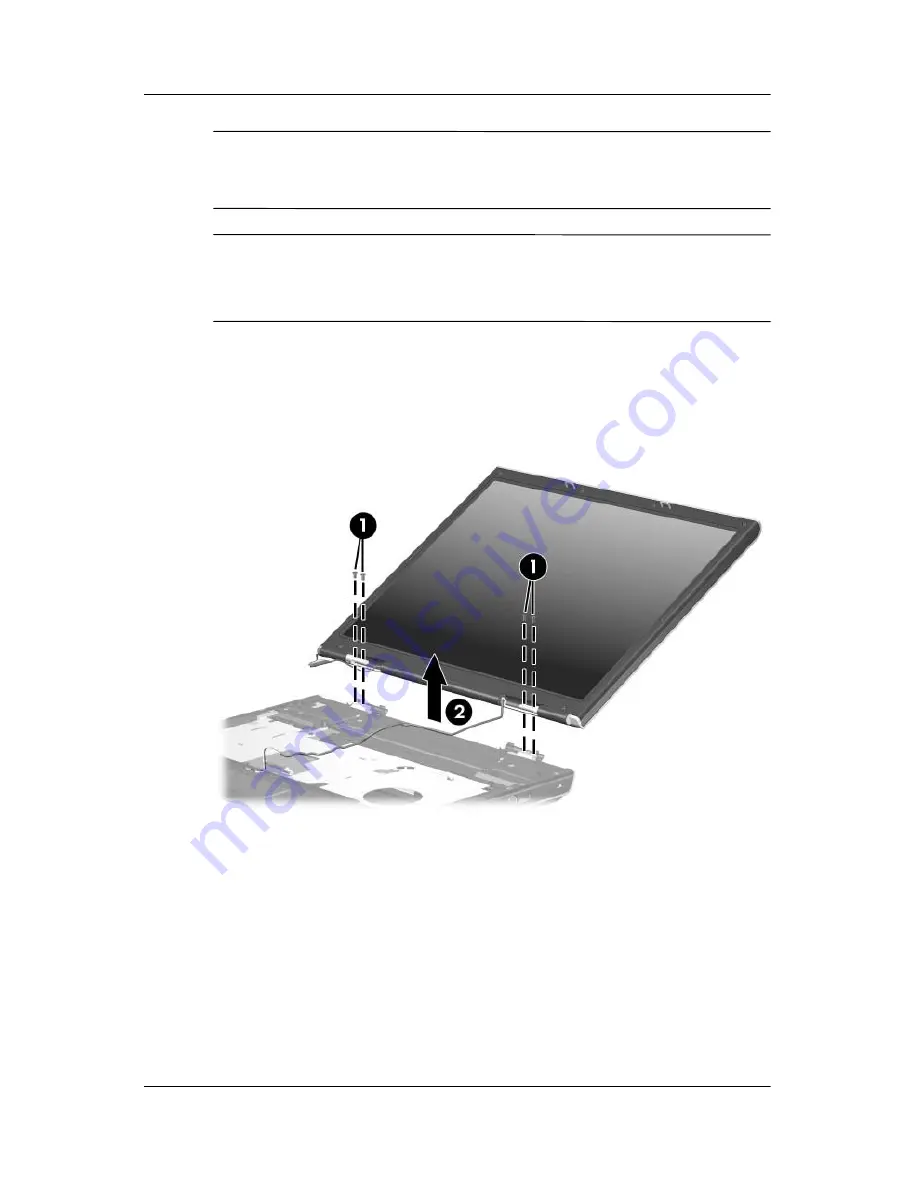
9. Remove the 4 black PM2.0×6.0 screws
1
that secure the
display assembly to the notebook.
10. Remove the display assembly
2
.
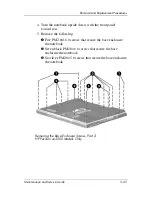
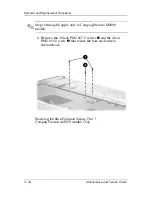
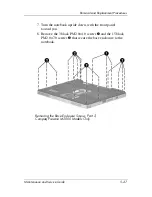
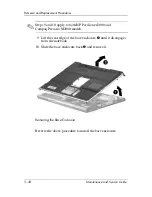
Removing the Display Assembly Screws,
HP Pavilion ze2000 Models Only
Содержание Compaq Presario M2000
Страница 65: ...3 4 Maintenance and Service Guide Illustrated Parts Catalog Notebook Major Components Compaq Presario M2000 ...
Страница 67: ...3 6 Maintenance and Service Guide Illustrated Parts Catalog Notebook Major Components HP Pavilion ze2000 ...
Страница 69: ...3 8 Maintenance and Service Guide Illustrated Parts Catalog Notebook Major Components Compaq Presario M2000 ...
Страница 71: ...3 10 Maintenance and Service Guide Illustrated Parts Catalog Notebook Major Components HP Pavilion ze2000 ...
Страница 75: ...3 14 Maintenance and Service Guide Illustrated Parts Catalog 3 4 Mass Storage Devices Mass Storage Devices ...


