Set Number of Table Rows
To help you to view manageable chunks of data, you can select the maximum number of rows
to display within an Application Discovery table. Application Discovery apportions the data
into separate pages based on the number that you select.
Use the "Table bucket size" drop-down to select the number of rows that you want to appear in
each table per page. The default number of rows is set to 50, but you can select more or fewer
rows for each table page.
Your selection is applied automatically and immediately to all data tables in Application
Discovery.
Change the Data View
Various ways exist to help you sort and filter the data displays so that you can see across
application and server activity and drill down to the specifics a particular application or server.
Sort Data in View Tables
The default sort order.
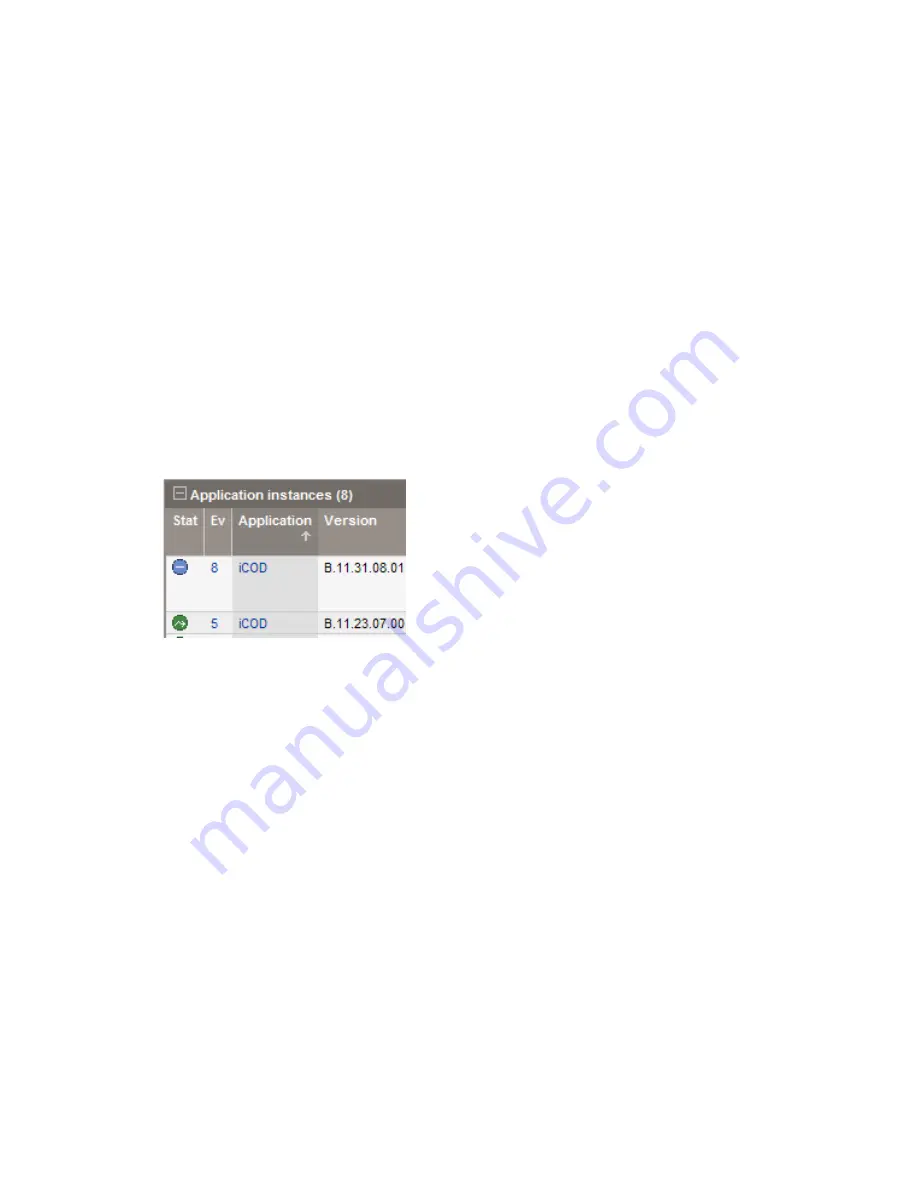
Each table displays with one column having a dark grey background
in the column heading and an arrow. The dark grey color indicates which column is driving the
sort order for all rows of data in the table. The arrow indicates whether the column has been
sorted in ascending or descending order. Criteria for the order may be numeric or alphabetical.
Changing the sort column.
To change which column is driving the sort order for the table,
click on or near the title of the column containing the criteria by which you want to sort. The
background color of the newly selected column heading changes from medium grey to dark
grey, revealing the sort arrow indicator.
Changing the sort order.
Click the arrow in the selected column to toggle between ascending
and descending order.
Filter Data in View Tables
The default filter
The initial filter state of a table is set to 'none' so that all known data for that
table view is displayed.
Hiding specific rows by a selected criteria.
You can hide specific rows of data by right-clicking
on any text in a table row, and choosing to filter in or filter out a piece of data. For example, you
may want to hide all rows containing
server_name_y
. To do so, right-click on
server_name_y
in any table cell containing that server name, and select
Filter out
server_name_y
. All rows
containing that name are no longer be visible in the table when the view refreshes.
Showing hidden rows.
To return the table to its original default state (thereby revealing all
rows hidden up to this point), right-click on any table row and select
Clear filter
. The table
returns to its original state.
Working With Data Views
25


