background image

6


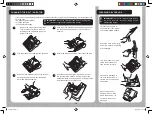
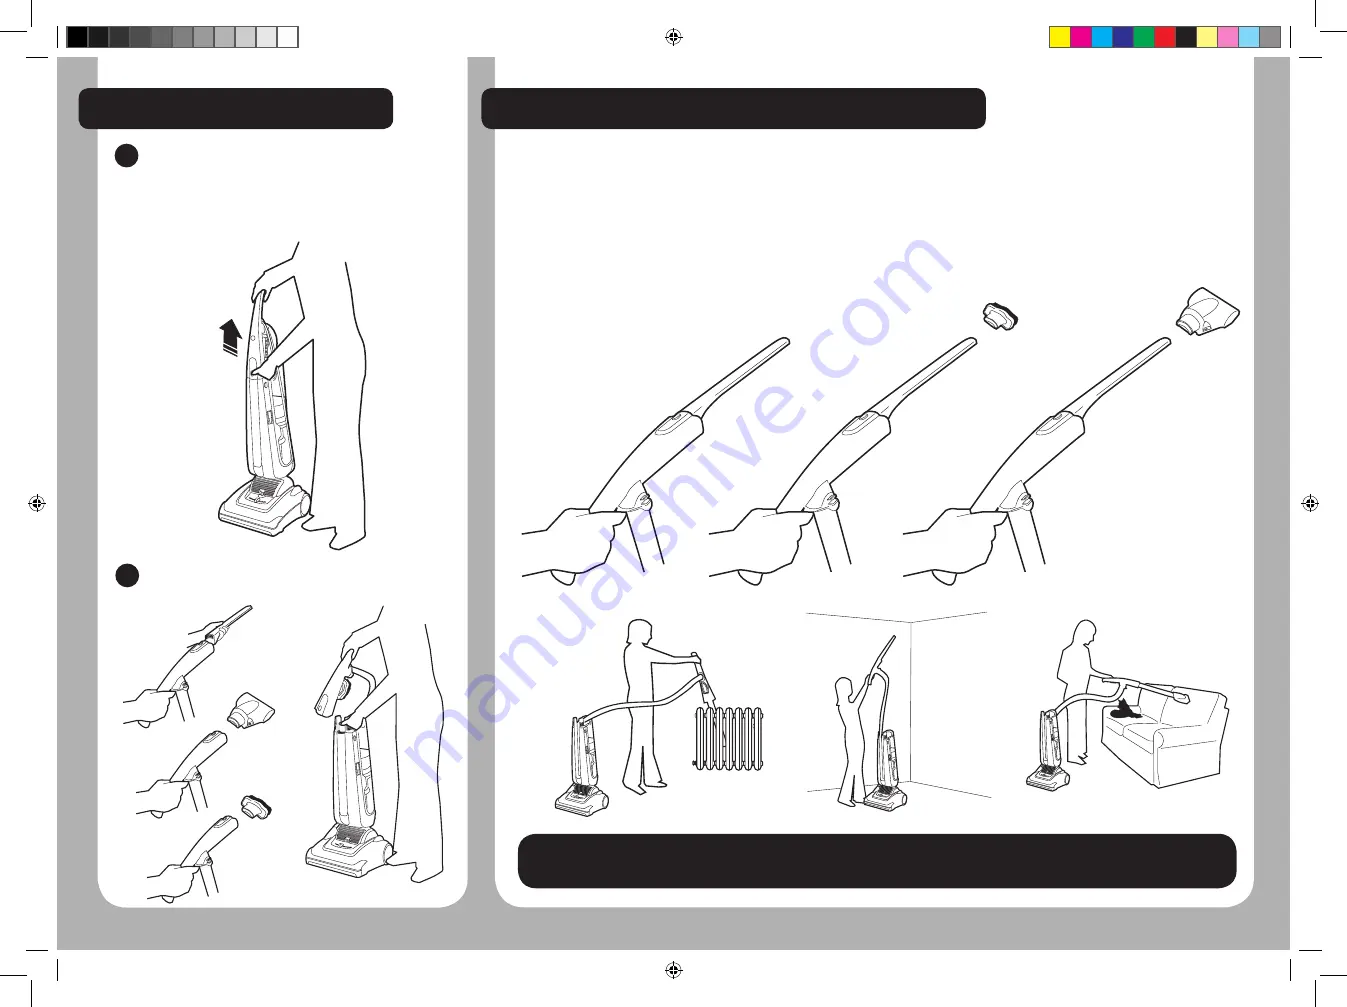
CLEANING TOOLS

!

IMPORTANT!

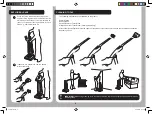
  When using cleaning tools, the cleaner must be kept in the upright position, particularly when 

cleaning stairs.

!

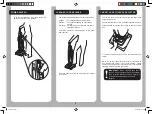
The following accessories are available with the product:

Explorer lance

Dusting Brush 

Pet Hair Remover Turbo Brush

Allergen Remover Turbo Brush* (certain models only)

All accessories can fit directly onto the handle of the product or onto the explorer lance tool. Combine accessories 

depending on use.

EXPLORER LANCE

1

2

Press the lance release button and pull the 
explorer lance together with the handle from the 
main body of the cleaner. It will immediately be 
ready for over head cleaning and hard to reach 
areas e.g. behind radiators etc. 

If desired, it is possible to use the handle 
without the lance.

Freedom IM.indd   6

01/06/2008   07:54:34

Содержание 39100173

Страница 1: ...freedom USER INSTRUCTIONS Freedom IM indd 1 01 06 2008 07 54 29 ...

Страница 2: ... LIVE IMPORTANT SAFETY REMINDERS Aerosol sprays may be flammable DO NOT spray near cleaner SUPPLY CORD DO NOT run over the supply cord when using your cleaner or remove the plug by pulling on the supply cord FAULTS DO NOT continue to use your cleaner if it appears to be faulty If the supply cord is damaged stop using the cleaner IMMEDIATELY The supply cord must be replaced by an authorised Hoover ...

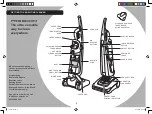
Страница 3: ...r helpline on 08705 400 600 CORD CLIP LANCE RELEASE BUTTON ON OFF BUTTON EXPLORER LANCE HANDLE PARK DUSTING BRUSH CARPET CARE CONTROL SELECTOR FOOT HOSE 2 POSITION LOCK PEDAL UPPER CORD HOOK CARRY HANDLE LONG STRETCH HOSE BIN RELEASE BUTTONS PET HAIR REMOVER TURBO BRUSH PRE MOTOR FILTERS ACCESS BUTTON ONE TOUCH BIN EMPTY BUTTON LOWER CORD HOOK EXHAUST FILTER GETTING TO KNOW YOUR CLEANER DUST BIN C...

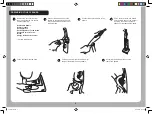
Страница 4: ...ver Turbo Brush Allergen Remover Turbo Brush Allergy Defender Granules Certain Models only 1 Fit the pet hair remover turbo brush into the dust bin below the carry handle 4 4 Connect the explorer lance to the handle 2 Assemble the dusting brush onto the rear of the handle 5 Fit the foot hose into the hood Fit the explorer lance and handle onto the main body of the cleaner Ensuring the end of the l...

Страница 5: ...fore vacuuming IMPORTANT When cleaning hard floors such as vinyl or linoleum move the selector knob to the HARD floor position Failure to do so may cause damage to the floor surface CLEANER LOCK RELEASE The cleaner can be adjusted to 3 different positions Upright For storage and when using tools Position 1 For general cleaning on carpets and flooring Position 2 For reaching under furniture and som...

Страница 6: ...ain models only All accessories can fit directly onto the handle of the product or onto the explorer lance tool Combine accessories depending on use EXPLORER LANCE 1 2 Press the lance release button and pull the explorer lance together with the handle from the main body of the cleaner It will immediately be ready for over head cleaning and hard to reach areas e g behind radiators etc If desired it...

Страница 7: ...emove the lance from the handle and return to its original position on the cleaner Park the handle on the side of the cleaner Turn the cleaner off and remove the plug Wind the power cord around the cord storage hooks When the handle is in the handle park position wind the power cord around the lower cord storage hook and the carry handle IMPORTANT Extra care must be taken when using the hose on th...

Страница 8: ... the bin upper section containing the separation unit from the lower section Press the bin release buttons and remove the dustbin from the cleaner Reassemble the bin upper section Push clips back to fully close the bin then refit the dustbin to the cleaner Use a cloth or the dusting brush to remove excessive dust from the separation unit s surface Place the bin on a flat surface and release the cl...

Страница 9: ... using the tab provided Gently tap both filters against the side of a bin to release excess dust Wash the GREY foam filter thoroughly under hand warm water until the water runs clean Remove excess water by shaking and leave to dry for 24 hours DO NOT USE HOT WATER OR DETERGENTS 4 Wash the BLUE HEPA filter thoroughly from the inside under hand warm water until the water runs clean Remove excess wat...

Страница 10: ...ear on the belt Loop the new belt around the motor and brush assembly Hold the brush assembly and stretch the belt until the brush can be slotted back into the cleaner housing Rotate the brush to ensure movement of the belt Refit the hood ensuring the lugs along the front are located in the slots on the front edge of the baseplate Secure the hood with 5 retaining screws Refit the carpet care contr...

Страница 11: ...f correctly you will help prevent potential negative consequences for the environment and human health which could otherwise be caused by inappropriate waste handling of this product The symbol on the product indicates that this product may not be treated as houshold waste Instead it shall be handed over to the appliance collection point for recycling of electrical and electronic equipment Disposa...

Страница 12: ...ct 2 Is the dust container full or choked with fine dust To empty the dust container see instructions on P8 3 Is the hose blocked To clear a blockage see instructions on P10 4 Is there a blockage in the cleaner base To clear a blockage see the instruction on P10 5 Are the filters blocked To clean filters see the instruction on P9 6 Is the nozzle height set correctly To set the carpet height select...

Страница 13: ...Hoover Limited Pentrebach Merthyr Tydfil Mid Glamorgan CF48 4TU HOOVER CUSTOMER HELPINE 08705 400 600 2008 0565 5325 01 Freedom IM indd 13 01 06 2008 07 54 40 ...

Отзывы: