• OPERATION :
2nd
• OPERATION :
• OPERATION :
2nd
• OPERATION :
2nd
• OPERATION :
2nd
• OPERATION :
2nd
Press
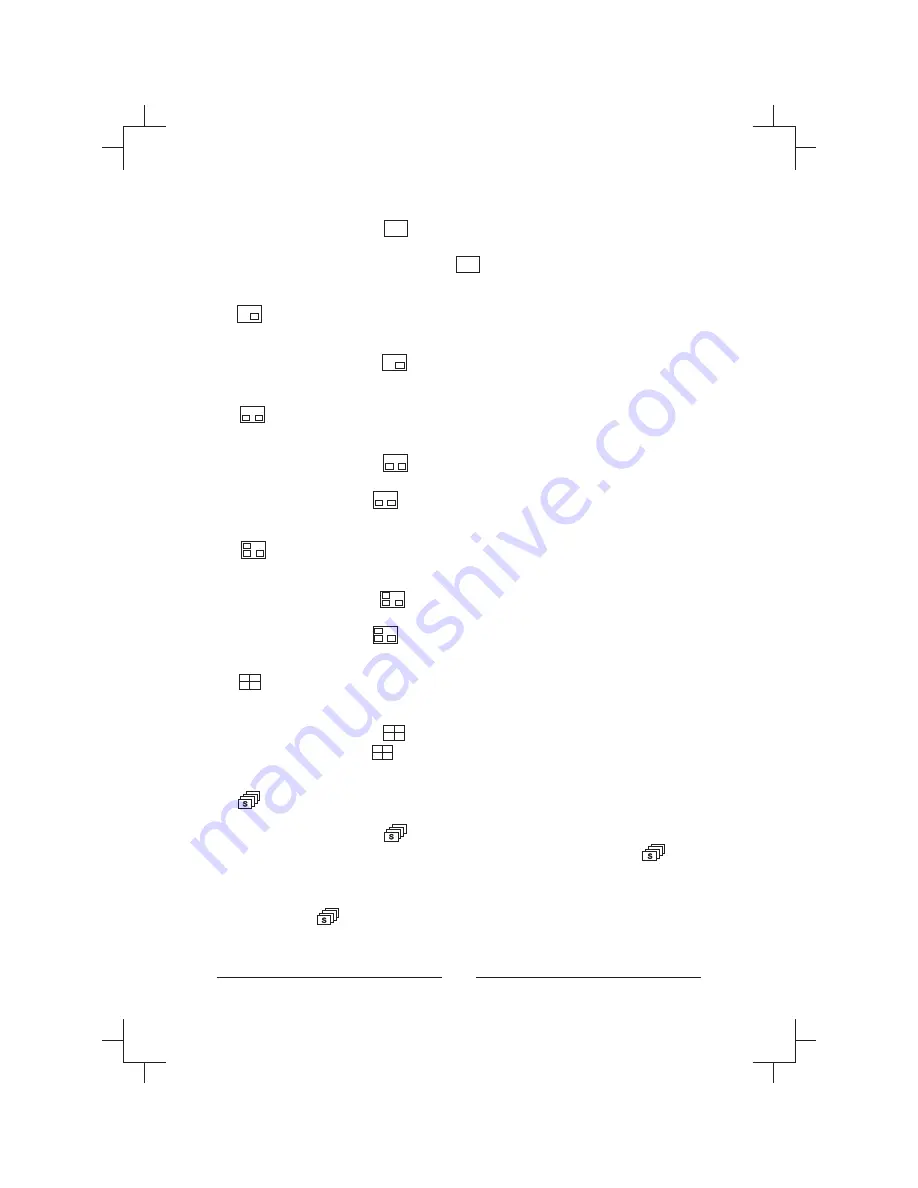
and the currently selected camera displays
full screen. Pressing another camera button will display that camera
full screen. Press
and then
to display a screen layout
previously defined by the user.
PIP (Picture in Picture) inserts a selected camera as a small
image in the main image.
Press
and then the camera button of the camera
you want displayed in the insert.
Puts the multiplexer in PIP2 display mode or the second user-
defined display mode
Press
and then the camera button of the camera
you want displayed in the insert.
Press
and then
to display the second screen layout
previously defined by the user.
Puts the multiplexer in PIP3 display mode or the third user-
defined display mode
Press
and then the camera button of the camera
you want displayed in the insert.
Press
and then
to display the third screen layout previously
defined by the user.
Puts the multiplexer in 2x2 display mode or the fourth user-
defined display mode
Press
and 4 cameras display on the screen.
Press
and then
to display the fourth screen layout previously
defined by the user.
Puts the multiplexer in the Sequence Mode.
Press
to start or stop all cameras sequencing
while in the PIP1, PIP2 or User-defined Modes 1 to 4. Press
while in the Full-Screen Mode to start or stop a User-defined
sequence.
Press
,
and camera buttons 1 to start or stop Spot
Sequences.
54
Содержание HXCT4
Страница 1: ...Installation Manual 4 Channel Color Multiplexer HXCT4 HXCT4X ...
Страница 2: ......
Страница 14: ...xiv ...
Страница 18: ...4 ...
Страница 24: ...Main Menu Settings Figure 7 Main Menu screen Figure 8 Time Date Setup first screen 10 ...
Страница 66: ...52 ...
Страница 87: ... Figure 62 RS 485 Connector NOTE If termination of RS 485 network is required short pin 3 and pin 4 73 ENGLISH ...
Страница 101: ......


