Maintenance
HON 670 / HON 671 Controllers Component Documentation
25
Figure
Step
Description
4
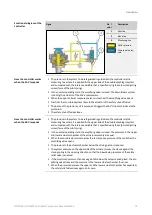
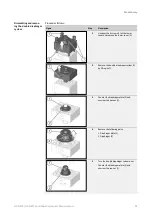
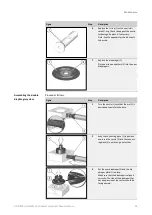
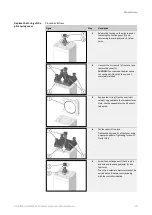
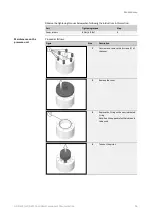
Put a new piston (2) in place.
Risk of confusion! Please observe the
characterizing difference between the old
and the new piston.
Old piston (1):
Castellated nut closed
New piston (2):
Castellated nut open
5
Put on the cap nut (1).
Counter the diaphragm plate (2) and
tighten the cap nut firmly. Tightening
torque: 20 Nm (15 ft lbs)
When doing so, the castellated nut of the
new piston will close.
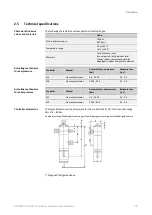
6
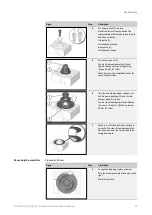
Turn the double diaphragm system over.
Put the new diaphragm (3) and the dia-
phragm plate (2) in place.
Counter the diaphragm plate and tighten
the hex nut firmly (1). Tightening torque:
20 Nm (15 ft lbs)
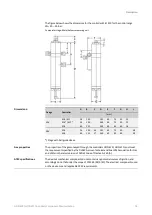
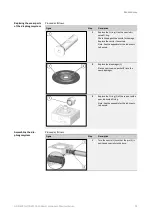
7
Make sure that the diaphragm is aligned
correctly: The side of the diaphragm that
has a depression at the center should be
facing downward.
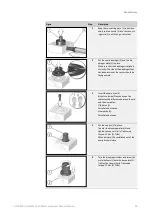
Proceed as follows:
Figure
Step
Description
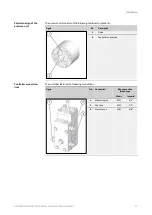
1
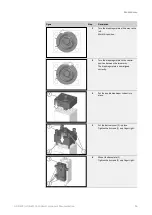
To align the diaphragm plate correctly:
Turn the diaphragm plate all the way to the
right.
Mark this position.
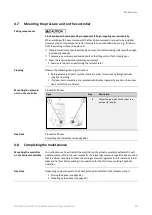
Mounting the controller

